Even though Windows 11 has been publicly released, it’s not entirely bug-free. If you use the Dev or Beta builds of Windows 11, you might experience many issues with the operating system. You may sometimes encounter problems such as Programs not Responding, Taskbar lags, Windows Explorer restarting itself, etc.
Although all other problems can be easily fixed, you can’t deal with the Programs Not Responding problem without closing them first. When a program is not responding, you will see a pop-up that says, “The application is not responding, do you want to end this process”.
At times, multiple processes or programs can stop responding, forcing you to restart. In such a situation, a shortcut for terminating all not responding programs can be extremely useful. Hence, in this article, we will share two best methods to terminate all not responding programs in Windows 11 operating system.
2 Best Ways to Terminate All Not Responding Programs in Windows 11
Please note that we have used Windows 11 to demonstrate the methods, but the methods also work on older versions of Windows such as Windows 7, Windows 8, and Windows 10. Let’s check out the two best ways to Terminate all not responding programs on Windows 11.
1) Create a Desktop Shortcut for Terminating all not responding program
In this method, we will create a desktop shortcut for terminating all not responding programs on Windows 11. Here’s what you need to do.
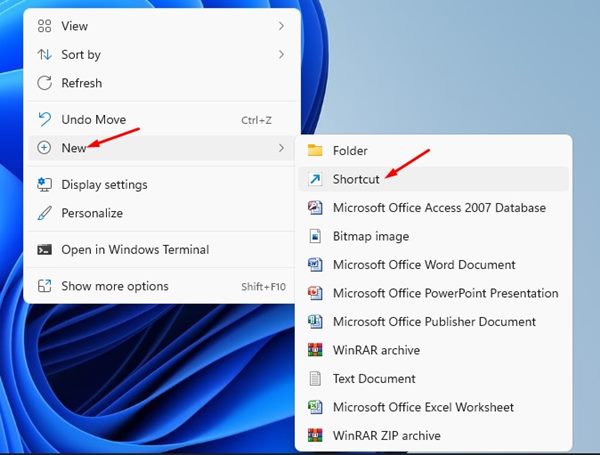
1. First, right-click on a blank space on your desktop and select New > Shortcut.
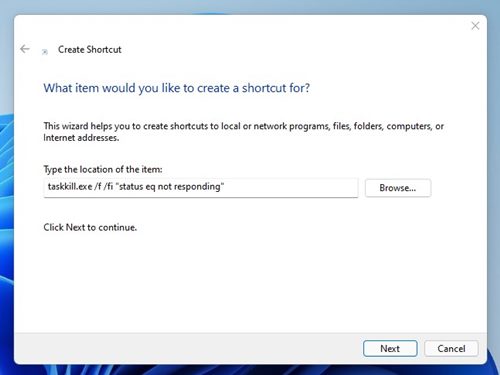
2. On the Create Shortcut window, type in the command in the location box and click on the Next button.
taskkill.exe /f /fi "status eq not responding"
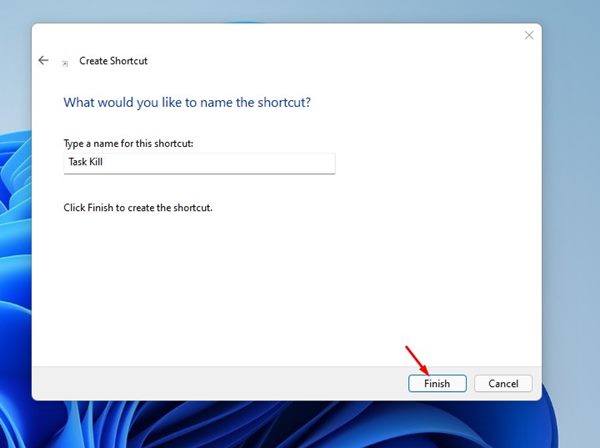
3. Enter Task Kill in the text box and click on the Finish button on the next screen.
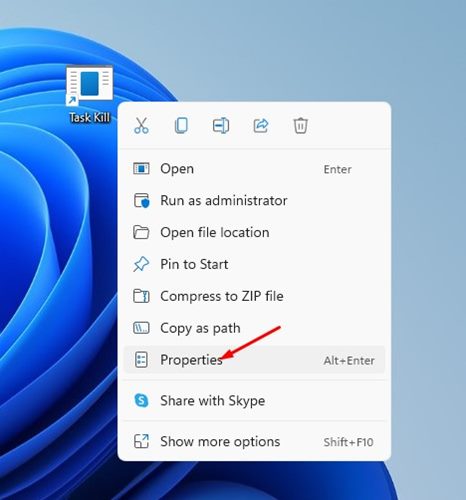
4. Now, right-click on the Task Kill Shortcut and select Properties.
5. On the General window, click on the Change Icon button and select an appropriate icon.
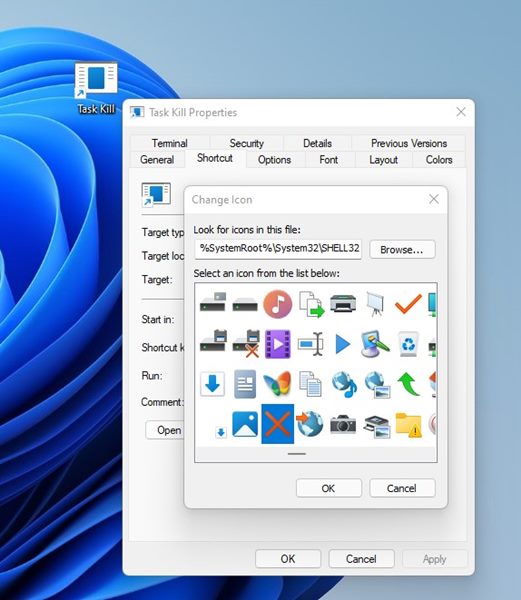
6. Once done, click on the Ok button, then on the Apply.
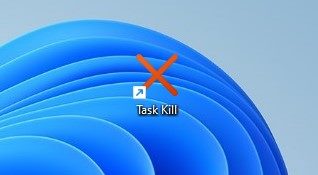
That’s it! You are done. Now, whenever you feel like terminating all not responding programs on Windows 11, just double click on the Task Kill desktop shortcut. You can also Pin this icon to the taskbar or Start menu for easier access.
2) Add the Kill Not Responding Tasks option to the Context menu
In this method, we will use the Winaero Tweaker utility to add the Kill Not Responding Tasks to the Windows 11 right-click menu. Here’s what you need to do.
1. First of all, download & install Winaero Tweaker on your Windows 11 operating system.
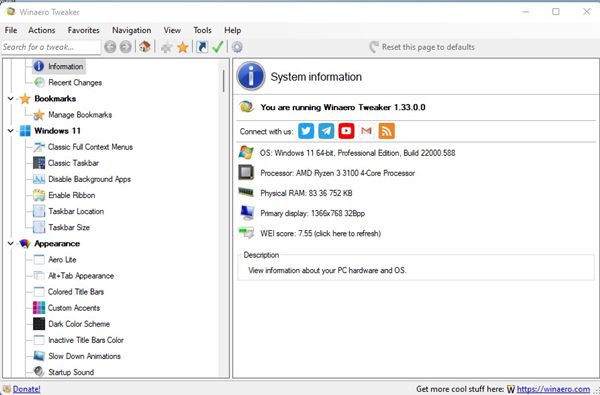
2. Once installed, open Winaero Tweaker and expand the Context Menu section.
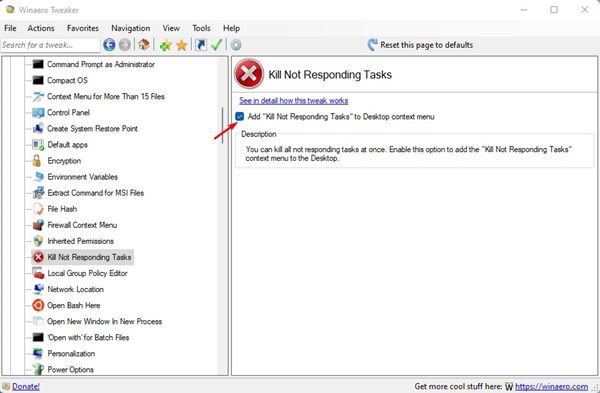
3. Now scroll down and click on the Kill Not Responding Tasks option as shown below.
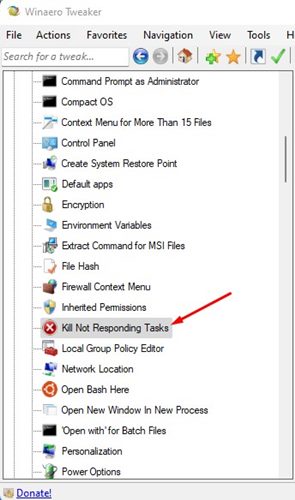
4. On the right, check the option for Add ‘Kill Not Responding Tasks’ to the Desktop context menu option.
5. Now, right-click anywhere on the screen, you will see a new Kill not responding task option.

6. If you wish to remove the option, simply uncheck the checkbox you enabled in Step 4.

That’s it! You are done. This is how you can terminate all not Responding programs on Windows 11 via Winaero Tweaker.
These are the two best ways to kill all unresponsive programs & processes on Windows 11 operating system. I hope this article helped you! Please share it with your friends also. If you have any doubts related to this, let us know in the comment box below.


