On techviral, we have already shared many articles on how to improve the performance of the Windows operating system. To enhance the performance of your PC, you can disable the Startup apps, remove apps you don’t use anymore, clean viruses/malware, free up storage, and do a wide range of other things.
One of the best ways to free up storage space and improve the performance of a PC is by uninstalling the bloatware. Although Windows 11 has less bloatware than Windows 10; still, you can choose to remove them to free up some SSD/HDD space.
Debloat Windows 11 PC to Improve Performance
Hence, if you are looking for ways to debloat your Windows 11 operating system, you are reading the right guide. This article will share a step-by-step guide on how to debloat Windows 11 from unnecessary apps & services and improve its performance. Let’s check out.
Using Debloater Tool
Debloater tool is basically a script that helps you remove all unnecessary Windows and manufacturer bloatware and improves the PC’s performance. Initially designed for Windows 10, the Debloater tool works fine on the new Windows 11 operating system. Here’s how you can use the Debloater tool on Windows 11.
Important: Before using this tool, make sure to create a restore point or backup your important files.
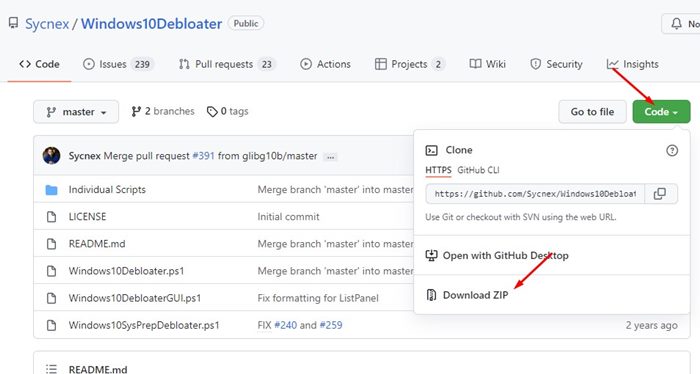
1. First of all, open your web browser and open this Github Link. Next, click on the Code button as shown below and select the Download ZIP option.
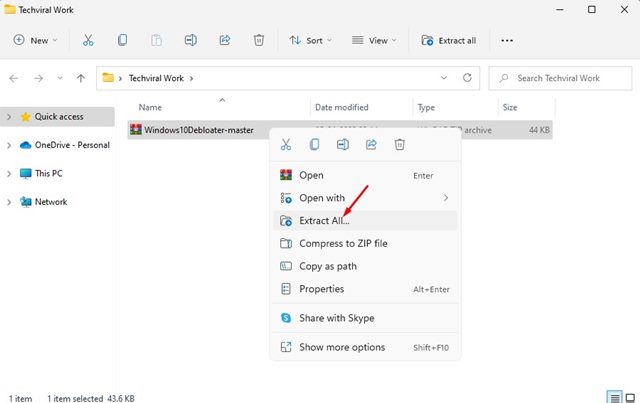
2. This will download the Windows10DebloaterTool zip file on your system. Right-click on it and extract the file.
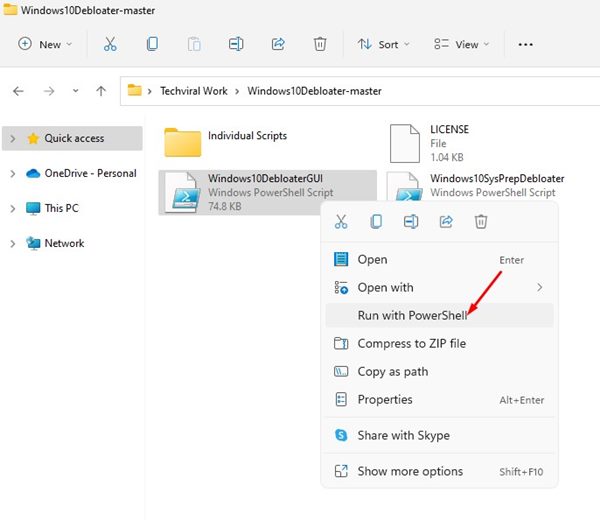
3. Now, open the extracted folder. Right-click on the Windows10DebloaterGUI.ps1, and select the Run with Powershell option.
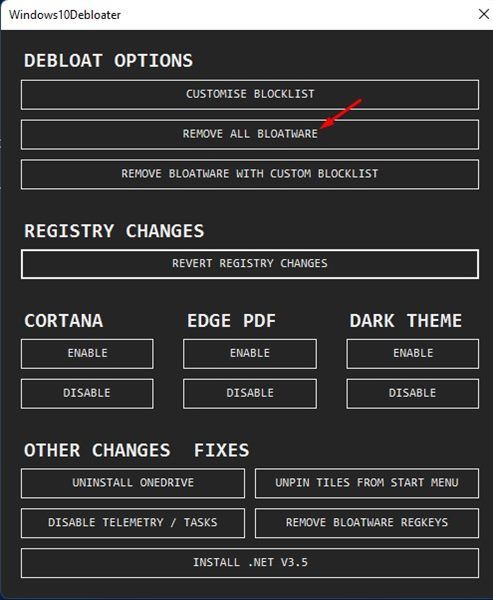
4. Now, you will see the Windows10Debloater interface.
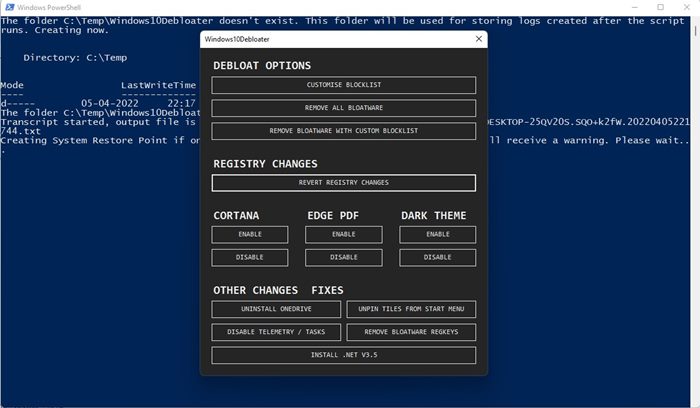
5. If you wish to remove all bloatware, simply click on the Remove All Bloatware option as shown below.
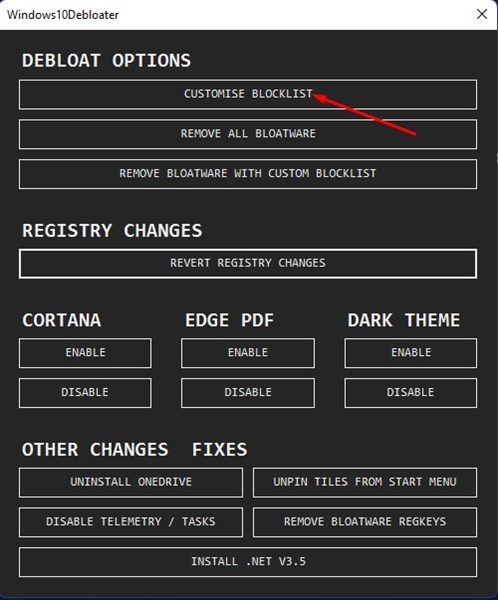
6. If you wish to manually remove the bloatware, select the Customise Blocklist option as shown below.
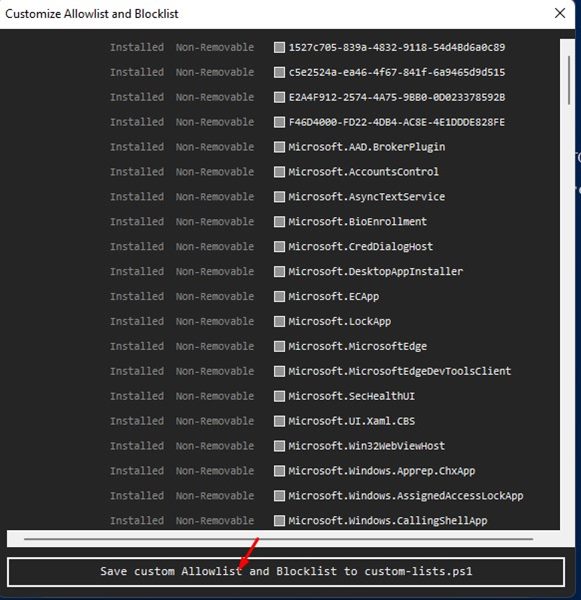
7. After selecting the Customise Blocklist option, uncheck all the apps you don’t want to remove. Once done, click on the Save button as shown below.
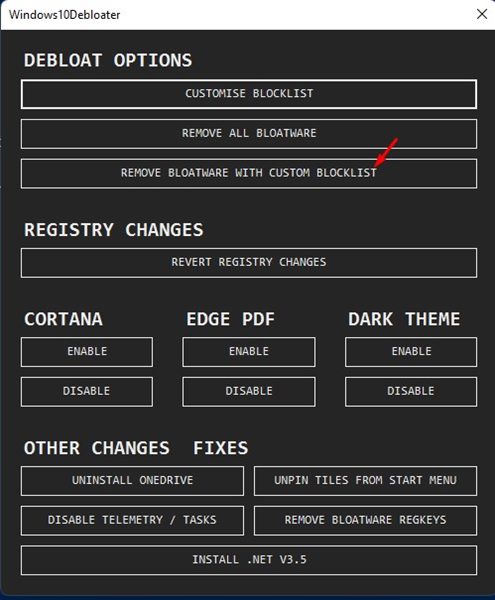
7. On the main screen, click on the Remove Bloatware with Custom Blacklist option. This will remove all selected bloatware from your Windows 11 operating system.
8. With this tool, you can also make a few other changes to the operating system, such as disabling Cortana, Onedrive, and other telemetry apps.

9. The process might take a few minutes to complete. Once completed, you need to restart your Windows 11 PC.
That’s it! You are done. This is how you can remove bloatware from your Windows 11 operating system.
If you are running out of storage space or experiencing system lags, you should debloat Windows 11. I hope this article helped you! Please share it with your friends also. If you have any doubts related to this, let us know in the comment box below.


