When Windows 11 was first released, it impressed users with its redesigned start menu, new file explorer icons, wallpapers, and more. Now it looks like Windows 11 got another customization option that lets you place stickers on your desktop.
However, not every Windows 11 user will be able to use the new Stickers as it’s only available on Windows 11 22H2 build 22621. Even though your PC runs on Windows 11 22H2 build 22621, you need to edit the registry file to enable desktop stickers.
Steps to Enable Desktop Stickers on Windows 11
So, if you want to have more customization options on your Windows 11, it could be a good idea to enable the desktop stickers. Below, we have shared a step-by-step guide on enabling and using desktop stickers in Windows 11. Let’s get started.
1. Enable Desktop Stickers in Windows 11
In this method, we will enable the desktop stickers on Windows 11 by editing the Registry file. Here’s what you need to do.
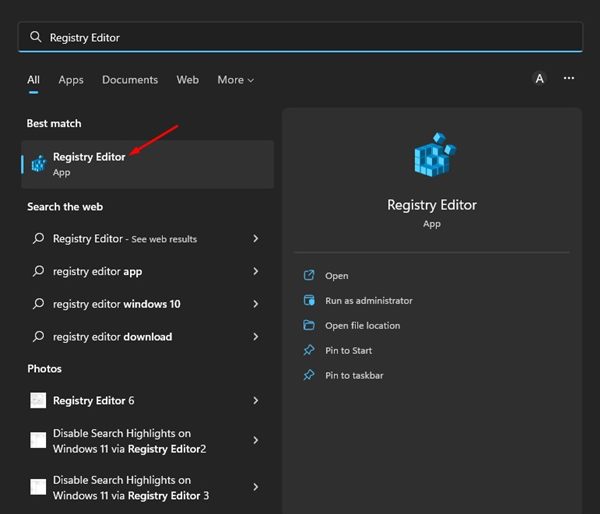
1. First, click on the Windows 11 Search and type in Regedit. Next, open the Registry Editor from the list.
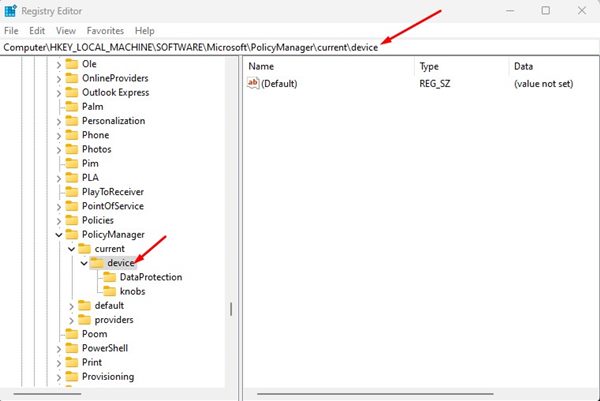
2. On the Registry Editor, navigate to the path we have shared:
HKEY_LOCAL_MACHINE\SOFTWARE\Microsoft\PolicyManager\current\device
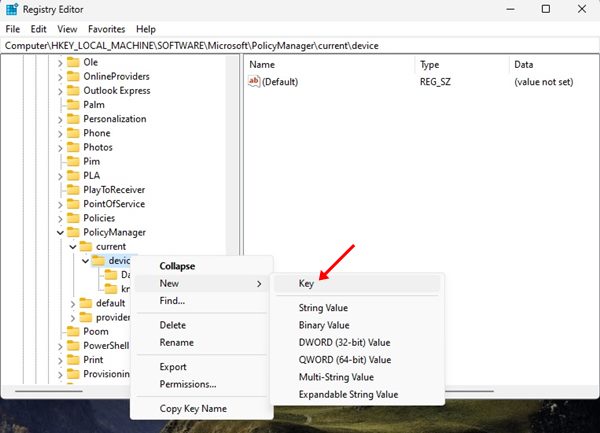
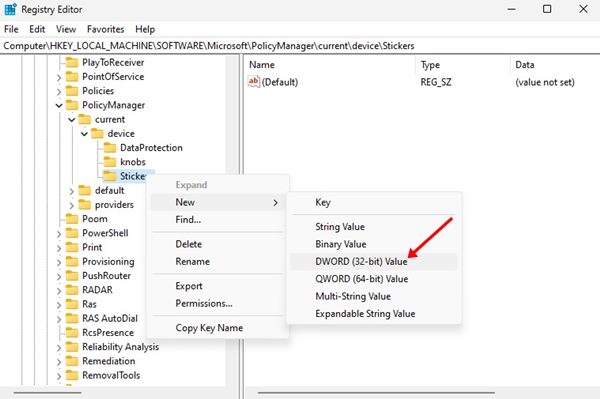
3. Now, right-click on the Device folder and select New > Key.
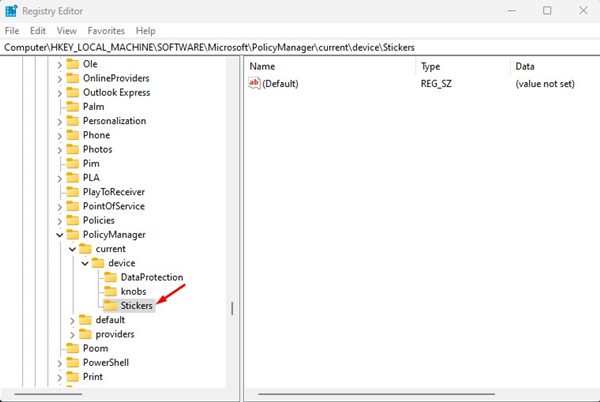
4. Name the new key ‘Stickers‘.
5. Now, right-click on the Stickers and select New > DWORD (32-bit Value).
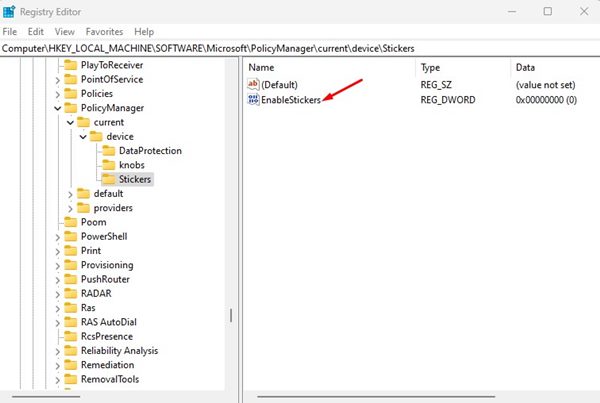
6. Name new REG_DWORD value as ‘EnableStickers‘
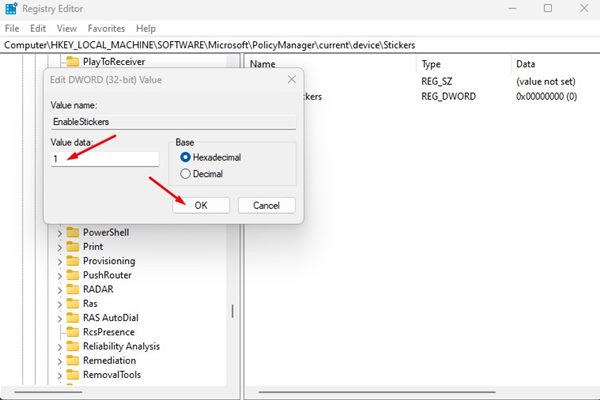
7. Now, double-click on the EnableStickers value you have created. On the prompt that appears, type in 1 in the Value Data field and click on the Ok.
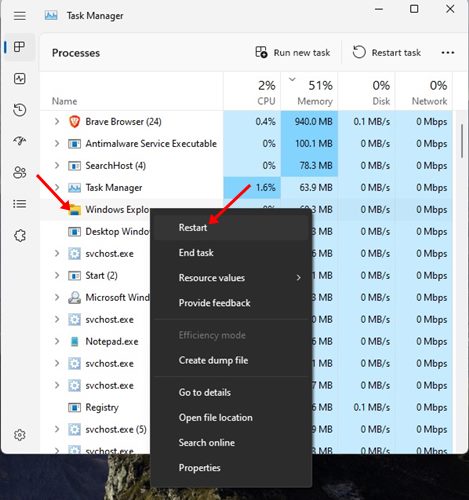
8. After making the changes, close the Registry Editor. Once closed, open Task Manager, right-click on the Windows Explorer process, and select Restart.
That’s it! This will enable the Desktop stickers on your Windows 11 computer.
2. How to Use Desktop Stickers on Windows 11
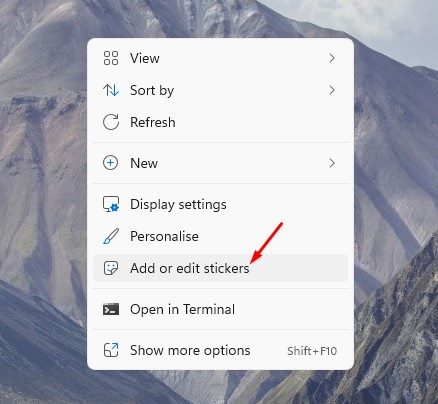
The above steps will add an ‘Add or edit stickers’ option to your context menu. You just need to right-click anywhere on your desktop and select the ‘Add or edit stickers’ option.
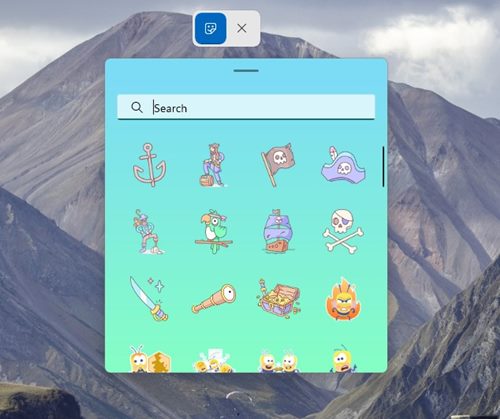
This will open the Sticker picker UI. You need to pick the sticker you want to add to your desktop screen.
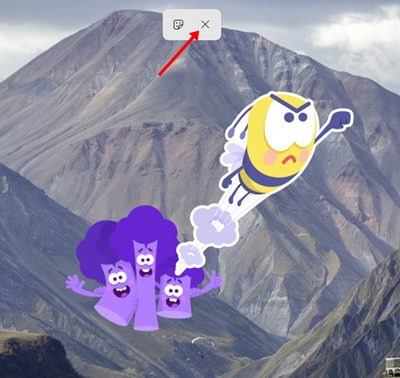
The sticker you have picked will sit on your desktop. You can click on the Sticker to move its position or resize it. If you wish to remove the sticker, click on the X button.
If you want more customization options, you can enable the Windows Spotlight desktop background on your Windows 11. So, that’s all about enabling and using the desktop stickers in Windows 11. The stickers would remain on your desktop even when you switch the background.


