While Snapchat is a great app for having fun with friends, it has a few bugs & glitches that prevent users from using it. It’s common for a Snapchat app for Android & iOS to go through errors while capturing snaps or playing games.
Recently, a few Android users have reported getting a Could not connect error message while logging in. The actual reason behind this error is unknown, but if you are getting this, don’t panic since you can quickly fix it. The error message also appears while creating a new Snapchat account.
Also Read: How to Play Games on Snapchat
6 Best Ways to Fix Could Not Connect Error on Snapchat
The Could Not Connect prompt on Snapchat is often a result of internet connectivity issues or server outages. On your Android device, you can implement these simple methods to fix the error message in no time. Here’s how to resolve the Could Not Connect Snapchat error.
1) Force Close & Reopen Snapchat
If the app is experiencing any temporary issue, you need to force close it & reopen it again. Not only ‘Could Not Connect’, force stop or force close can fix almost every temporary issue with the Snapchat app.

To force stop Snapchat, long-press the Snapchat icon on the home screen and tap on the App Info. This will open the App info page. On the App info page, tap on the Force Stop button.
This will force stop the app and will terminate all background processes linked with the app. Once done, reopen the Snapchat app; you will no longer see the ‘Could Not Connect’ error message.
2) Check if Snapchat is Down
As mentioned above, the Could Not Connect error message is usually linked to the internet. If your internet is not working, you will get this error message. Similarly, if Snapchat’s servers are down, the app will fail to communicate and show you the Could Not Connect error message.
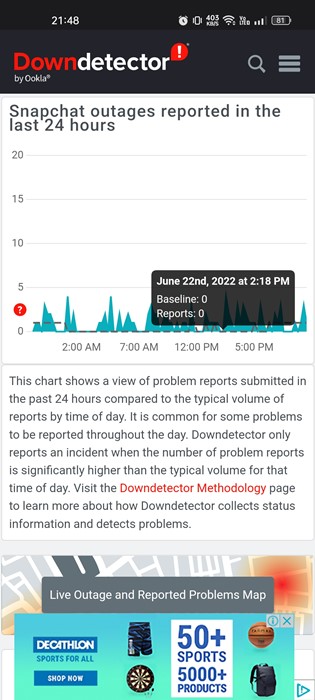
Therefore, before trying the next methods, check whether Snapchat’s servers are up and running. To check for a Snapchat outage, you need to use the Downdetector or other similar websites.
If Snapchat is down worldwide, you must wait until the service is restored. Meanwhile, you can use other instant messaging apps to connect with your friends & family members.
3) Update the Snapchat App
If there’s no Snapchat outage, and you still get the ‘Could Not Connect’ error message while logging in to the app, you need to update the Snapchat app from the Google Play Store.
Outdated apps often throw error messages and lead to app crashes or lag problems. The error message might be appearing due to the outdated Snapchat app version. So, update the Snapchat app from the Google Play Store.
4) Uninstall Snapchat Mods & other unauthorized apps
Many Snapchat mods available for Android provide you with more features and options. And if you are using those apps, you are inviting yourself problems.
If your Snapchat account is linked with modded or unauthorized apps, you will encounter the’ Could Not Connect’ error. The use of Snapchat Mods can also lead to an account ban. Hence, if you are using any unauthorized apps and plugins, uninstall them and try to log in again.
5) Turn off VPN/Proxy Settings
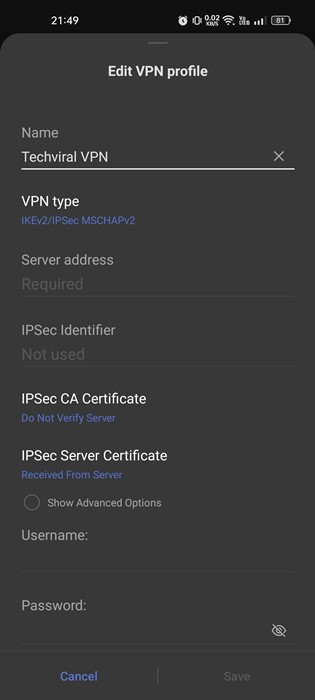
If you are using a VPN app or custom proxy settings on your Android device, you will face problems while using Snapchat. Even if you can log in with your Snapchat account, you will encounter connectivity issues using the app’s feature.
VPN or Proxies changes your IP Address, forcing the Snapchat app to connect to a server in a different location. And when the app fails to connect to the server, it shows you errors like Could Not Connect. Hence, turning off VPN or Proxy settings before logging in to a Snapchat account is recommended.
6) Clear Snapchat App Cache
Outdated or corrupted cache file often leads to connectivity problems. And, if you are still getting the Could Not Connect error message, the chances are that the app’s cache file has been corrupted. To resolve the cache-related problems, you need to clear the cache file of the Snapchat app.
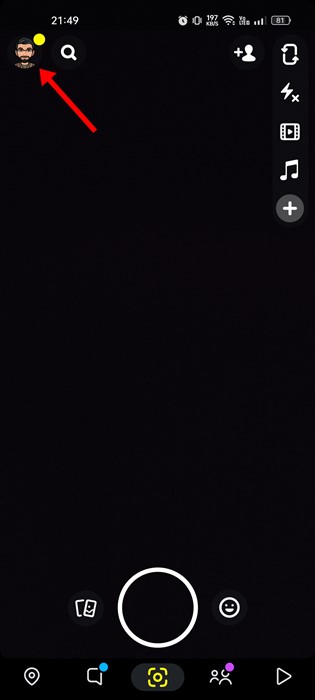
1. First, open the Snapchat app on your Android device. Next, tap on your profile picture in the top-left corner.
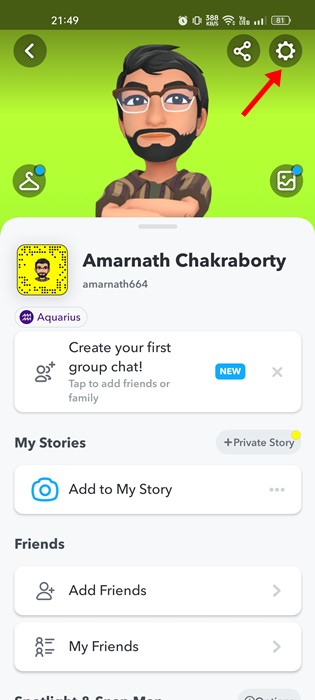
2. On the Profile Settings page, tap on the Settings gear icon in the top-right corner.
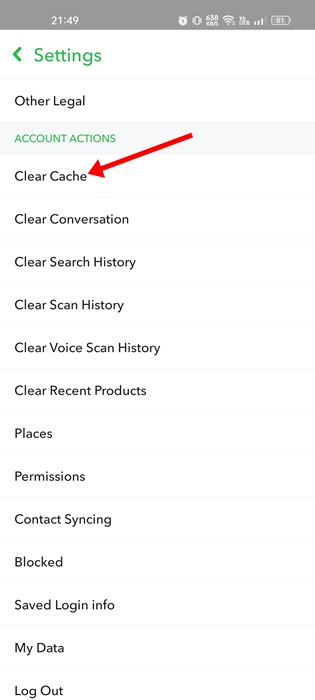
3. Next, on the Settings page, scroll down and tap on the Clear Cache.
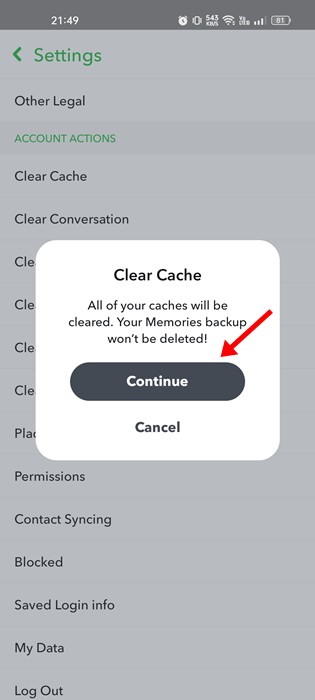
4. On the Confirmation prompt, tap on the Continue button.
That’s it! This is how you can clear Snapchat’s Cache file to resolve the Could Not Connect error message on Android.
Also Read: How to Use Snapchat On PC
So, these are some of the best ways to fix the Could Not Connect Error message on Snapchat. If you are still facing the problem, you need to seek the help of the Snapchat support team. If you know any other ways to resolve the Snapchat errors, let us know in the comments.


