We understand that a slow startup is frustrating, but you can make a few changes to speed up the process. Windows 11 lets you make a few changes to the Startup settings to reduce startup time.
Also read: How to Find Your Windows 11 Product Key
1. Fixing Windows 11 Slow Startup by Disabling Startup Apps
Startup apps were the first reason behind slow Startups. If you have many apps set up to run on Startup, the Startup will be slow. This is because many apps try to start simultaneously during the Startup. It’s best to turn off the Startup apps you don’t use.
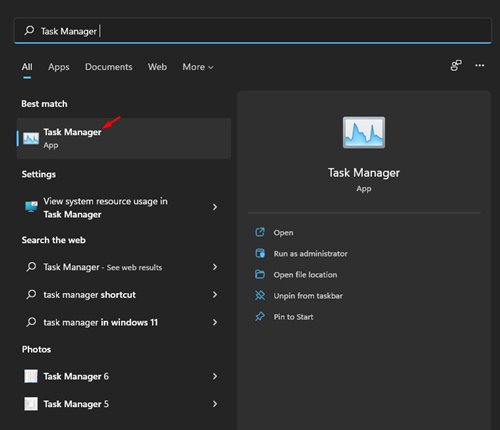
- Open Task Manager from the Windows Search.
2. Switch to Startup.
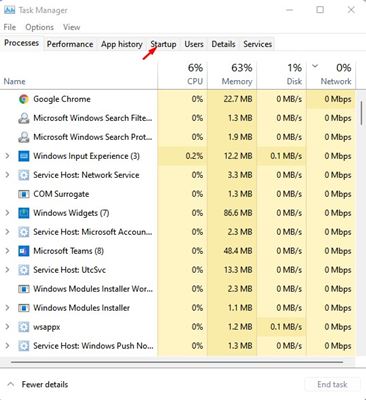
3. Review each item that’s set to run at Startup. You need to right-click the apps and select Disable

2. Enable Fast Startup Mode
Fast Startup is an option that helps your PC start faster after a shutdown. You can enable this to improve the startup time.
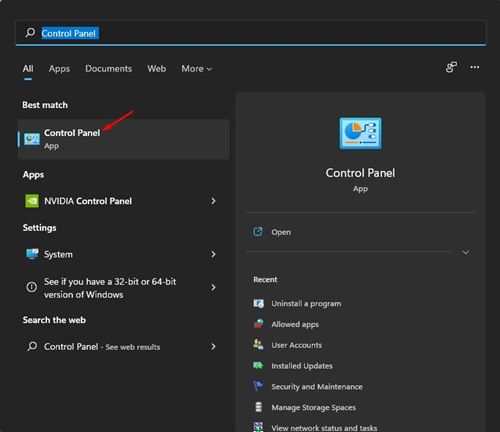
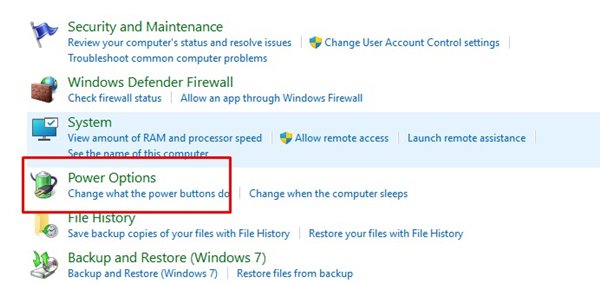
- Open the Control Panel from the Windows Search.
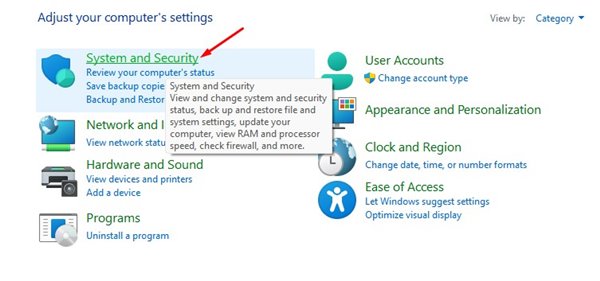
2. Click System and Security.
3. Click Power Options.
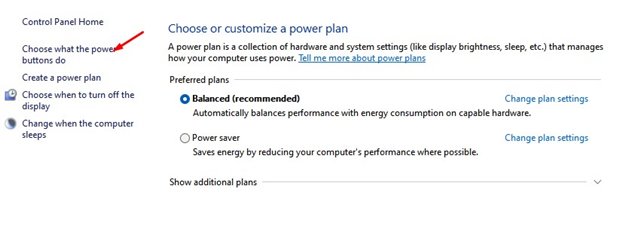
4. Click Choose what the power buttons do.
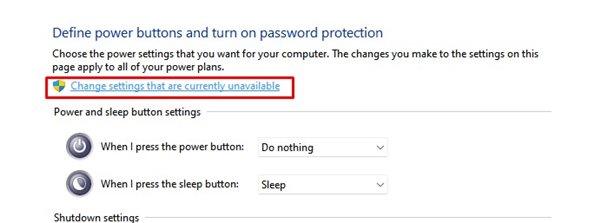
5. Click Change settings that are currently unavailable.
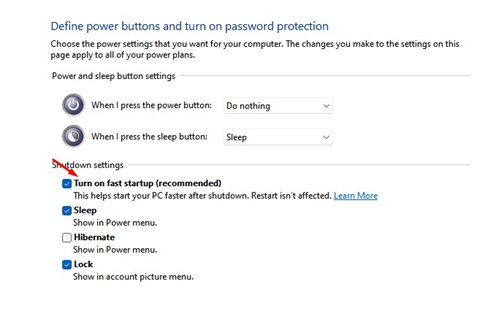
6. Enable Turn on Fast Startup and click Save Changes.
3. Perform a Clean Boot
When you turn on Clean Boot, Windows disables all third-party services. This feature won’t enhance Startup speed, but it will help you determine whether a third-party program affects it.
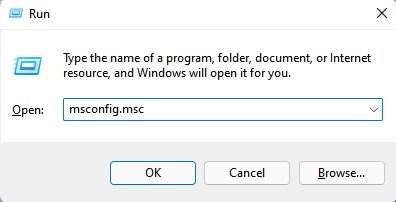
1. Press the Windows Key + R button to open the RUN dialog box. In the Run dialog box, enter msconfig.msc and press Enter.
2. Switch to Services.
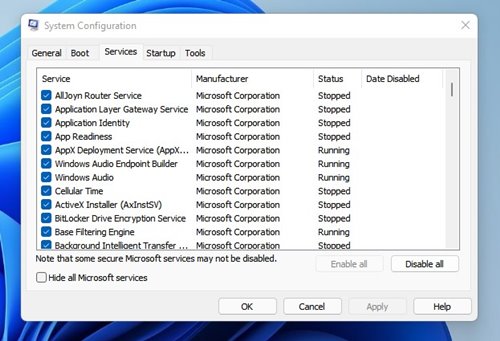
3. Select the Hide all Microsoft services box and click Disable All.

4. Open Task Manager and switch to the Startup.
5. Select the apps and click Disable. Once done, click the Ok button and restart your computer.
If you notice an improvement in the Startup time, you need to check the third-party applications you have disabled.
4. Turn off visual effects
Turning off the visual effects is another solution to fix Windows 11 taking too long to start.
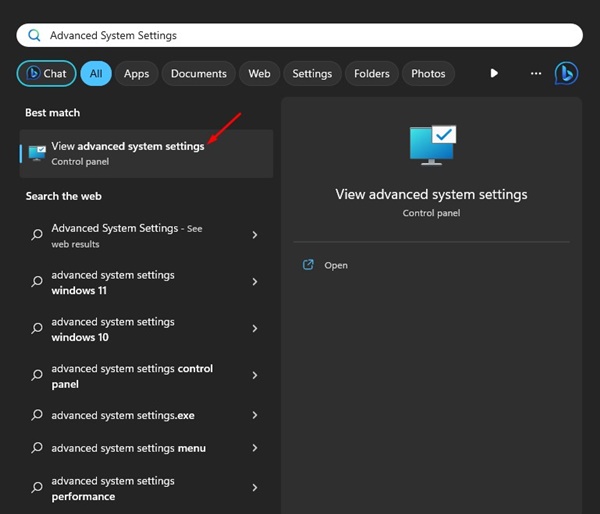
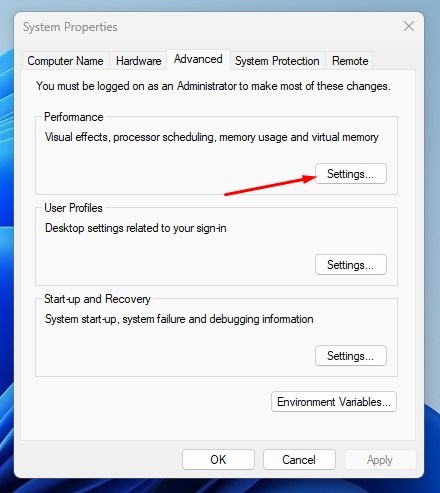
1. Click on Windows 11 Search and type Advanced System Settings. Open the View Advanced System Settings app from the list.
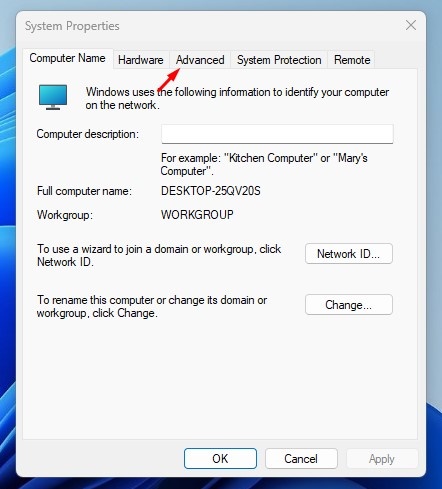
2. Switch to Advanced.
3. Click on the Settings button under Performance.
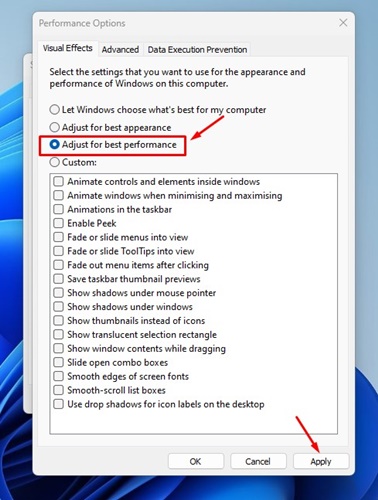
4. This will open the Performance options. Select Adjust for best performance, then click Apply.
5. Enable Storage Sense
Storage Sense feature frees up storage space, leading to better performance and a faster startup. If you aren’t using this feature, you should.
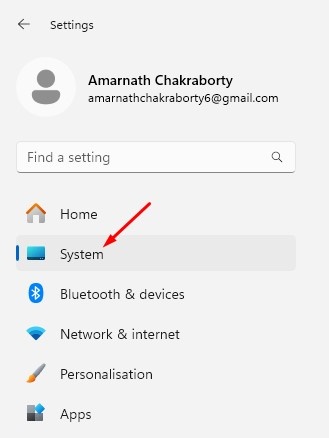
1. Launch the Settings app and select System.
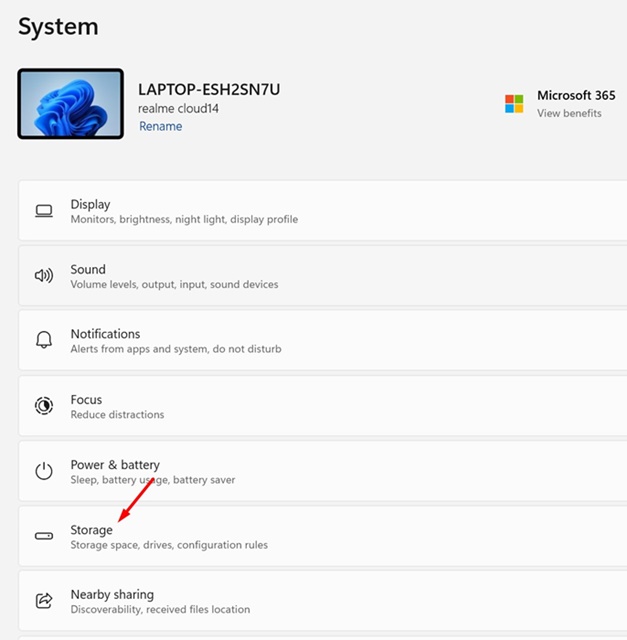
2. Switch to Storage.
3. Enable the toggle for Storage Sense.
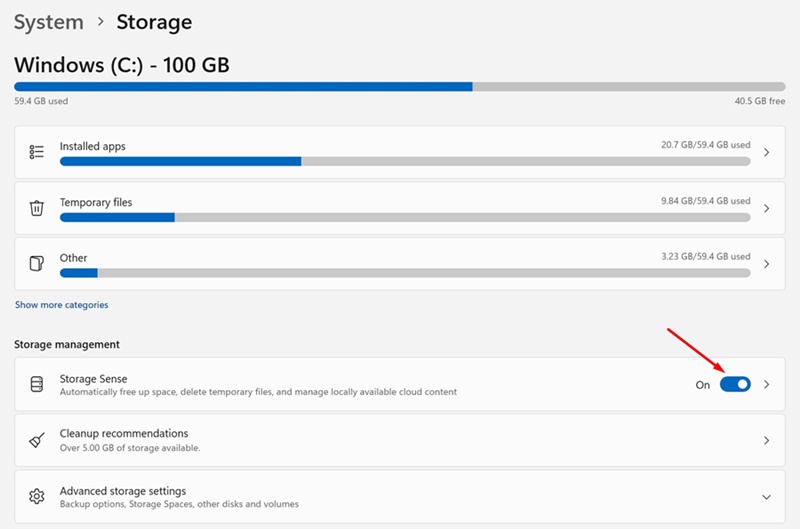
4. Check the ‘Keep Windows running smoothly by automatically cleaning up the temporary system and app files’ option.

6. Update Windows to the Latest Version
Most of the new updates made available for Windows 11 consist of performance improvements and bug fixes. It’s best to update Windows 11 to the latest version.
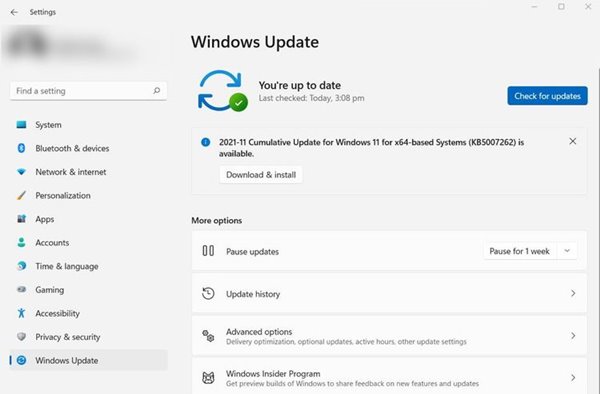
To update Windows 11, press the Windows + I button. This will open Settings; navigate to Windows Update > Check for updates > Download and install.
After installing the updates, restart your computer. If the Startup is delayed due to an outdated operating system, it will be fixed.
7. Optimize Your Hard Disk
If you have installed Windows 11 on a Hard disk drive, you must check whether it has errors. Windows 11 includes a built-in utility to check disk errors.
We have shared a detailed guide on finding and fixing hard disk errors on Windows. Make sure to follow that guide.
8. Switch to SSD
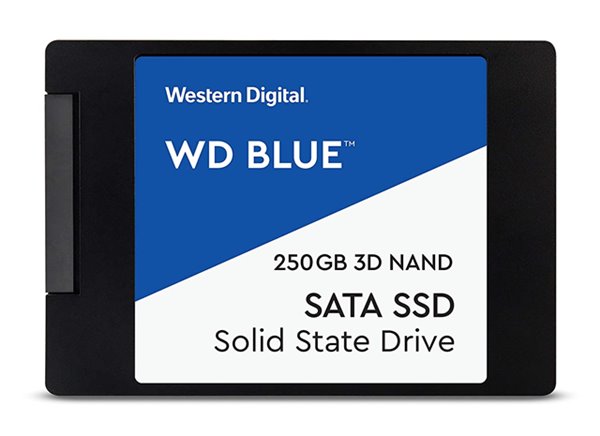
SSDs are significantly faster than HDDs, and you will notice a massive speed increase when you switch to an SSD.
You don’t need to optimize your disk or storage if you have an SSD. Also, app loading and data transfer speed will be faster.
It can be frustrating to wait through a slow startup, but you can utilize all these techniques to speed up your PC. If you have any doubts, let us know in the comment box below.


