Recently, Microsoft’s Paint app received a massive upgrade. You can see the changes if you are using the Windows 11 23H2 or Windows 11 2023 update.
Windows 11 2023 update introduced many new changes like the background removal tool in Paint, the blur tool in the Photos app, AI Copilot, etc. The Windows 11 Paint app also got a new feature known as ‘Layers’.
So, what exactly is ‘Layers’ on the Paint app for Windows 11? And how do we use it? We will discuss all these things in this article. Let’s check out what is Image Layers on Paint for Windows 11.
What are Image Layers on Paint for Windows 11?
The image layers on the Paint app for Windows 11 is a very advanced photo editing feature. The feature is mostly seen in professional photo editing softwares like GIMP and Photoshop.
While Layers on Photoshop or GIMP are difficult to use, the one made available for the Paint app is easy to understand & use.
Layers basically refer to the ability to stack multiple images, texts, and graphics on top of each other. This lets you manipulate each element used in the photos individually.
How to Use Image Layers on Paint for Windows 11
Image layers are a great feature of the Paint app for Windows 11. However, to use this new feature, you must install the Paint version 11.2308.18.0 on your device.
First, you must install the Windows 11 2023 Update or upgrade your PC to Windows 11 23H2. Then, you need to update the Paint app for Windows 11. Once updated, follow the steps we have shared below.
1. Ensure you are using Windows 11 23H2 or installing the Windows 11 2023 Update.
2. Open the Microsoft Store and search for the Paint app. Open the Paint app listing and install the pending updates.
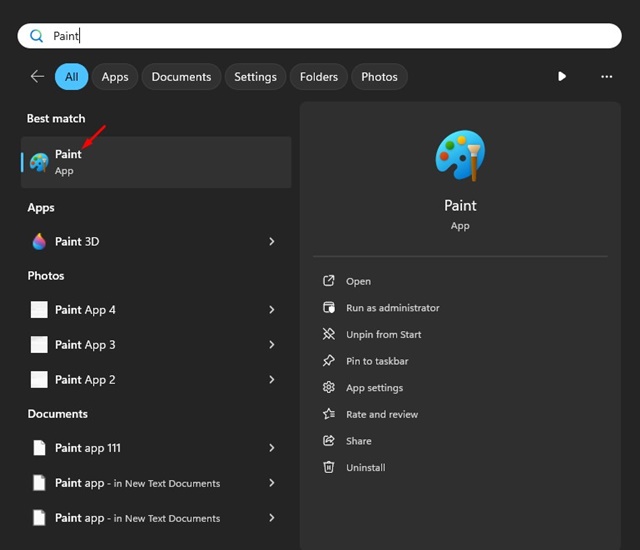
3. Now click on the Windows 11 search and type Paint.
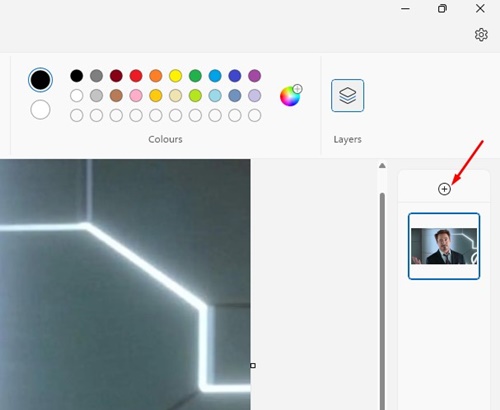
4. Now open an image that you want to edit. In the top right corner, click on the Layers.

5. You will find the layers interface on the right side. Click on the Plus (+) button to create a new layer.
6. On the new layer, you can insert an image or create a shape with the Shape tool provided by the Paint app.
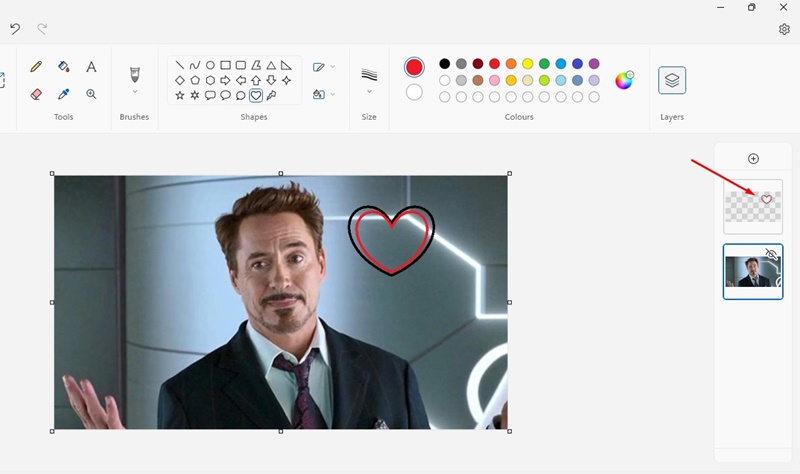
7. As you add new elements to the canvas, the new elements will be added to a new layer.
8. If you want to delete an element, you can just delete the layer having the said element. To delete a layer, right click on it and select Delete Layer.
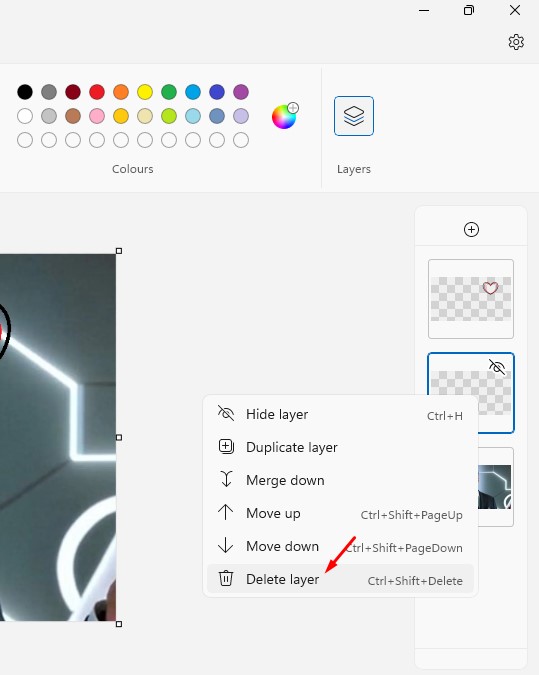
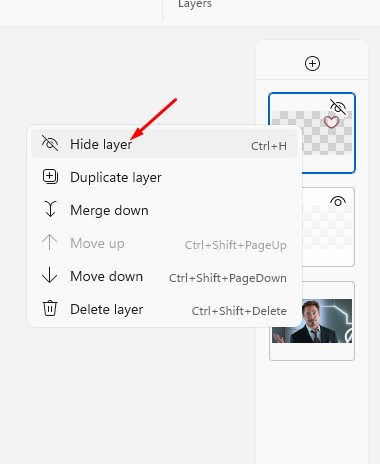
9. If you want to hide a specific layer, click the Hide Layer option.
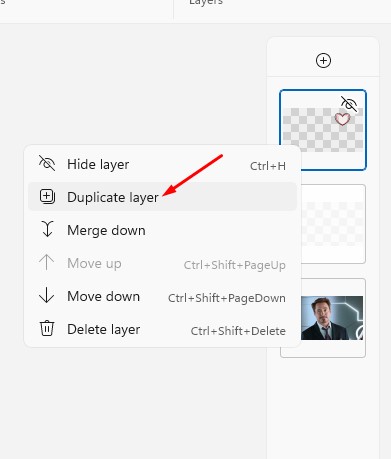
10. To create another instance of the same element, right click on the layer on the right side and select Duplicate Layer.
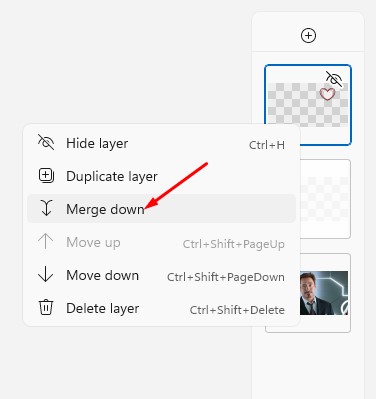
11. If you want to combine the layers, select the Merge Down option.
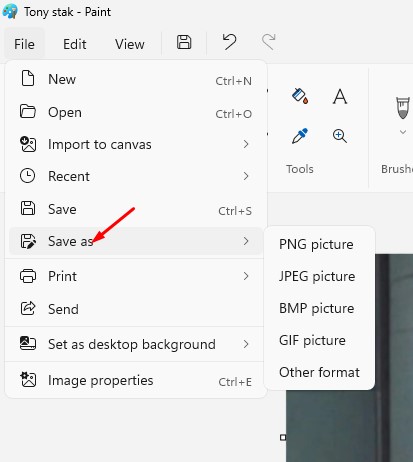
12. You can try experimenting with the layer feature to explore more. To save the image, click on the File button and use the Save as function.
That’s it! This is how you can enable and use image layers in the new Paint app for Windows 11.
So, this guide is all about how to use the new image layers in the Paint app of Windows 11. This is a very exciting addition to the Paint app & everyone should use it. If you are a first-time user, you may find the layer based timeline a little difficult to use, but over time, you will adapt to it. So, what’s your take on the new image layers on Paint for Windows 11? Let us know in the comments below.
")

")