Currently, the Audio Transcription in the Notes is available in English (Australia), English (Canada), English (Ireland), English (New Zealand), English (South Africa), English (UK), and English (U.S.). Also, it’s only available on iPhone 12 and later. If you have a compatible iPhone but use an incompatible language, you will have to change the language & region first.
1. Launch the Settings app.
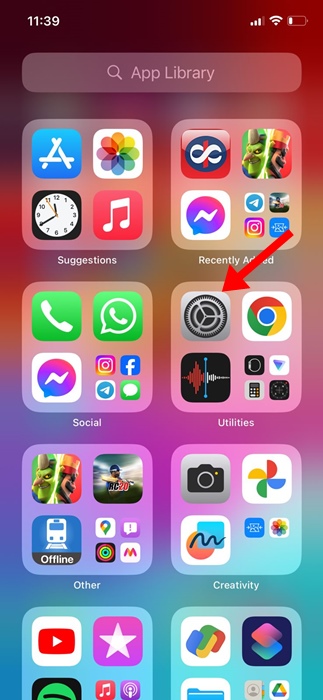
2. Tap General.

3. On the General screen, tap Language & Region.

4. On the Language & Region screen, tap Add Language.

5. Find and tap English (US).

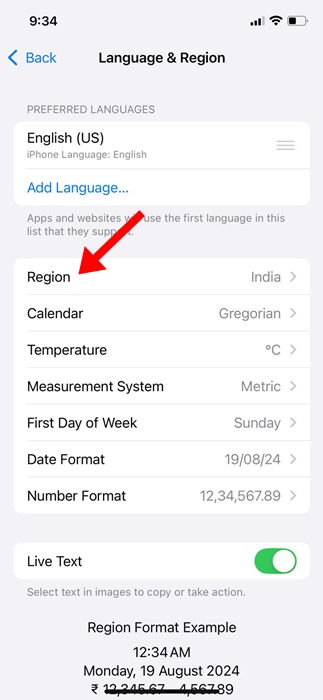
6. Tap Region.
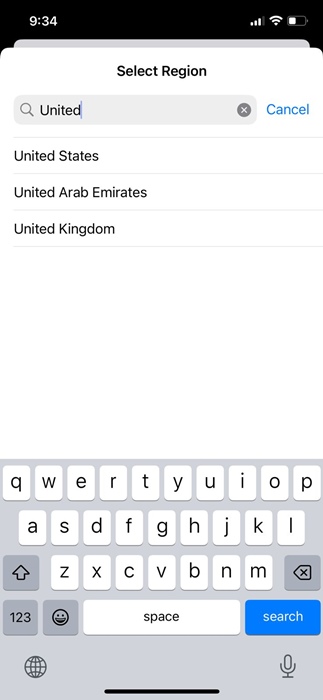
7. Select the United States.
Using the Live Audio Transcript in the Apple Notes App
After changing the language and region, your iPhone will be ready to transcribe your audio in the Notes app.
1. Open the Apple Notes app.

2. Tap on the Attachment icon at the bottom of the screen.
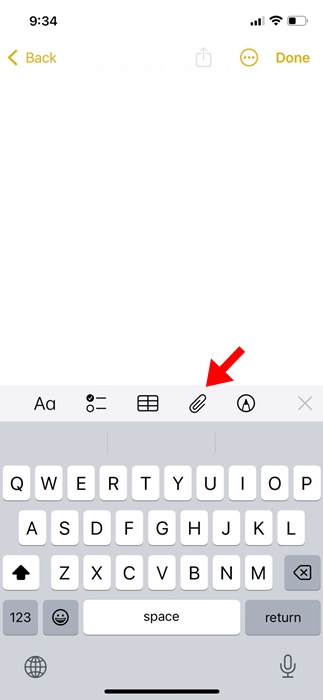
3. On the menu that appears, select Record Audio.

4. Now record the Audio. Once done, tap Done.

5. Once recorded, go back to the main screen. Below the audio recording, you will find a preview of the transcript.

6. Tap on the Transcript to view it. If you want to copy the text, tap on the three dots in the top right corner and select Copy Transcript.

Once you get the transcript, you can use it in any other app. This is the easiest way to convert audio into text on an iPhone.
This article explains how to use Live Audio Transcript in the Apple Notes app on iPhone. If you need more help with this topic, let us know in the comments below.