While using Windows 11, you may experience several problems, one of which is the missing WiFi option on the Action Center. Finding the WiFi missing could be problematic if you use WiFi connectivity to connect to the WiFi network and surf the web.
Windows 11 may fail to show the WiFi option for several reasons, such as a corrupted WiFi driver, outdated software version, corrupted system files, problems with the hardware, or a faulty WiFi card.
Whatever the reason, unless the WiFi option is missing due to faulty hardware, it can be fixed by following the simple methods we have shared below. Here’s how you can fix Windows 11’s missing WiFi option.
1. Restart your Windows 11 PC

The first step of any troubleshooting usually involves a simple restart. Restarting the Windows 11 PC will likely eliminate bugs and glitches that may conflict with the WiFi services.
So, click the Windows 11 Start button and select Power Menu > Restart. This will immediately restart your Windows 11 PC.
After restart, reopen the Action Center and check if the WiFi is available. If the WiFi option is still missing, follow the next methods.
2. Make Sure that the WiFi Adapter is Enabled
If the WiFi adapter is disabled on Windows 11, the WiFi option will not appear no matter how hard you try to fix the issue.
You must ensure that the WiFi adapter is enabled on the Network Connection page. Here’s how.
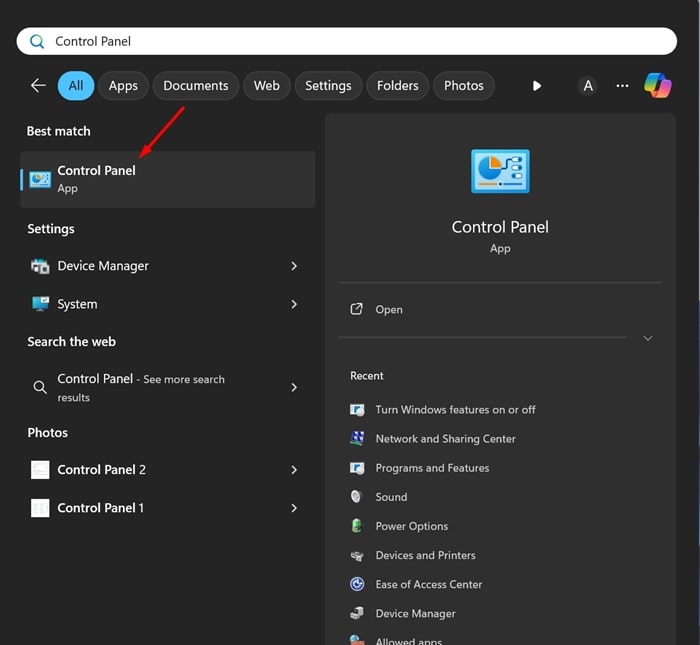
1. Type Control Panel in the Windows 11 Search. Next, open the Control Panel app from the list of best-match results.
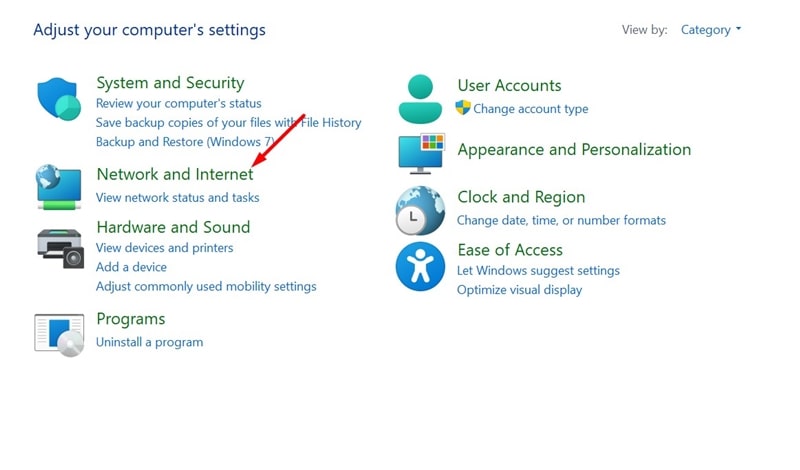
2. When the Control Panel opens, select Network and Internet.
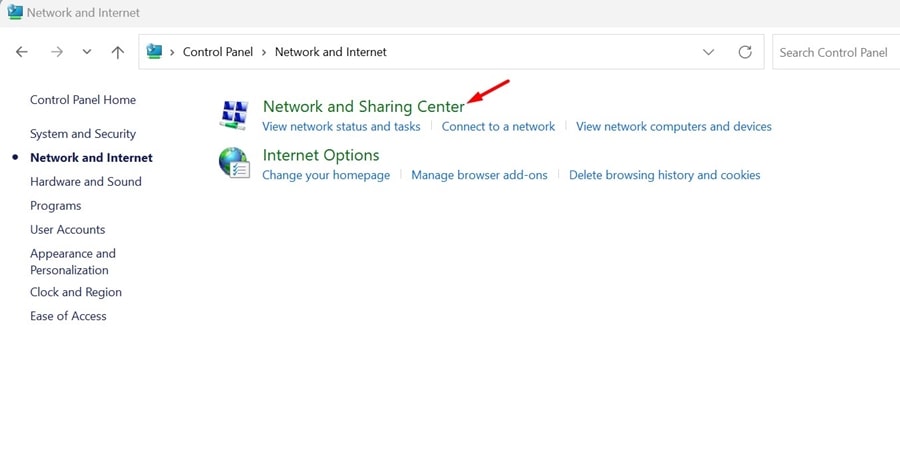
3. On the next screen, select Network and Sharing Center.
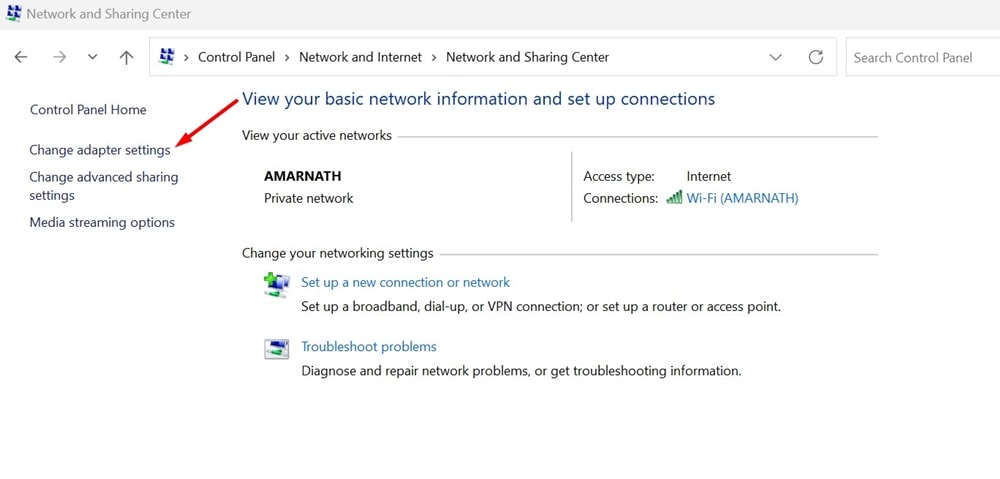
4. Next, on the left pane, select Change Adapter Settings.
5. Right-click on the WiFi adapter and select Enable (If disabled).
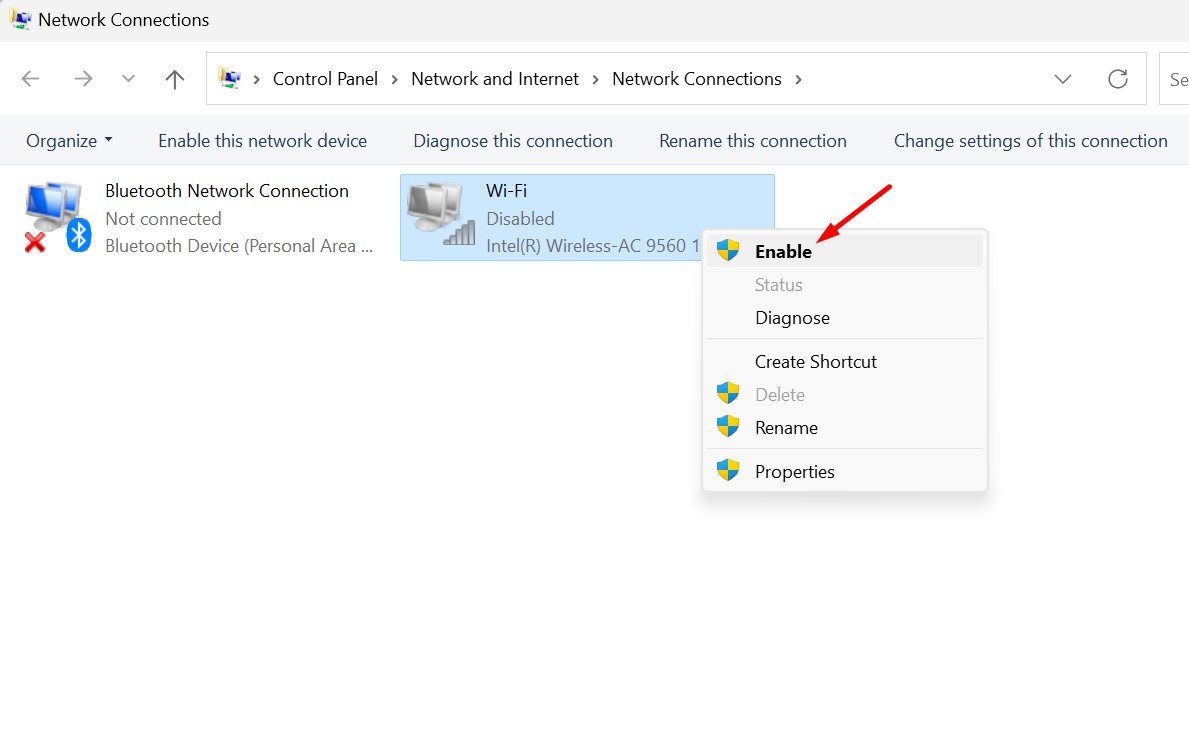
After making the change, open the Action Center and click on WiFi. This will turn on the WiFi connectivity on your device.
3. Update the WiFi Adapter Drivers
Incompatible or corrupted WiFi Drivers can be a prominent reason for Windows 11 missing the WiFi option. So, it’s essential to keep the network adapter drivers up to date. Here’s how to update the WiFi adapter drivers on Windows 11.
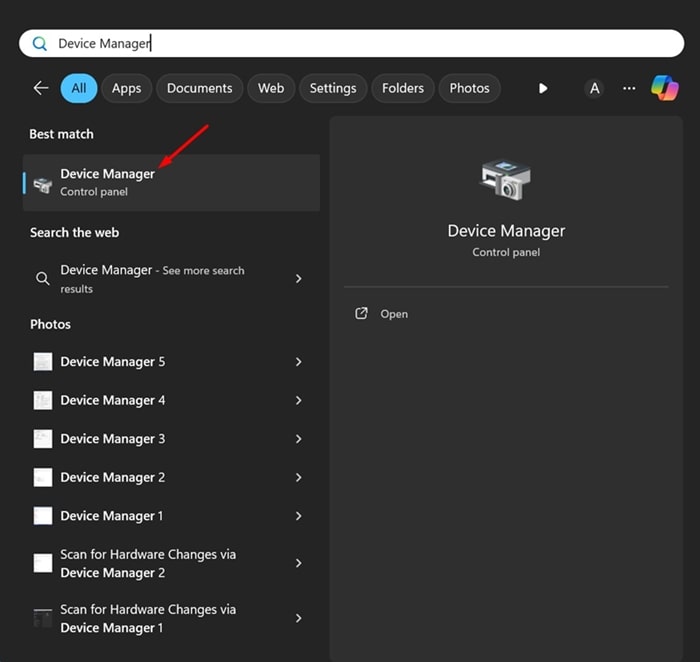
1. Type in Device Manager on the Windows 11 Search.
2. Next, open the Device Manager app from the list of best match results.
3. When the Device Manager opens, expand the Network Adapters tree.
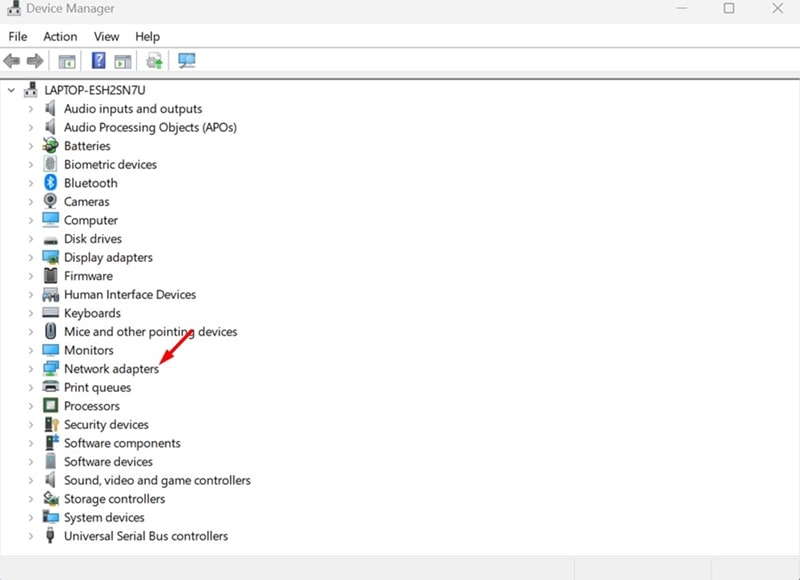
4. Right click on the WiFi driver, and select Update Driver.

5. On the prompt that appears, select Search automatically for drivers.
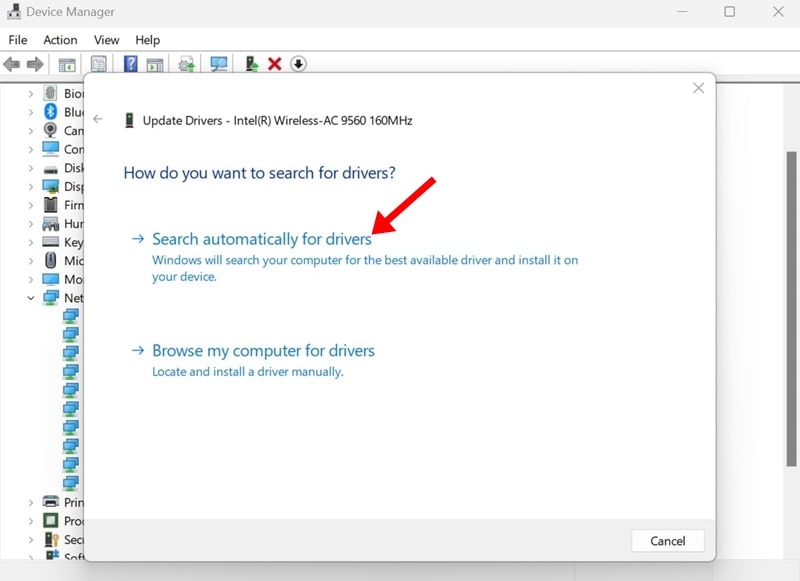
Now, Windows 11 will automatically search for available driver updates. If a driver update is pending, it will be downloaded and installed automatically.
4. Manually Install the WiFi Driver
If updating the WiFi driver didn’t help, you can try manually reinstalling the WiFi device driver. Here’s what you need to do.
1. Launch the Device Manager on Windows 11. Next, expand the Network Adapters tree.
2. Right click on your WiFi adapter and select Update Driver.
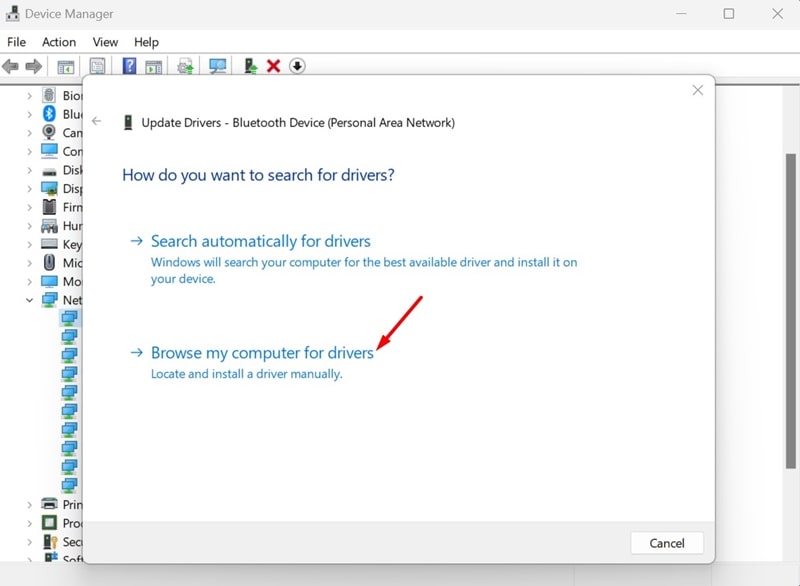
3. On the How do you want to search for drivers? prompt, select Browse my computer for drivers.
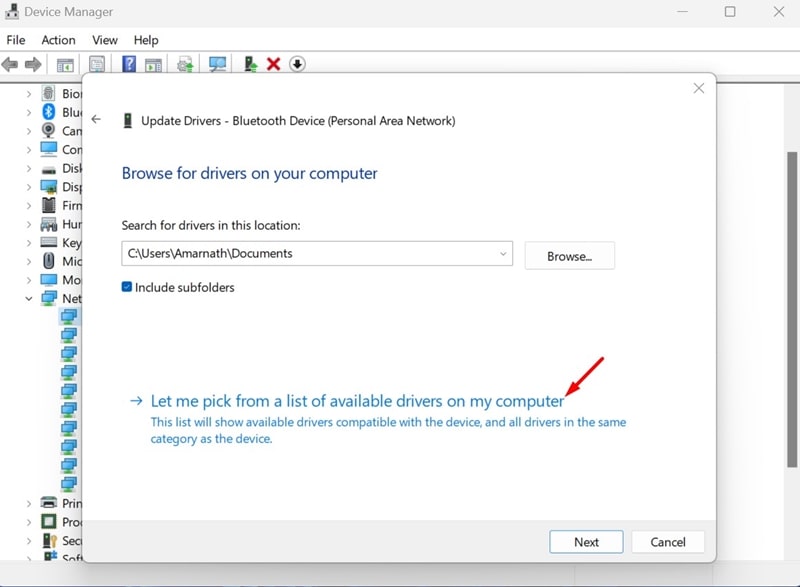
4. On the next prompt, select Let me pick from a list of available drivers on my computer.
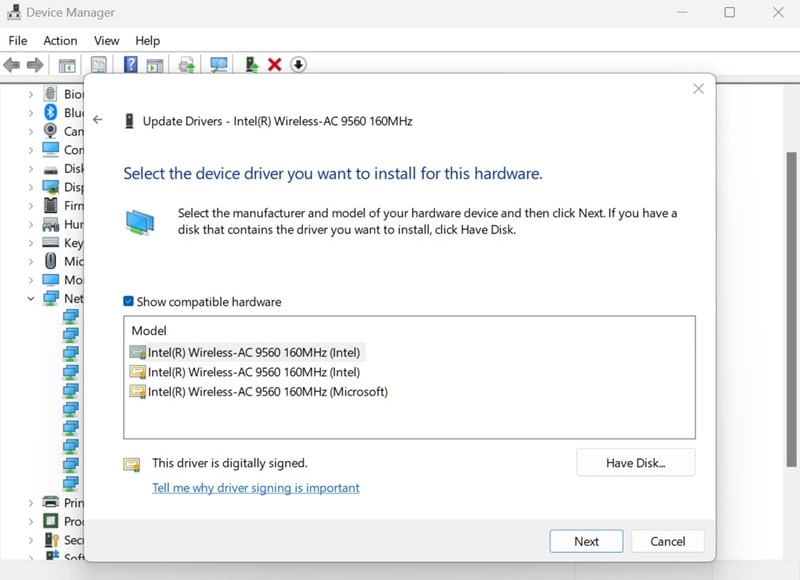
5. Select the driver (the first one is recommended) and click Next.
Windows 11 will install your selected WiFi driver. Make sure to restart your PC to apply the changes.
5. Make Changes to the Network Adapter’s Power Management
Windows 11 can turn off connected devices to save power. If you’re using a dedicated WiFi card, Windows 11 is likely disabling it to save power.
You can easily fix this problem by making minor changes to the WiFi Adapter’s Power Management Settings. Here’s what you need to do.
1. Type in Device Manager on the Windows 11 Search.
2. Open the Device Manager app from the list of best match results.
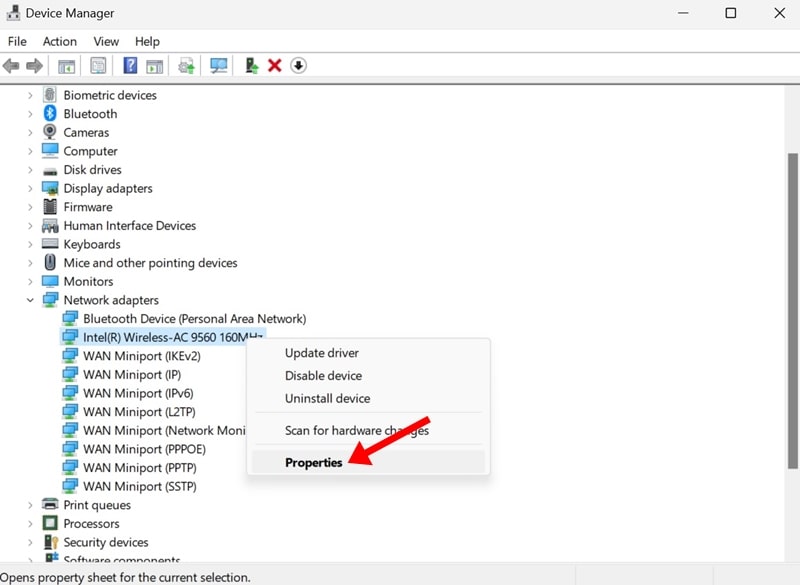
3. When the Device Manager opens, expand the Network Adapters tree.
4. Right click on your WiFi adapter and select Properties.
5. On the WiFi adapter properties, switch to the Power Management tab.
6. Next, uncheck the option ‘Allow the computer to turn off this device to save power’.
7. Confirm the change by clicking on OK.
Now close the Device Manager and access WiFi connectivity.
6. Run the Internet Connections Troubleshooter
Windows 11 has an Internet Connections troubleshooter that can find and fix various internet-related problems. You can try running it on your device and see if it helps.
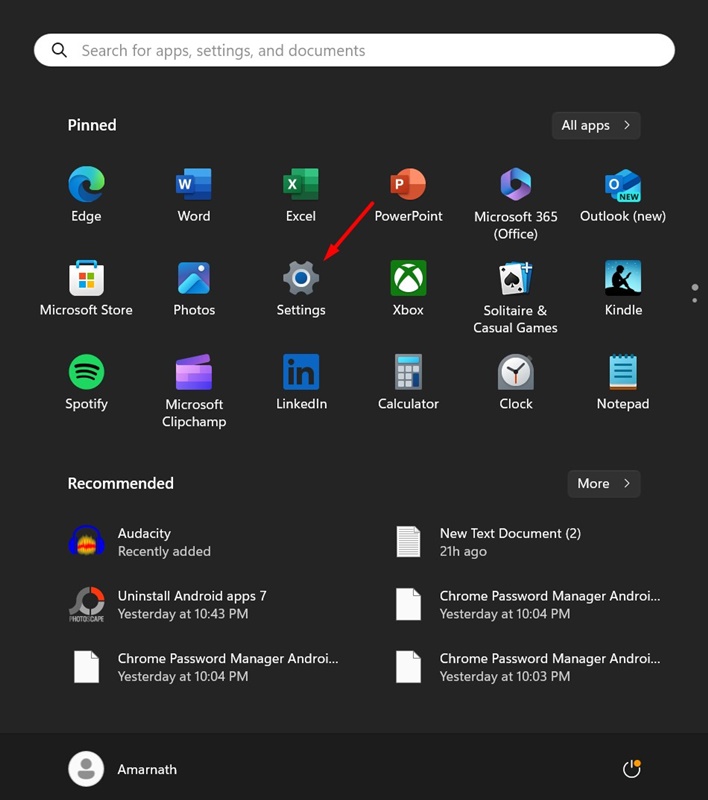
1. Click on the Windows 11 Start button and select Settings.
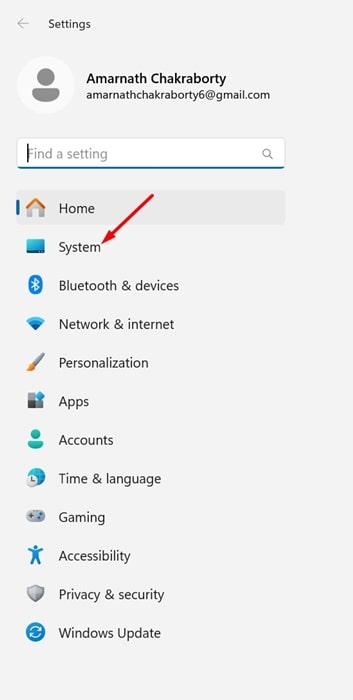
2. When the Settings app opens, switch to the System tab on the left sidebar.
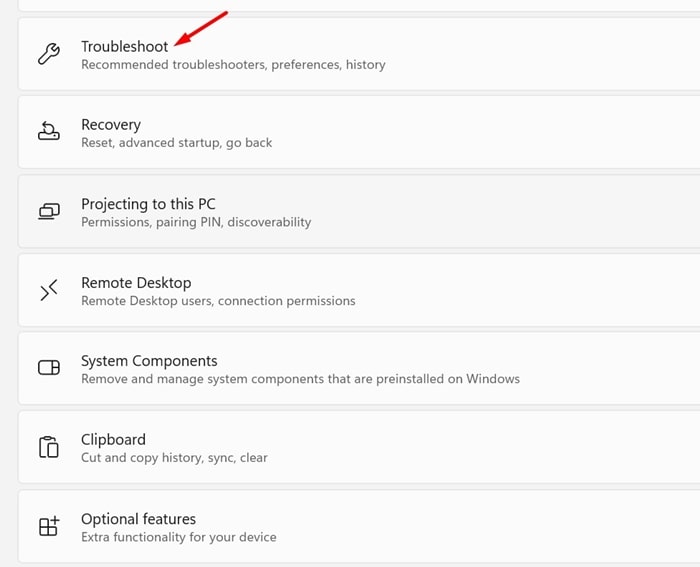
3. On the right side, click on Troubleshoot.
4. On the Troubleshoot screen, click on Other Troubleshooters.
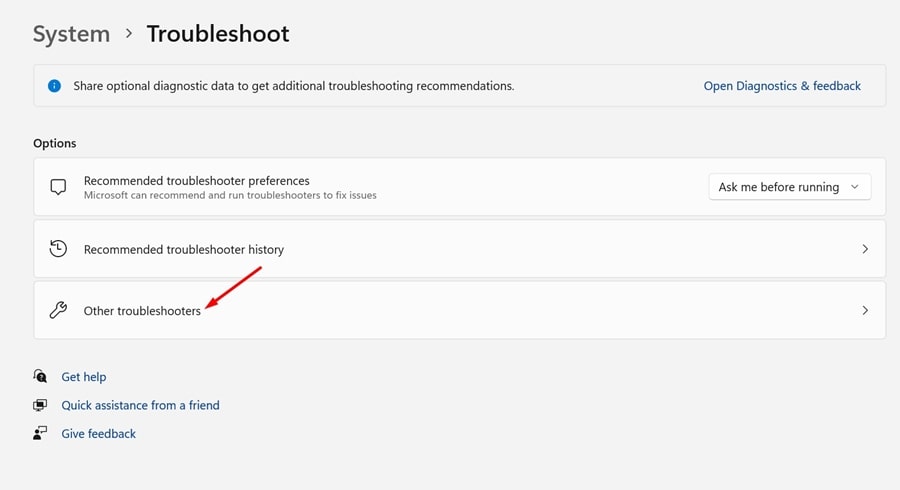
5. Find the Network and Internet and click the RUN button beside it.
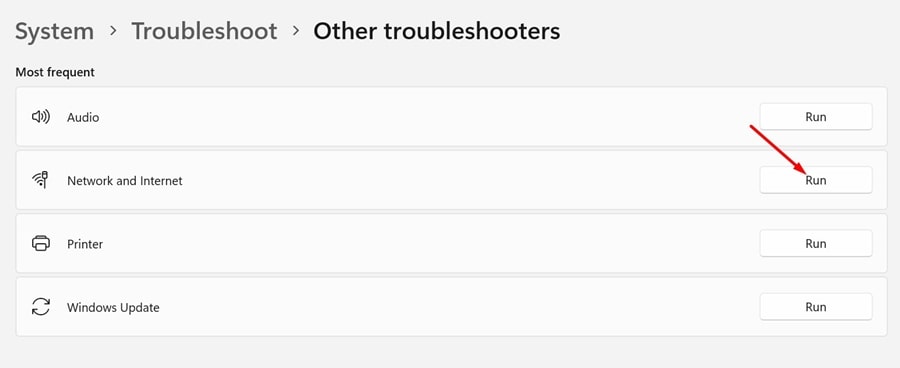
This will run the Internet Connections troubleshooter on your Windows 11 PC and try to fix the WiFi issues you’re facing.
7. Enable the WLAN AutoConfig Service
If the WLAN AutoConfig service is stopped on your Windows 11 PC, the WiFi connectivity won’t work unless you start it again. Hence, you must ensure the WLAN AutoConfig service runs on your device. Here’s what you need to do.
1. Press the Windows Key + R button on your keybaord. This will open the RUN dialog box.
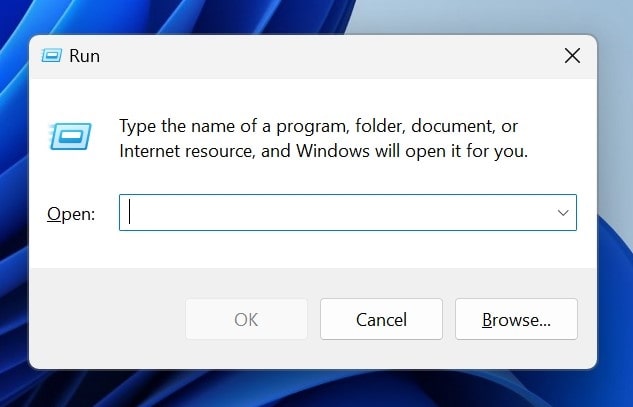
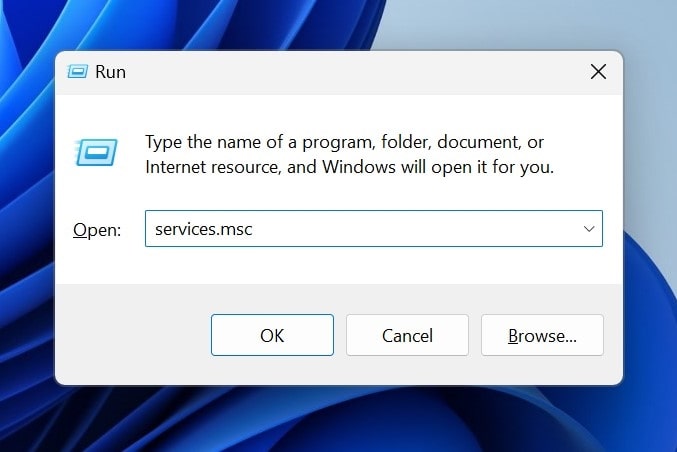
2. When the RUN dialog box opens, type services.msc and press Enter.
3. On the Services, find the WLAN AutoConfig service.
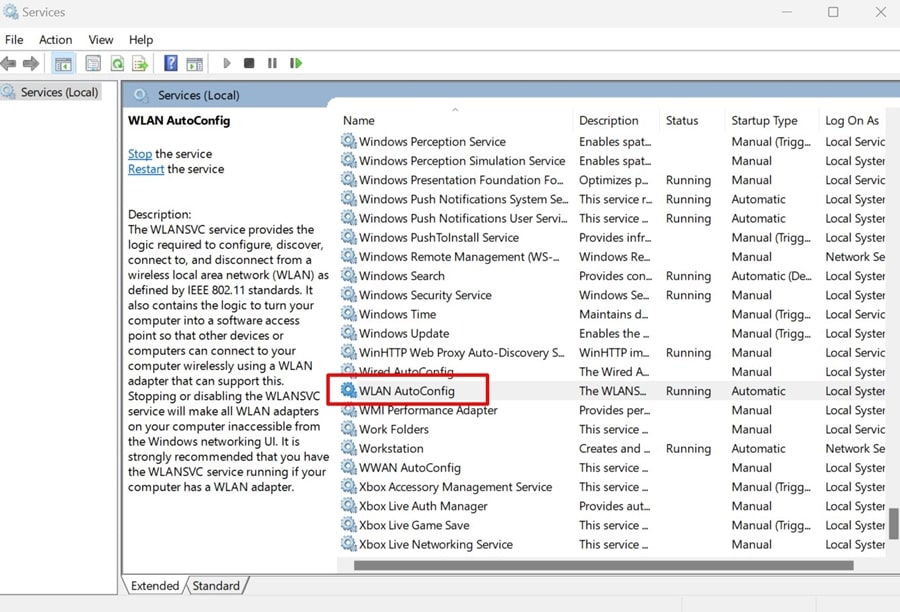
4. Double click on it to open its properties. Next, select Automatic on the Startup type drop-down and click Start on the Service Status.
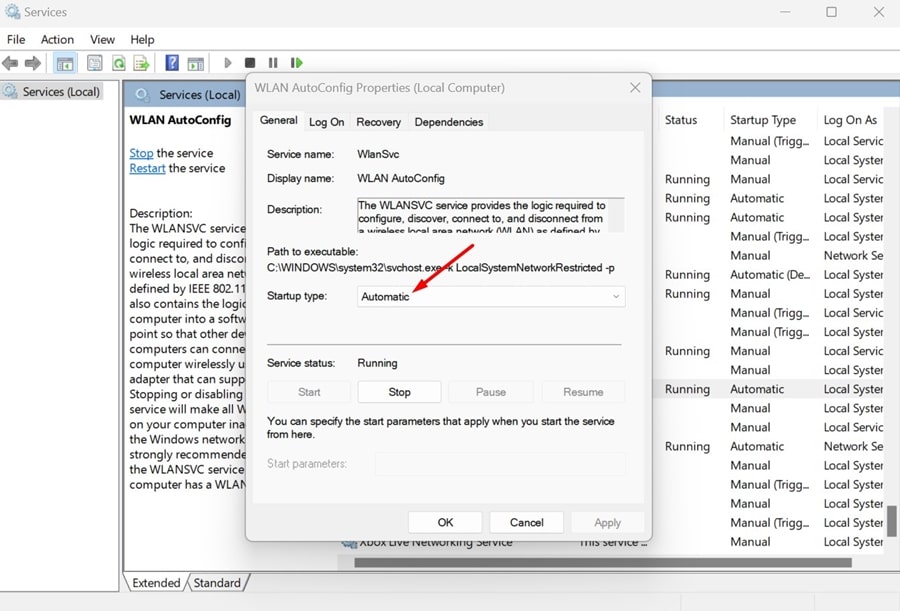
5. After making the changes, click Apply, then OK.
This will enable the WLAN AutoConfig service on your Windows 11 PC. The WiFi connectivity will be restored now.
8. Make sure all Microsoft Services are enabled
If you’ve previously made changes to the System Configuration utility, you may have accidentally disabled some of Microsoft’s Services.
If you can’t recall making any such change, you can enable all services in the system configuration utility. Here’s what you need to do.
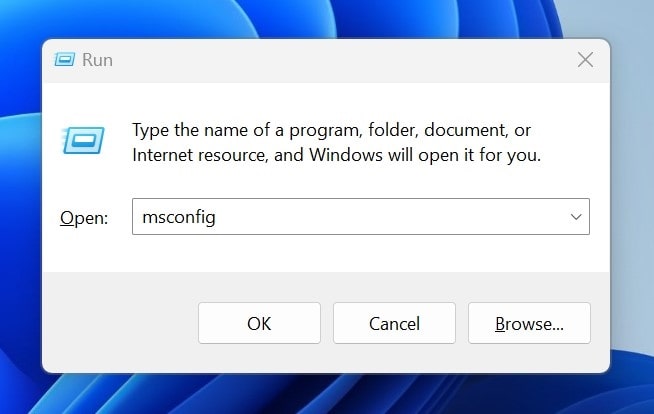
1. Press the Windows Key + R button on your keyboard.
2. On the RUN dialog box, type msconfig and press Enter.
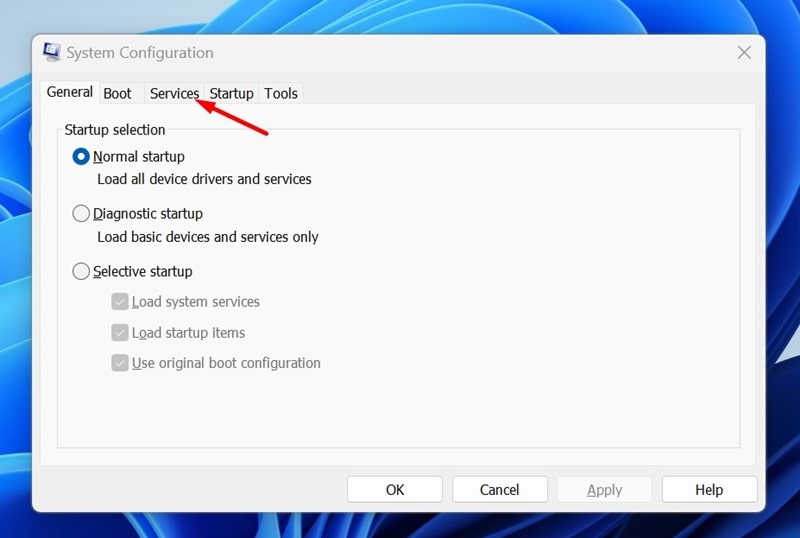
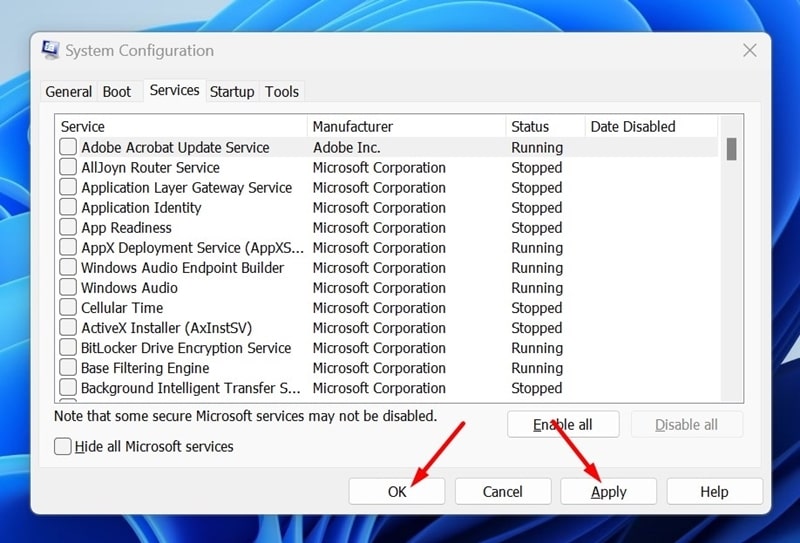
3. Switch to the Services tab on the System Configuration utility.
4. At the bottom, click Enable all.
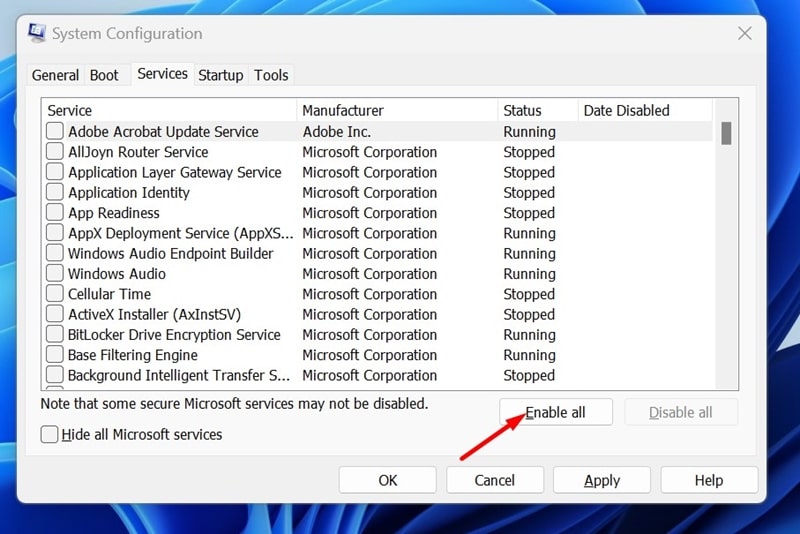
5. To save the changes, click Apply, then OK.
Now restart your Windows 11 Computer to apply the changes. This will enable all Microsoft Services required for the proper functioning of WiFi on your device.
9. Perform a Network Reset
You can access the Advanced network settings screen to perform a network reset. Here’s what you need to do.
1. Launch the Settings app on Windows 11 and switch to Network & Internet.
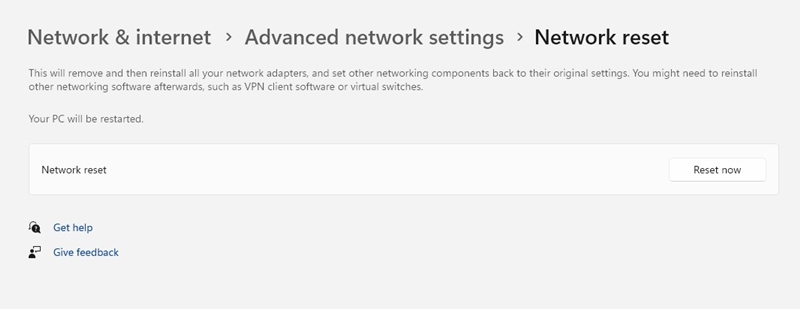
2. On the right side, click on Advanced Network Settings.
3. Next, click on the Reset Now button beside Network Reset.
4. On the confirmation prompt, click Yes.
Now, wait until the Network Reset is complete. Once completed, you will be able to use the WiFi.
10. Reset Network Device and Network Stack
This method will use the Command Prompt utility to reset the Network device and Network Stack. Here’s what you need to do.
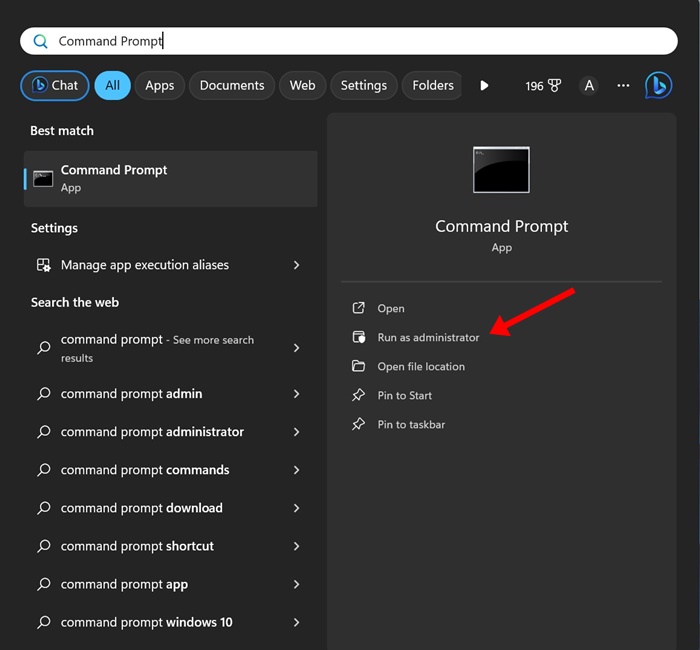
1. Type Command Prompt in the Windows 11 Search. Next, right-click on the CMD and select Run as administrator.
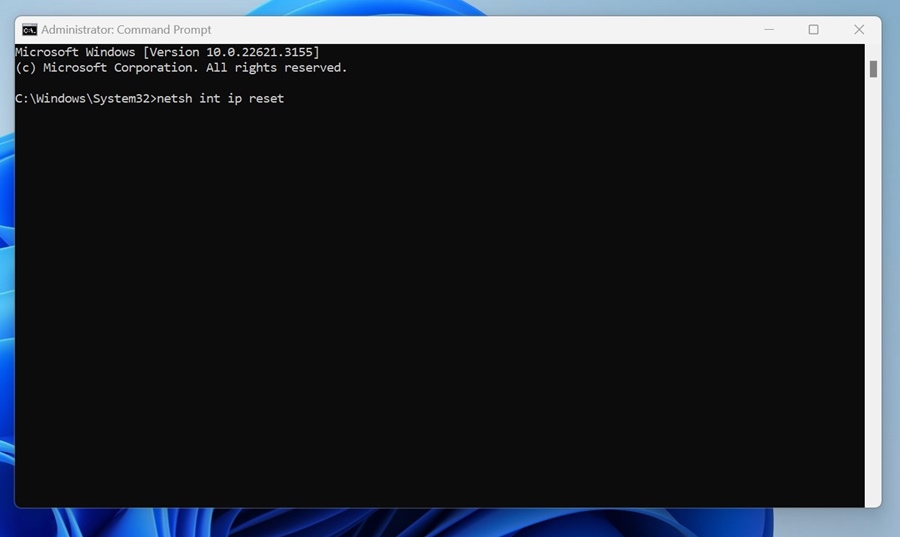
2. When the Command Prompt opens, type in these commands one by one. Make sure to execute these commands in the given order:
netsh int ip reset
netsh advfirewall reset
netsh winsock reset
ipconfig /flushdns
ipconfig /release
ipconfig /renew
3. After executing the commands in the given order, close the Command Prompt and restart your PC.
This will reset the Network Device & Stack. The missing WiFi option should be restored after this method.
11. Update your Windows 11
To rule out the possibilities of system level bugs & glitches conflicting with the WiFi option, it’s recommended to update your Windows 11.
Also, it’s good security practice to keep the Windows 11 PC up to date. This way, you will be able to enjoy new features, better performance and stability, security patches, and more.
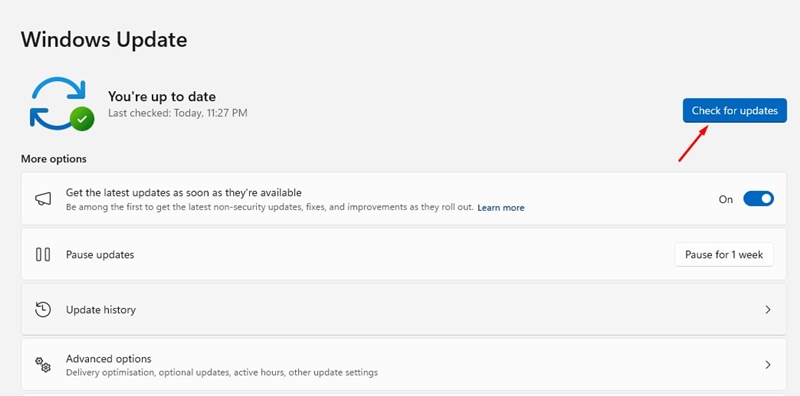
To update your Windows 11 PC, go to Settings > Windows Updates. On the right side, click on Check for Updates, and wait until your PC finds the pending updates.
If any update is pending, download & install them.
As mentioned above, the WiFi option on Windows 11 can go missing for several reasons. Since the actual reason is not known, it’s important to follow all the methods shared in the article. If you need more help restoring the WiFi option on Windows 11, let us know in the comments.


