Windows 11 has a Loudness Equalization feature, which normalizes the volume output. The feature uses an understanding of human hearing to reduce perceived volume differences. Here’s how to enable it.
1. Normalize Volume on Windows 11 via Settings
You can easily normalize volume on Windows 11 via Settings.
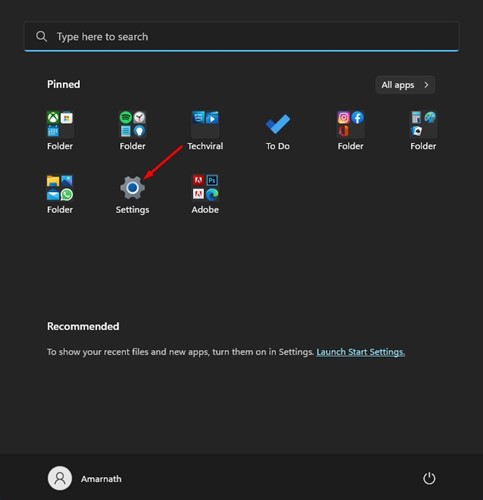
1. Click the Windows 11 Start button and select Settings.
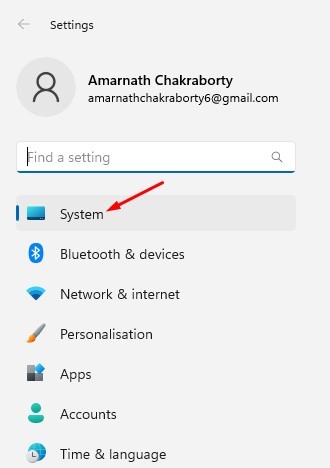
2. Switch to the System.
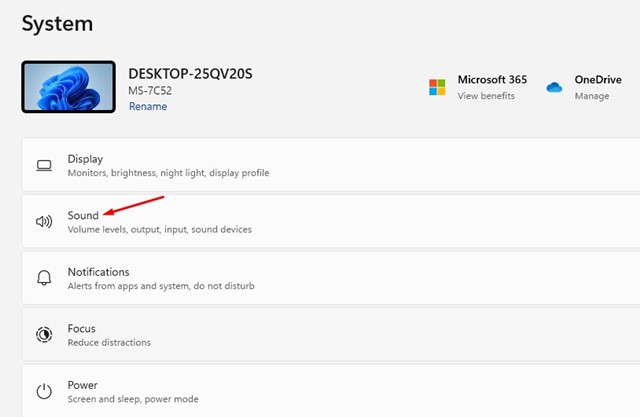
3. Click Sound.
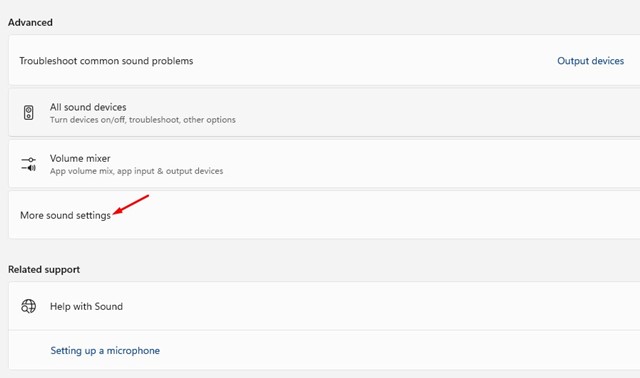
4. Scroll down and click the More Sound Settings.
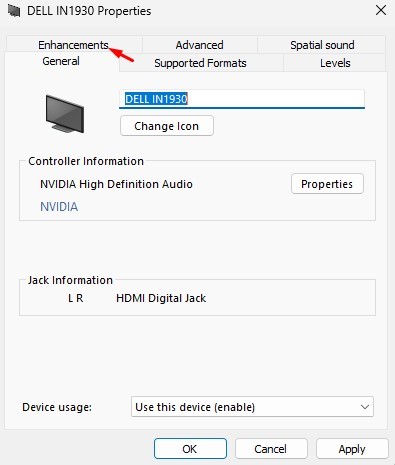
5. Select the playback device and click Properties.

6. Switch to the Enhancements.
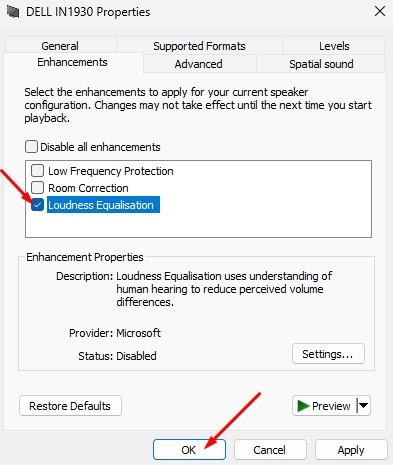
7. Check the Loudness Equalisation option and click OK.
2. Normalize Volume on Windows 11 via Control Panel
You can even use the Control Panel utility to normalize the volume on your Windows 11 computer.
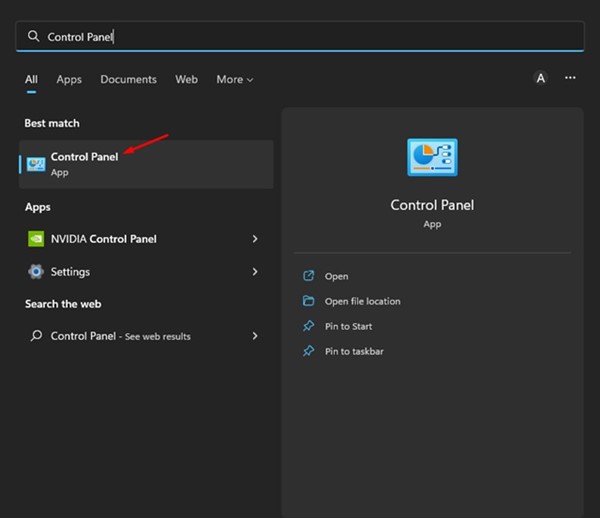
- Open the Control Panel from the Windows Search.
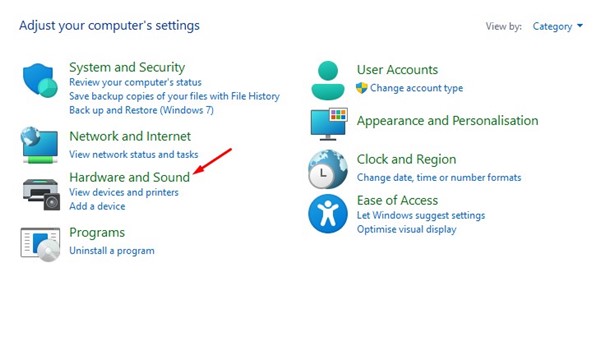
2. Click on Hardware and Sound.
3. Click Sound.
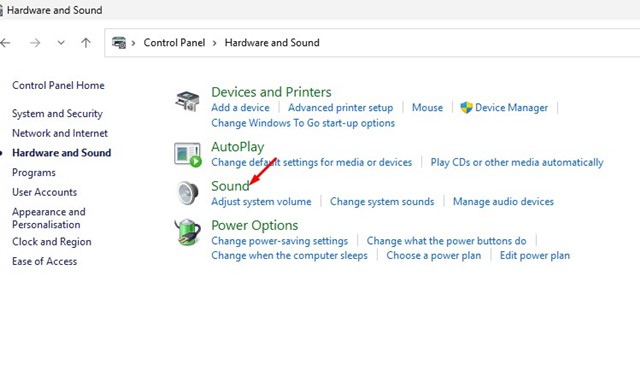
4. Select your playback device and click Properties.
5. Switch to Enhancements.
6. Check the Loudness Equalization option to enable the audio enhancement feature.
3. Use Audio Equalization Software
Third-party audio equalization software often has a loudness equalization preset that normalizes the volume output.
We already shared a list of the best audio equalizer software for Windows. Go through the list and pick the software that suits your needs.
Loudness Equalization Missing in Windows 11?
If you cannot find the Loudness Equalization on Windows 11 Settings, you should update your device’s sound drivers.
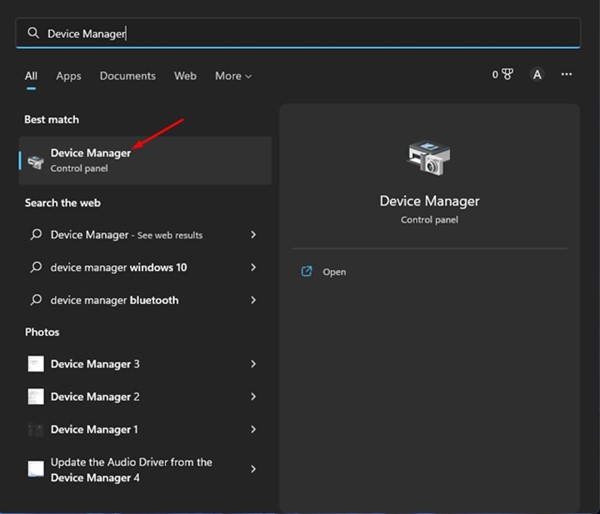
1. Type Device Manager in Windows 11 Search and open it.
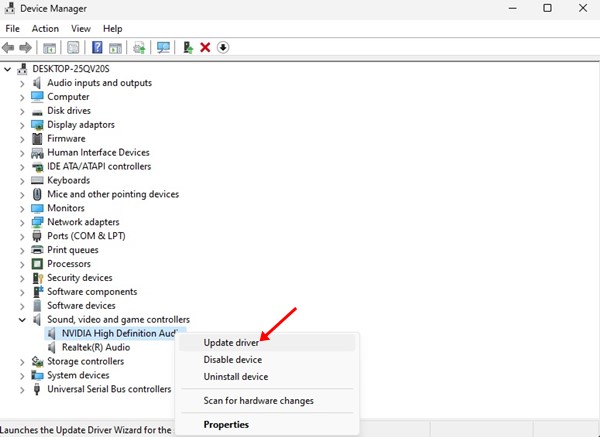
2. Expand the Sound, Video and game controllers.
3. Right-click on your Sound device and select Update Driver.
4. Select Search Automatically for drivers.
This should fix the Loudness Equalization missing issue on Windows 11. You can also update your operating system and reinstall the sound device drivers.
Also read: How to Update Drivers on Windows 11
The feature will improve your audio quality on a Windows 11 PC. If you need more help in this topic, let us know in the comments.


