You might have seen lots of people sharing theirs before and after pictures. Even not transformation pictures, you could have at least seen combined images. Sometimes, we feel like sharing our transformation pictures on social media by putting two pictures side by side. Most users think that putting two photos side-by-side requires advanced image editing tools like Photoshop; however, that’s not true.
Putting two photos side by side on a desktop is pretty easy, and it can be done for free. You can use the built-in Paint tool to merge two pictures into one. If you are not so friendly with the Paint application, you can rely on the third-party free image editing tool Photoscape.
Also Read: How to Put Two Photos Side by Side On Android Device
Put Two Pictures Side by Side On Windows
Alternatively, you can use web-based photo editors to put two images side by side on a desktop. In this article, we will share some of the best methods to put two pictures side by side on the desktop. Let’s check out.
1. Using Paint
Even if you haven’t used the Paint application once in your lifetime, you will find this method effortless. Follow some of the simple steps given below to put two pictures side by side on Windows 10.
1. First of all, locate the images that you want to merge.
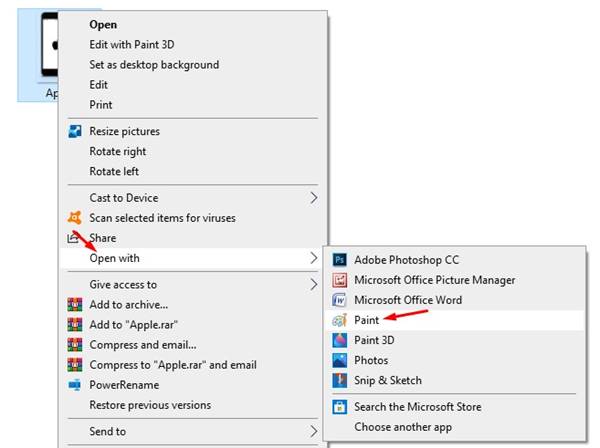
2. Right-click on one of them and select Open With > Paint.
3. Now you need to increase the canvas size by dragging the little square box as shown in the image below.

4. Now click on the ‘Paste’ and select the ‘Paste From’ option.
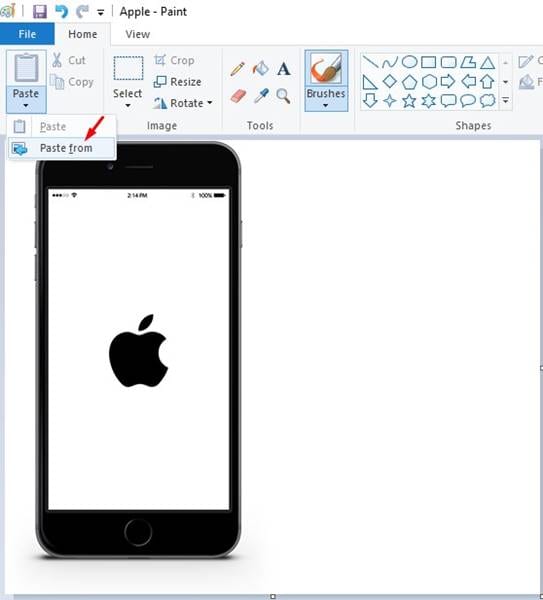
5. Now locate the second photo and drag the image to reposition it first. You can use the Selection tool to trim the edges.

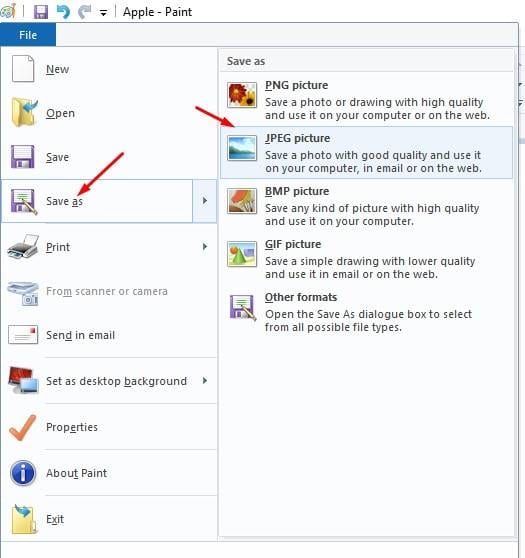
6. Once done, click on the menu bar and select the ‘Save As’ option. Next, browse the folder where you want to save the image.
That’s it! You are done. This is how you can merge two pictures side by side on Windows 10.
2. Using Photoscape
Well, Photoscape is a free photo-editing application available for Windows 10. Compared to other photo editing applications, Photoscape is easier to use. Here’s how to use Photoscape to put two pictures side by side on Windows 10.
1. First of all, download & install Photoscape on your Windows PC.
2. Open the Photoscape application and click on the Combine option.
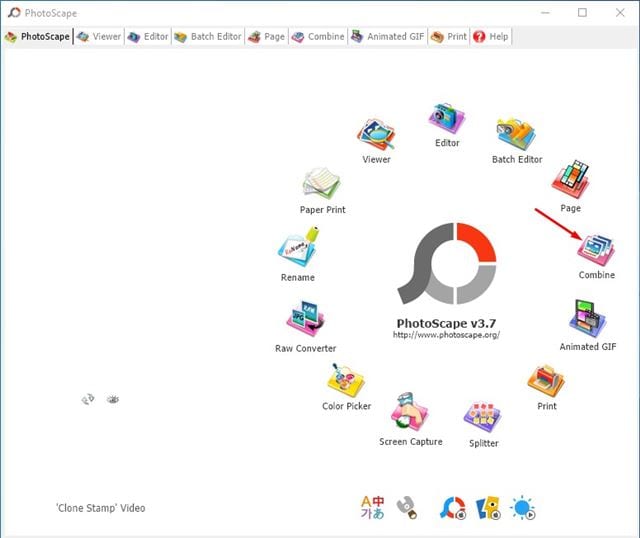
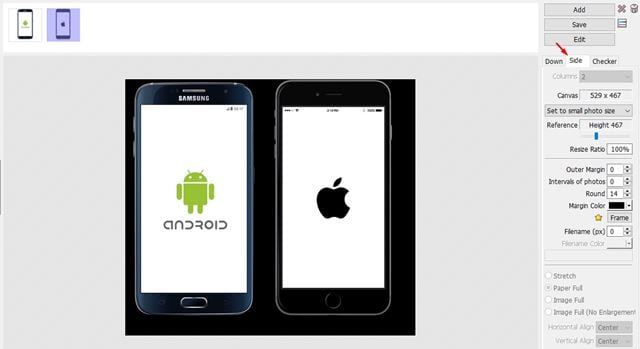
3. Now, you need to drag and drop the images you want to combine.
4. If you want to put two images side by side, select the Side option as shown below.
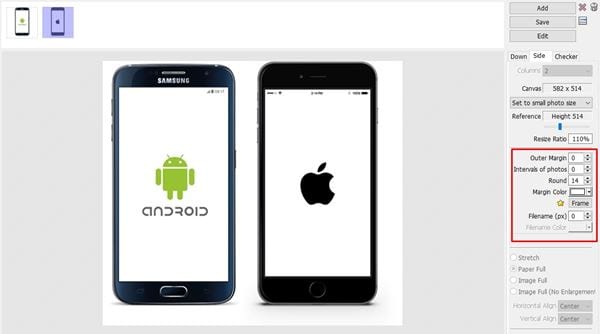
5. Use the Resize Ratio slider to resize the image. You can also use other customization options like outer margin, rounded corners, and more.
6. Once done, click the Save button and save it in a new folder.
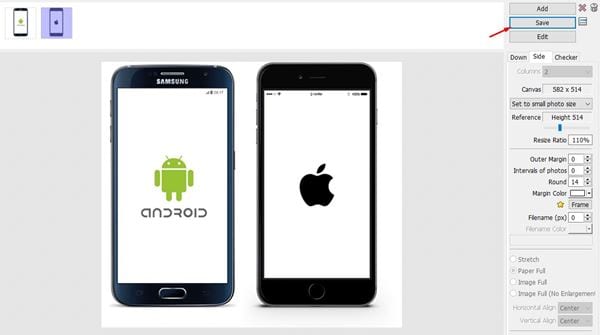
That’s it! You are done. This is how you can put two pictures side-by-side on Windows 10 via PhotoScape.
3. Using Online Photo Editor
If you don’t want to install any tool or use a Paint application, you can consider this method. Here we will be using the imgonline website to combine two pictures.
1. First of all, head to this link from your desktop web browser.
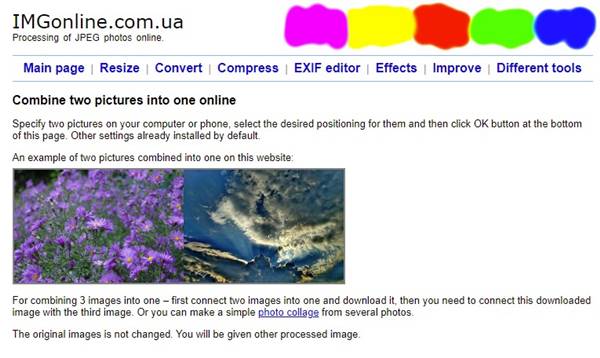
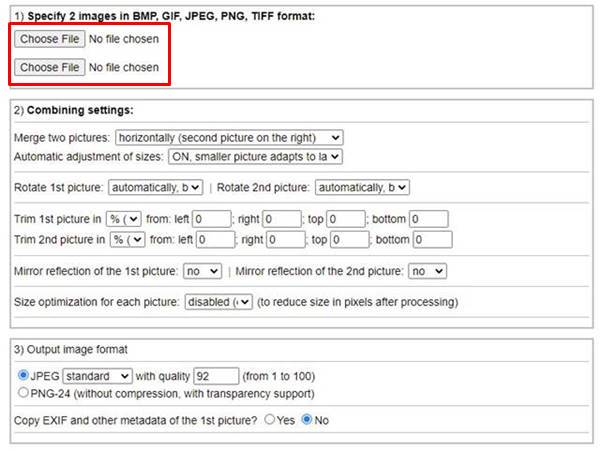
2. Now specify two images that you want to combine. Choose two files in the box shown below.
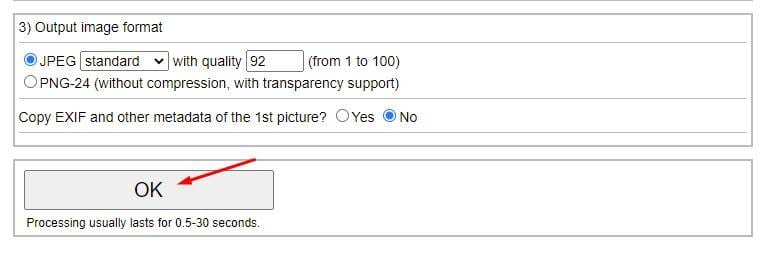
3. Once done, click on the Ok button.
4. On the next page, click on the ‘Open Processed image’ to view the picture.
5. If you are satisfied with the result, click on the ‘Download Processed image’ option.

That’s it! You are done. You can put two pictures side by side on Windows.
This article is all about putting two pictures side by side on Windows. I hope this article helped you! Please share it with your friends also. If you have any doubts about this, let us know in the comment box below.


