When you set a WiFi network as a metered connection, your Android device will treat the WiFi internet as mobile data and block actions such as updating apps, downloading system updates, and more. Here’s how you can set WiFi as a metered connection on Android.
Also read: How to Use Nearby Share on Android Device
How to Set WiFi as Metered Connection on Android
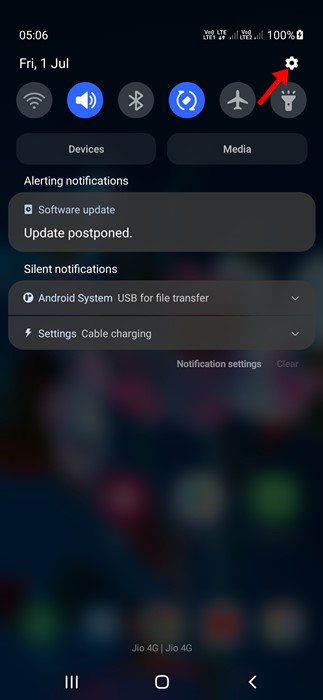
1. Pull down the notification shutter on your Android and tap Settings.
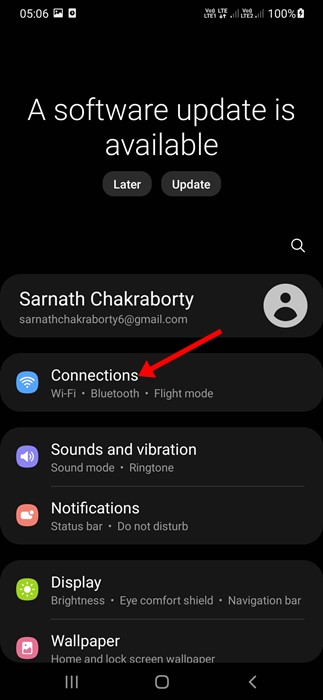
2. Tap Connections.
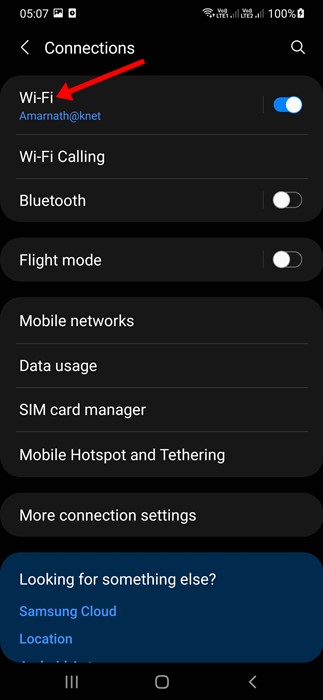
3. Tap on WiFi.
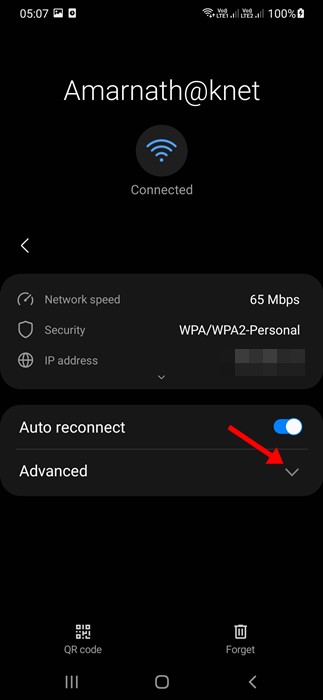
4. You will now see the WiFi network you are connected to. Tap the Settings icon next to it.

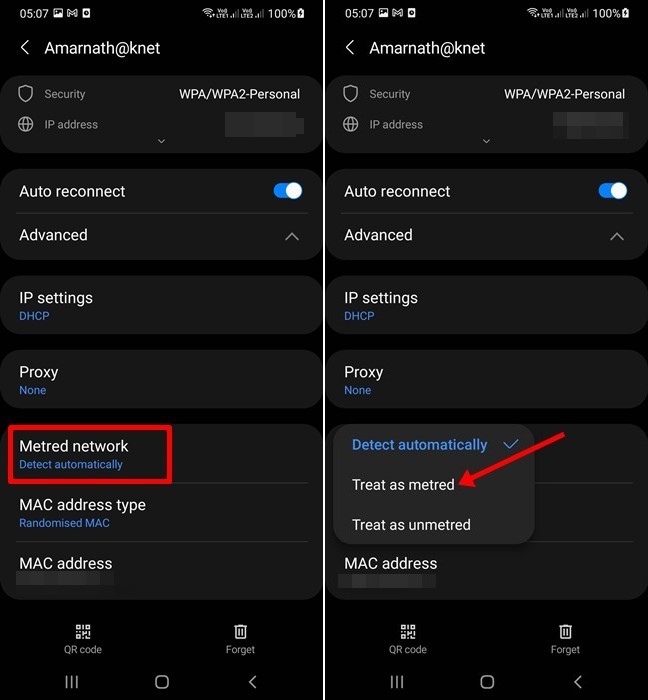
5. Tap on the View More or Advanced.
6. Tap on the Metered Network section and select the Treat as metered.
From now on, your Android device will always treat that particular WiFi network as a metered connection.
Secondary Method to set WiFi as Metered
If your phone doesn’t have the above option, follow these steps.
- Open Settings and tap on Network & Internet.
- Tap on the WiFi or Internet, depending on what you’re using.
- Tap on your WiFi network name and select Network Usage.
- Tap on the Treat as metered.
Apart from setting WiFi as a metered connection, you can use Firewall apps on Android to restrict apps from using your WiFi or mobile data.
You can use this method to force Android to treat your WiFi network as a metered connection. If you have any doubts or need more help, let us know in the comments below.


