Although Microsoft has officially ended the support for Windows 7, the operating system is still used by many users. Compared to Windows 10, Windows 7 has fewer features, but one can’t ignore its merits. The operating system is optimized for better performance & stability.
Many users still use Windows 7 to carry out their everyday tasks, even if their PC can handle Windows 10. It’s all because of the stability that Windows 7 provides. However, running an outdated operating system is never recommended.
So, if your pc meets the system requirement, then it’s best to use Windows 10.
Also Read: How to Upgrade From Windows 8/8.1 to Windows 10
Windows 10 Free Upgrade Offer
Well, Microsoft’s free upgrade offer for Windows 7 and Windows 8.1 users ended a few years ago. But the good thing is that you can still upgrade your Windows 7 to Windows 10 for free.
So, technically you can upgrade to a new version without spending any money. However, there are a few things that you need to consider before upgrading the operating system.
Key things to note before the upgrade
Before upgrading to Windows 10, please make sure to have a proper backup of your important files & folders. Windows 7 to Windows 10 upgrade could remove all your settings and apps.
You can choose to keep your files and personal data, but existing apps will raise compatibility issues, in our experience. So, make sure to note down the important apps you regularly use to install them again after the upgrade.
Windows 10 requires at least 4GB of RAM and 8GB of storage space for installation. It will run fine on a 4-core processor. So, if your computer meets the recommended requirements, then proceed with the upgrade process.
How to upgrade Windows 7 to Windows 10 for free
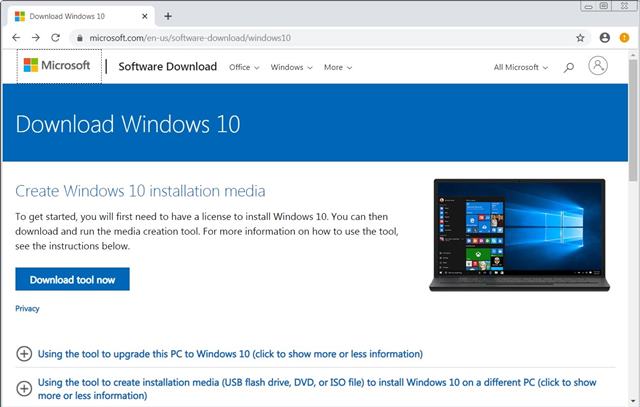
1. First of all, visit this link and download the Windows 10 media creation tool.
2. Once done, open the Media creation tool on your system. Click on the Accept button.
3. You will find two options on the next screen – Upgrade this PC now & Create installation media.

4. To upgrade the PC, select the first option.
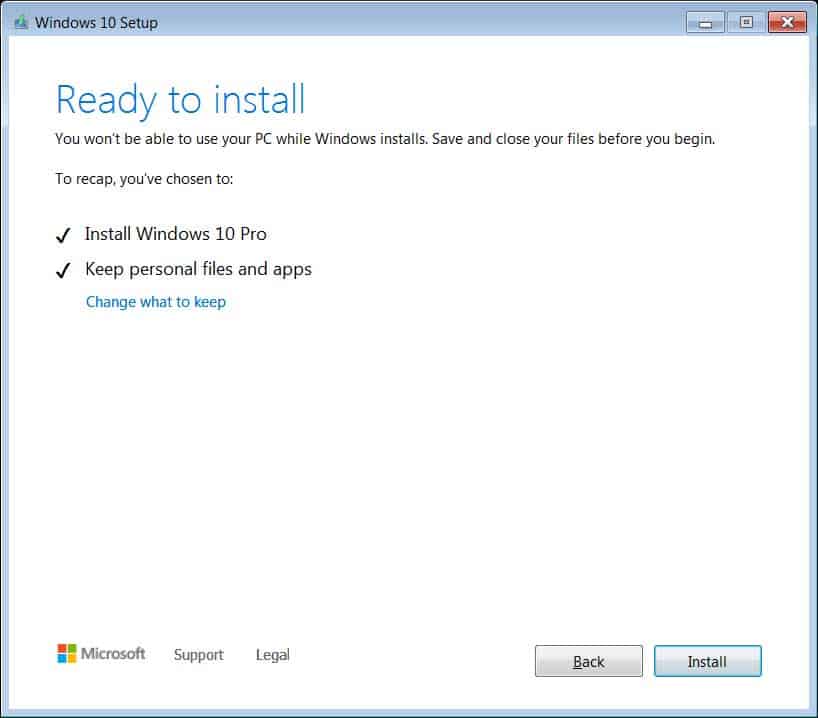
5. Now, you will be asked to choose the upgrade method. Just select the option Keep all apps and files and click on Next.
6. On the next page, click on the Install button.
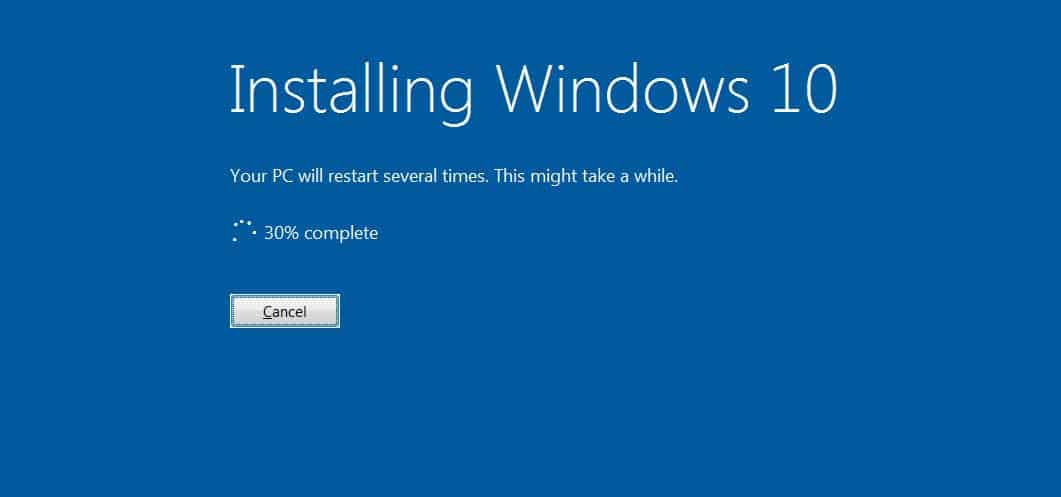
7. Now you need to wait for a few minutes until the media creation tool downloads & installs Windows 10.
That’s it! You are done. Once the upgrade is complete, you will receive a digital license for Windows 10. You can view the digital license under Settings > Update & Security > Activation.
So, this article is all about how to upgrade Windows 7 to Windows 10 for free. I hope this article helped you! Please share it with your friends also. If you have any doubts related to this, let us know in the comment box below.


