We all know very well that our smartphones already offer us small tools to edit our photographs, but the fact is that when we want to perform some more technical work, they tend to fall short in functionality. Hence, today in this awesome article, we will show you all how anyone can easily put a watermark in Photoshop on any Android device and iPhone.
How To Put A Watermark In Photoshop On Android And iPhone?
Although our smartphones already offer us small tools to edit our photographs but, the fact is that when we want to perform some more technical work, they tend to fall short in functionality.
However, some other software giants like the well-known Adobe, who has long since launched its own mobile version of the famous Photoshop, one of the most advanced and most used photo editing tools. Although it is still far from the level of productivity involved in editing on a PC,, we can quickly do as usual actions “how to put a watermark”.
Also Read: Top 5 Best Android Sticker Apps For WhatsApp
Yes, putting a watermark is as simple as editing your photo in your Android smartphone or iPhone, as just within a few minutes, you can simply do so on your Android smartphone or iPhone only. If we generally share our creations or many images on social networks, those who are suspicious of their own often use a watermark as a stamp and signature of authorship.
As most of our Android smartphones do not allow this option of series, so we will have to pull some apps like Photoshop Express. This awesome application is free for both iPhone and Android and will allow us to create a watermark for any of our photos.
So, now without wasting much time, let’s explore the tutorial we have mentioned below. And along with this tutorial, we will leave direct links to download the App from Google Play and the App Store.
How to put a watermark in Photoshop on Android & iPhone?

- Once the App is downloaded, it will simply ask you to register through your Google, Adobe Id, or Facebook account.

- Once the registration is complete now, you can load the image that you want from your device. It may also ask for storage permission as well.

- Now, if we go to the settings menu, we will see a section called “Preferences”.
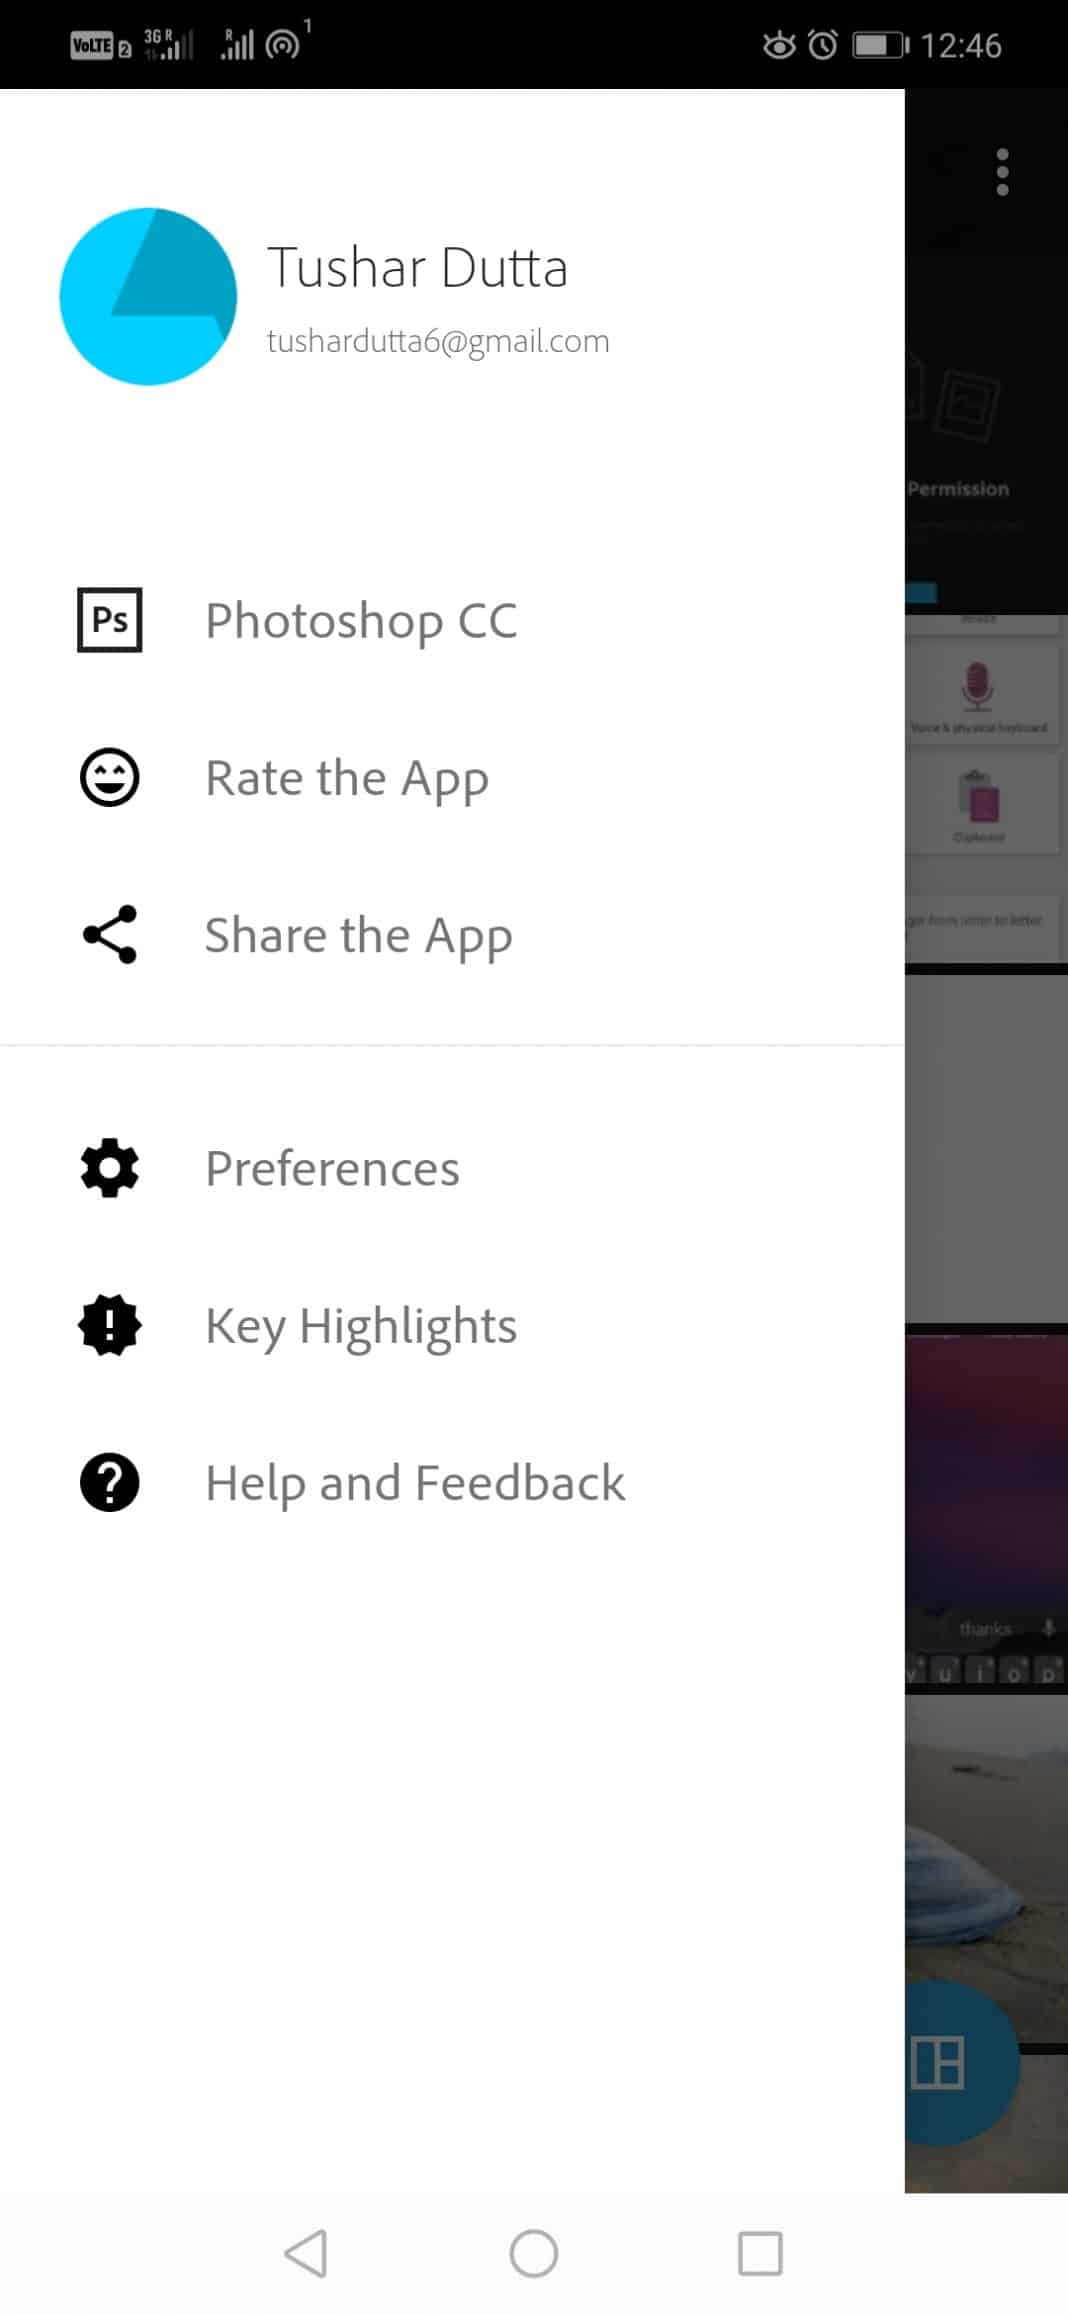
- After performing the above step now, you will see a section called “Watermark”.

- From here, we can now load our signature and make some adjustments to it.
- Now simply select the option “Watermark” to select the image you want and make adjustments if needed.
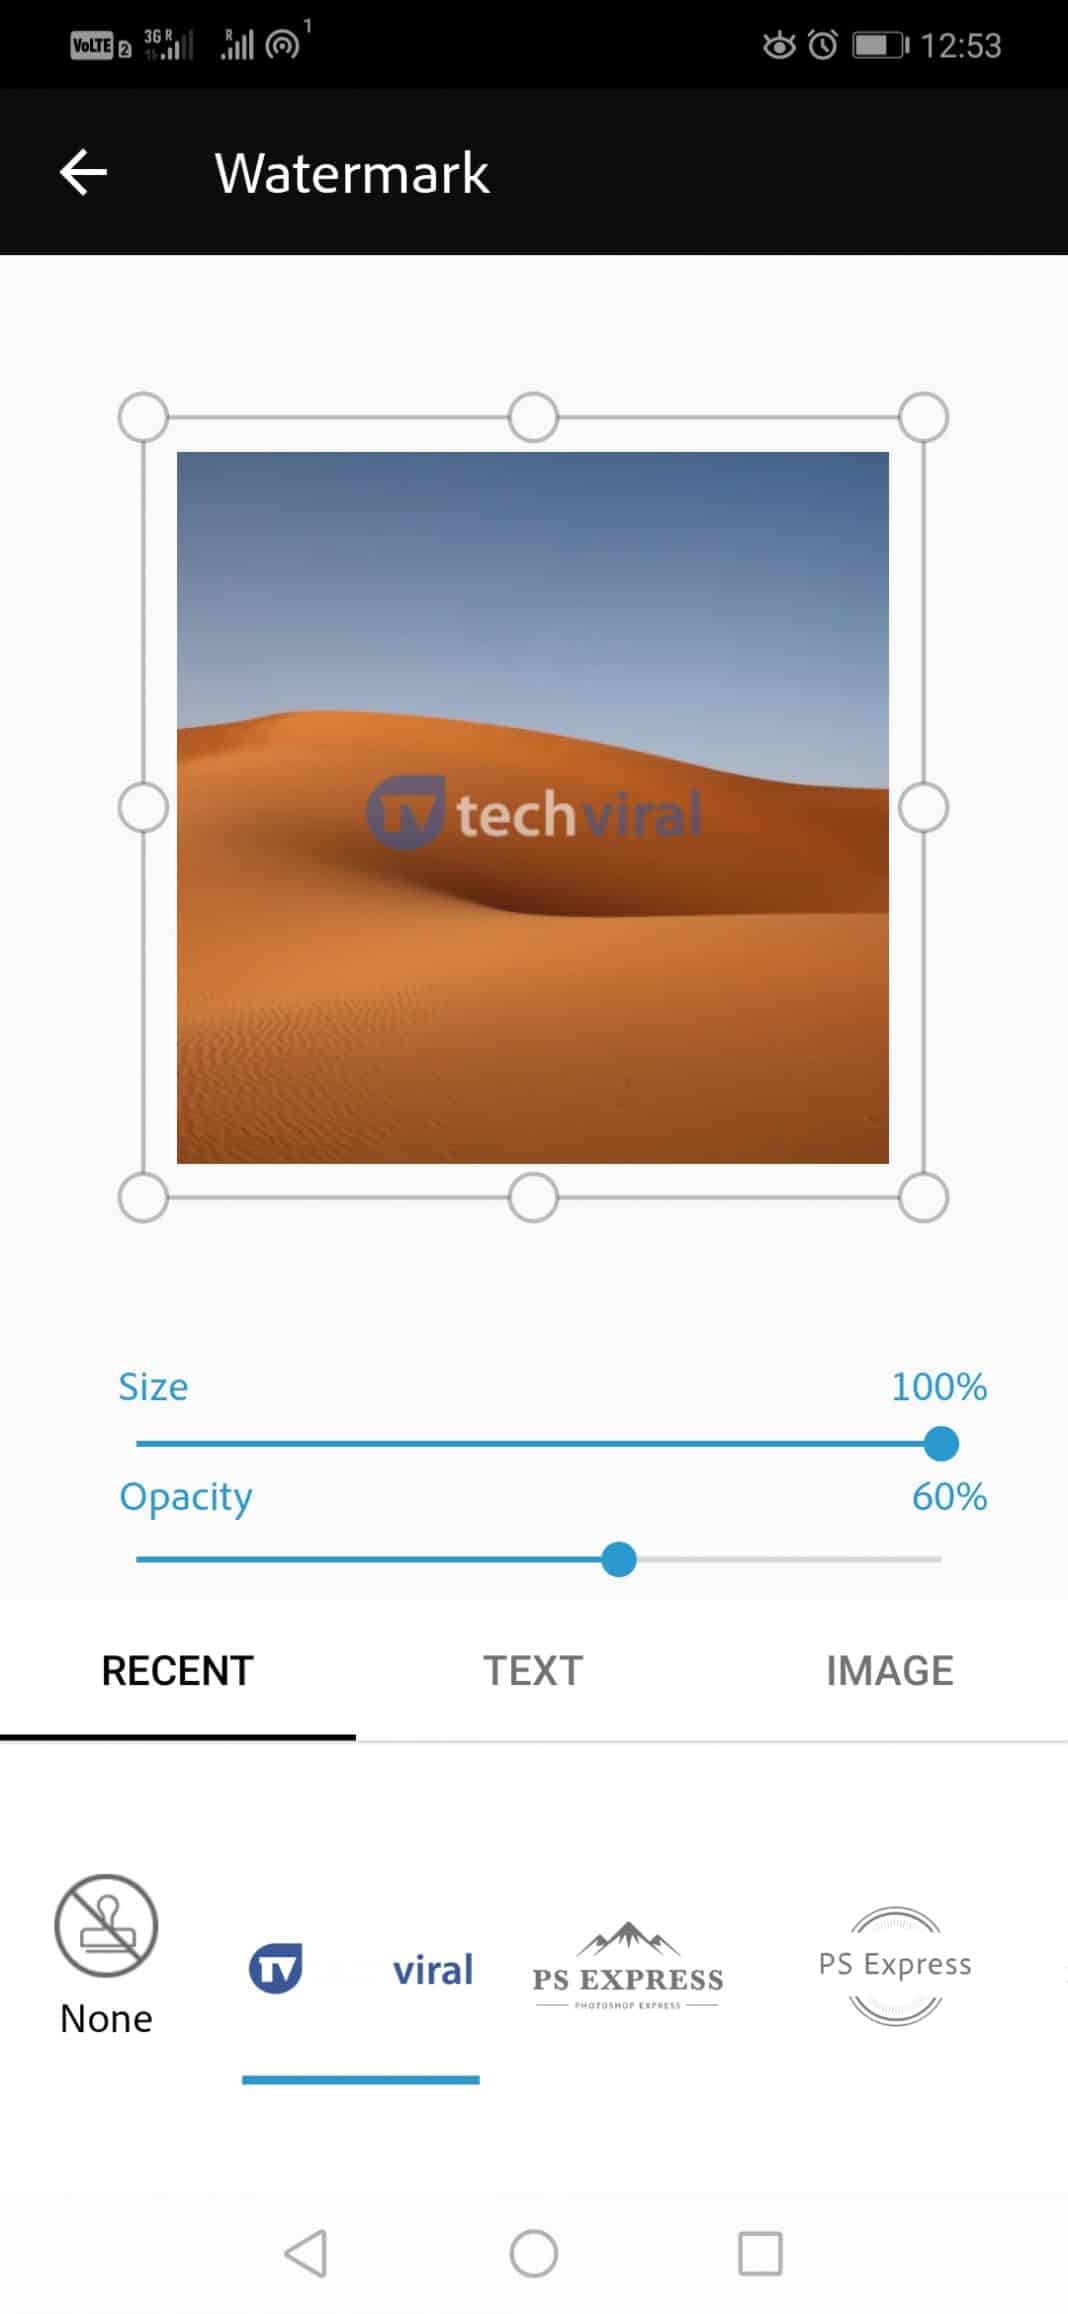
- As in the adjustment section, you can simply modify the aspects such as size and transparency of the watermark.
- Now once this adjustment is made, when we go to edit a photo and before saving it or sharing it, it will give us the option to add our previously configured watermark.

- That’s it; now you are done.
Now, as you can see that it is a very simple procedure that will provide our snapshots with a personal touch and that essential stamp; of course, I am talking about the Watermark, which shows your authorship.
Also Read: Top 10 Best UC Browser Alternative Web Browser For Android
However, apart from all these things, all these procedures are the same on Android and iPhone. So, what do you think about this tutorial? Simply share all your views and thoughts in the comment section below. And if you liked this tutorial, do not forget to share this awesome tutorial with your friends and family.


