If you have started facing battery-related problems on your Windows 11 PC, you should generate a full battery report and check its health.
Generate Battery Health Report with Windows Terminal
We will be using the Windows Terminal app to generate the battery health report. Here’s what you need to do.
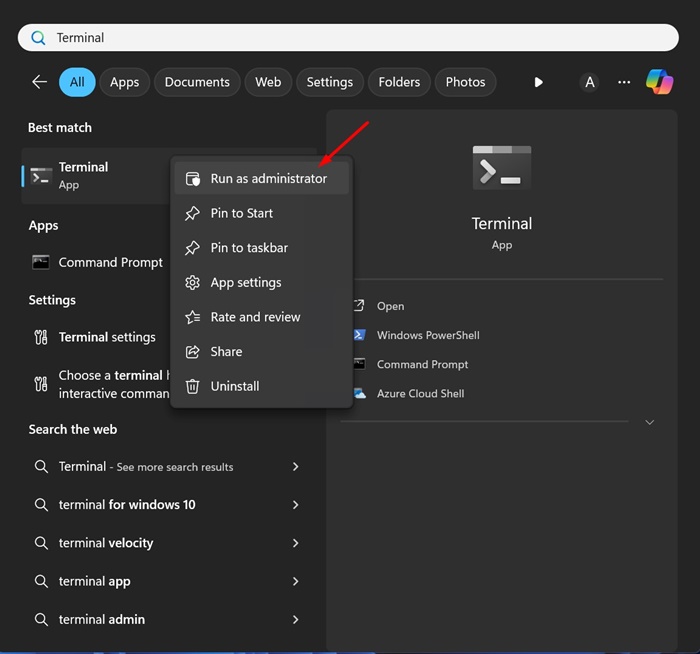
1. Type in Windows Terminal on the Windows 11 Search. Right-click on the Windows Terminal and select Run as administrator.
2. Execute this command:
powercfg /batteryreport /output "C:\battery-report.html"
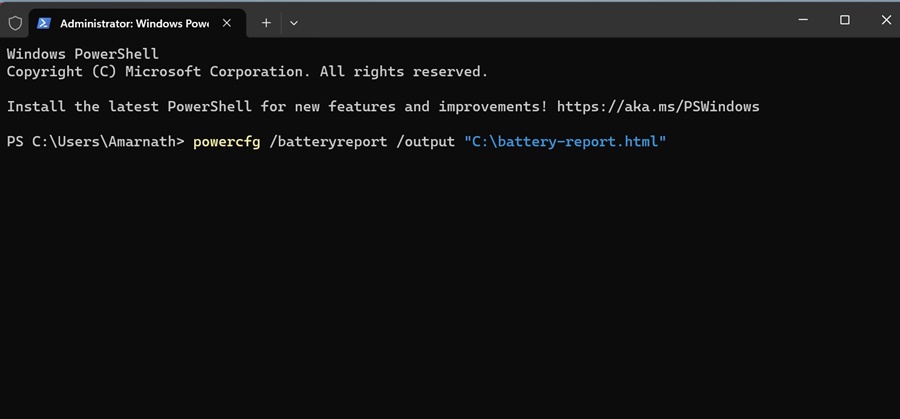
Note: In the given command, the report will be saved in this destination folder: “C:\battery-report.html”. You can modify the folder if you want.
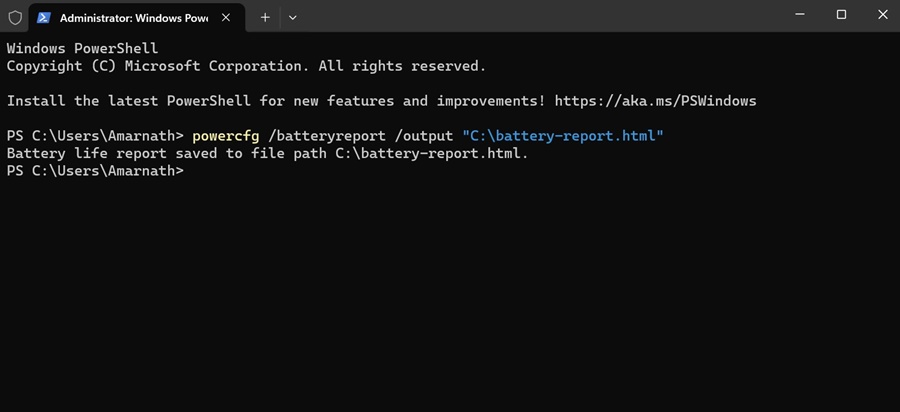
3. Once the Terminal app generates the report, it will tell you where the Battery life report has been saved.
4. Move to the path displayed on the Windows Terminal to find the Battery life report.
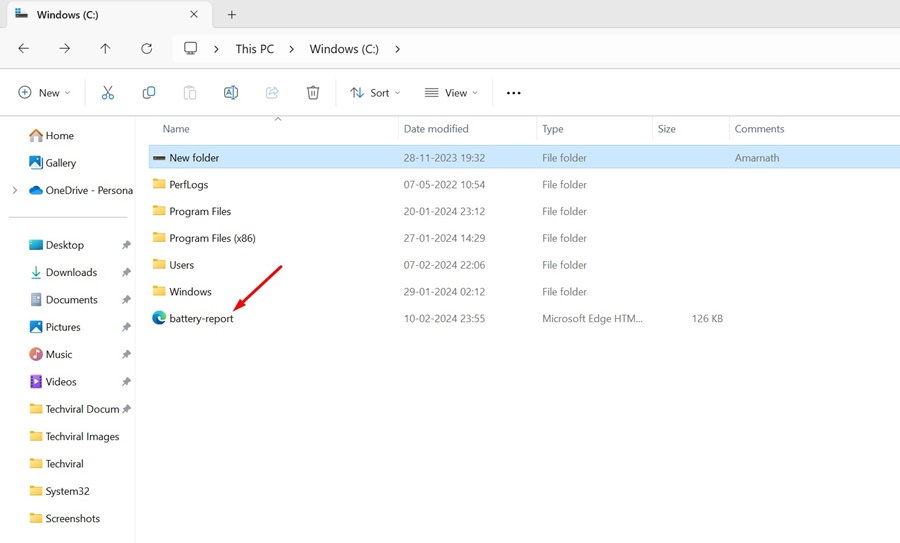
The battery life report will be saved in the HTML file format, meaning you can open it on any web browser. There’s no need to install any dedicated HTML viewer on Windows 11.
How to View Battery Life Report on Windows 11?
Now that the battery life report has been generated on your Windows 11 PC, here’s how to understand it.
1. Double-click on the Battery-Report HTML file and open it in a web browser.
2. You can now view the Battery Report. The top section shows basic details such as the Computer Name, BIOS, OS Build, Report Time, etc.
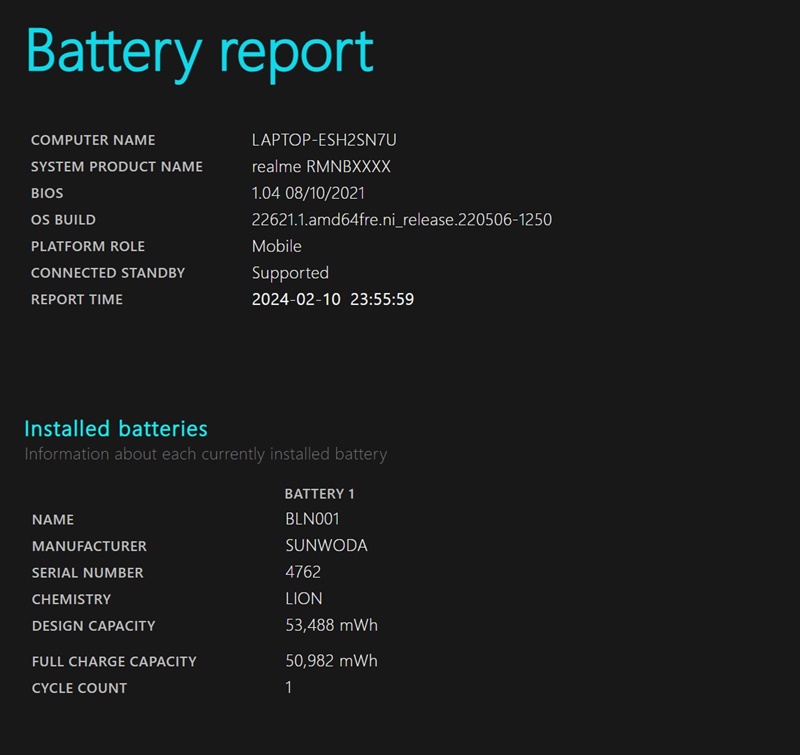
3. You will be able to view the installed batteries. This is the battery specification of your device.
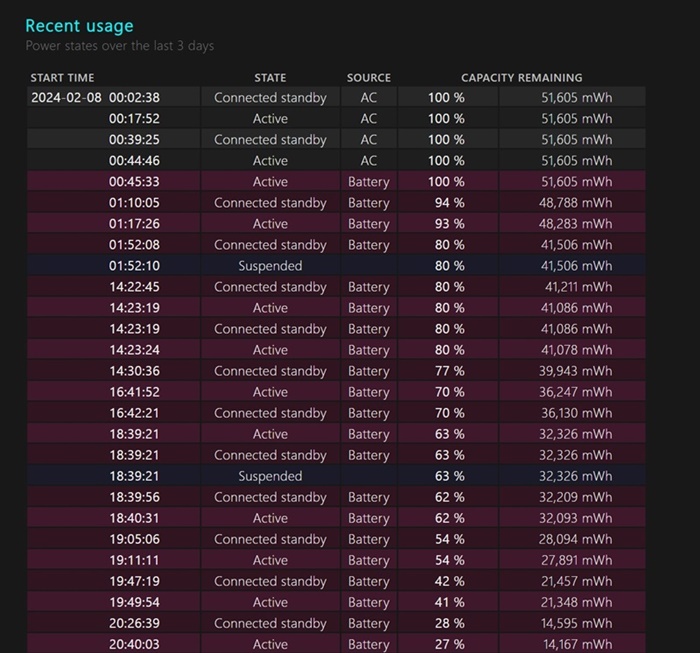
4. The Recent Usage section shows the battery drain over the last three days. Note when your device runs on battery.
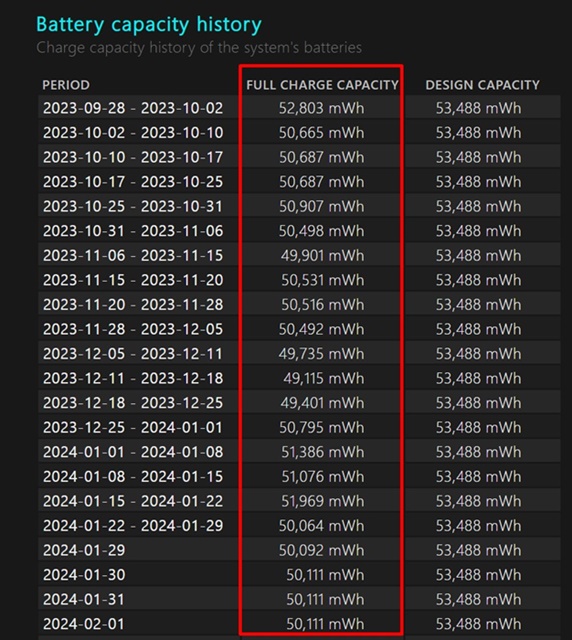
5. Scroll down to the Battery Capacity History section. This section shows how the battery capacity has changed over time. The Design Capacity on the right signifies how much the battery was designed to handle.
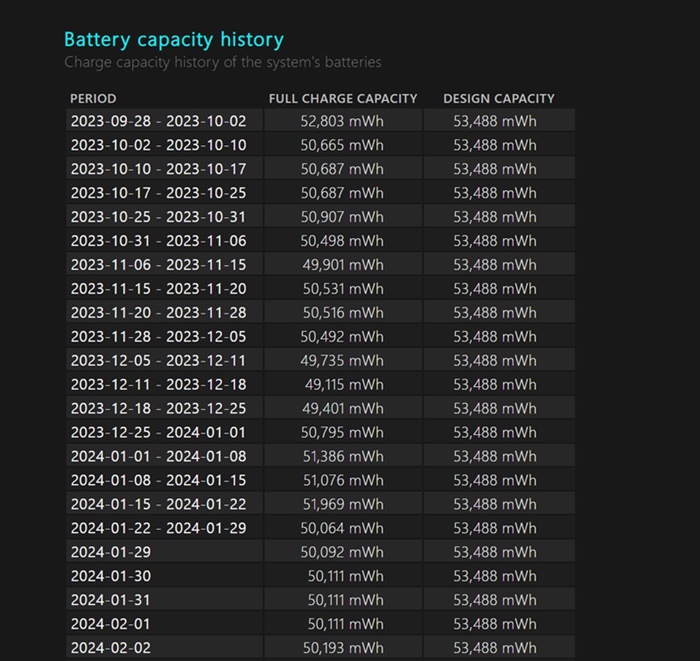
6. The Full Charge Capacity shows your battery’s current capacity on full charge. The capacity in this column is likely to decline over time.
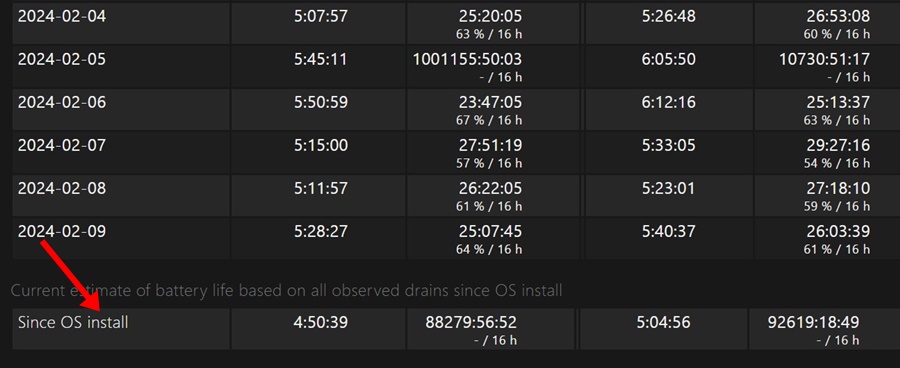
7. Towards the bottom of the screen, you will find the Battery Life Estimates section. The At Design Capacity column shows how long the battery should last based on design capacity.
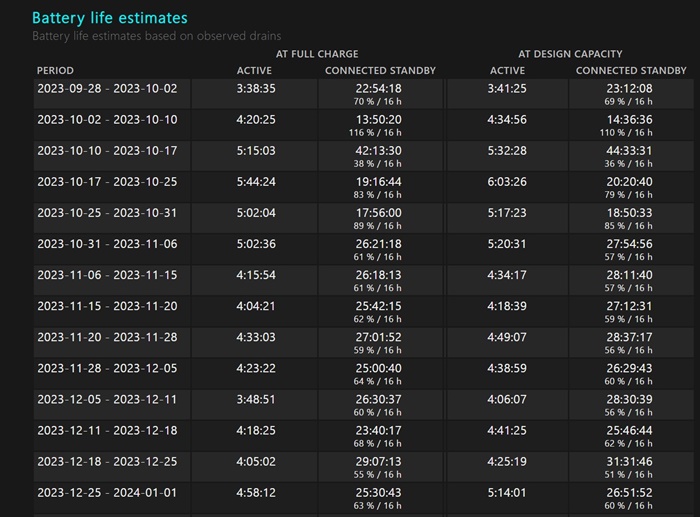
8. The At Full Charge Column shows how long the battery lasts. This will give you a clear idea of the battery life estimates.
This guide explains how to generate a battery life report on a Windows 11 Laptop or PC. This will give you a clear idea of whether your device’s battery needs replacing.


