As of now, there are many word processing software available for Windows 10. However, out of all those, it was Microsoft Word that was mostly used. Microsoft Word is a part of Microsoft Office Suite, and it lets you create and manage word documents.
Microsoft Word can be used for a variety of purposes. For instance, you can use it to compress images, print files, etc. Not many would know, but you can even hide certain parts of the text in a document via Microsoft Word.
Yes, Microsoft Word has the option to hide text in a document. Once hidden, you can print the document with or without the invisible text. There could be various reasons behind why you might want to hide text in Microsoft Word. Maybe you want to present a document but keep certain things hidden, create a quiz, and hide the answer.
Also Read: How to Compress Images With Microsoft Word Document
Hide/Unhide Text in Microsoft Word Document
Whatever the reason, you can utilize Microsoft Word’s hidden text formatting feature to hide any text. In this article, we will share a step-by-step guide on hiding text in Microsoft word on Windows. Let’s check out.
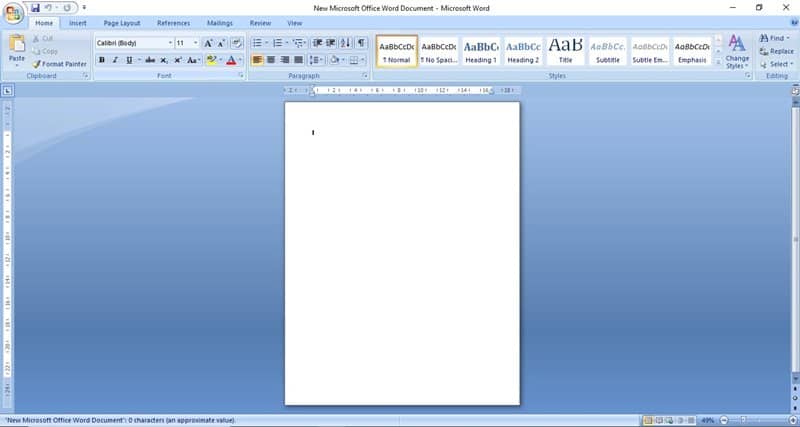
1. First, open a Word document on your Windows pc.
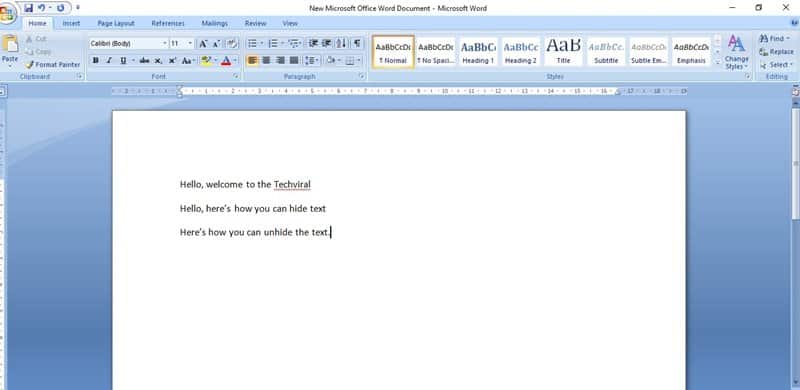
2. Now, start to type a few lines, Or you can open your existing file also via File > Open.
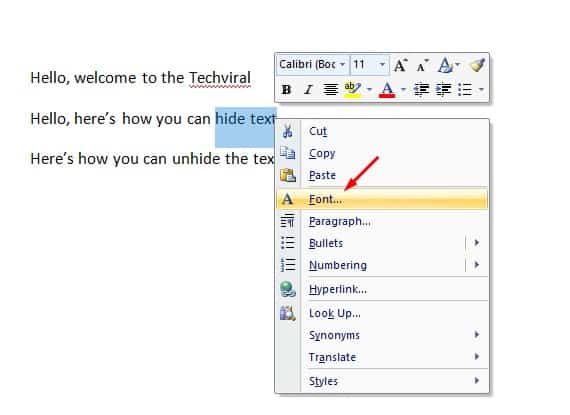
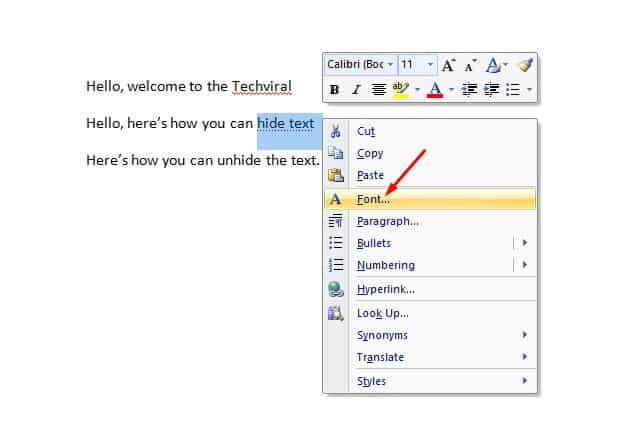
3. Select the text you want to hide by dragging through it with your cursor.
4. Right-click on the selected text, and choose the options Font.
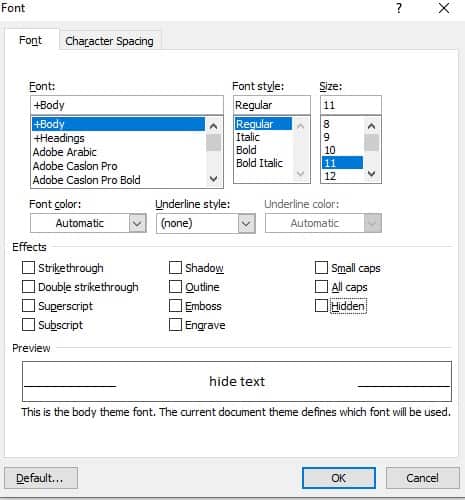
5. On the Font settings, check the box for Hidden and click on the Ok button.
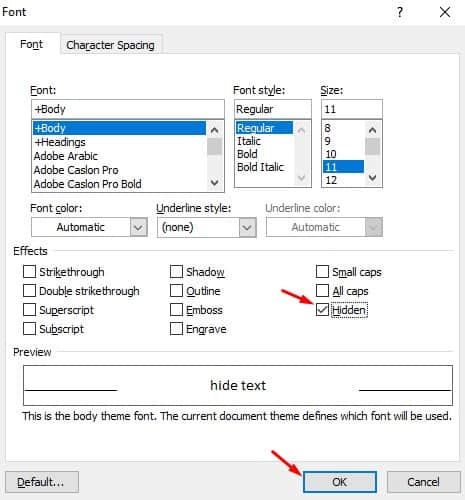
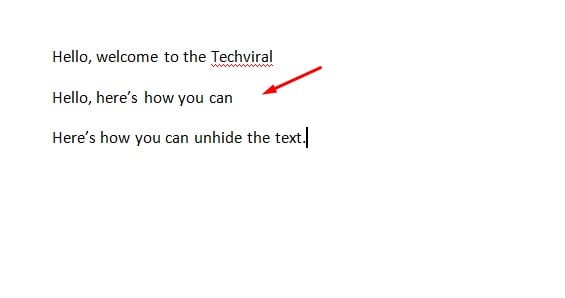
6. Once done, the selected text will disappear from your document.
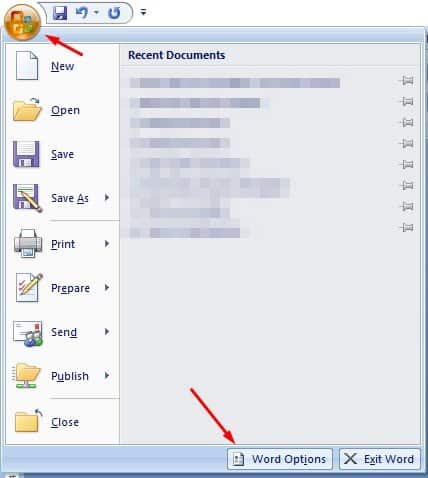
7. To view the hidden text, click on the File button and select Word Options.
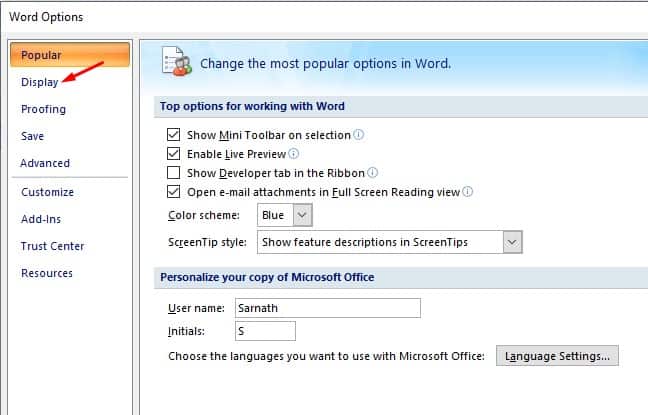
8. Now select the Display tab.
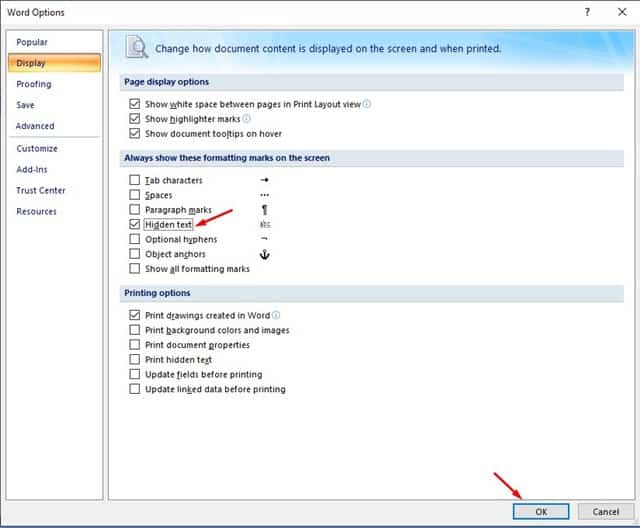
9. Under the ‘Always show these formatting marks on the screen’, check the option Hidden text. This will display the hidden text.
10. If you want to permanently unhide the text, drag the text you have hidden, right-click on it, and select ‘Font’. Under the font settings, uncheck the option ‘hidden’ and click on ‘Ok’
That’s it! You are done. You can hide/unhide text in a Microsoft Word document.
So, this article is all about how to hide text in a Microsoft Word document. I hope this article helped you! Please share it with your friends also. If you have any doubts related to this, let us know in the comment box below.


