iPhone has a feature that installs the updates overnight; however, what if the same doesn’t work? Many iPhone users have recently noticed that iOS isn’t automatically updating overnight. If your iPhone isn’t installing the updates overnight, you should do these things.
1. Force restart your iPhone
Force restart is an excellent option if your iPhone isn’t responding. Here’s how you can force restart your iPhone
- Press and release the volume up button.
- Press and release the volume down button.
- Press and hold the side button.
- When the Apple logo appears, release the side button.
After the force restart, leave your phone overnight. The updates should be installed automatically.
2. Check the Storage Space
Your iPhone might have already downloaded the updates, but it doesn’t have sufficient storage space for the installation. So, you need to check and clear the storage space.
1. Launch the Settings app.
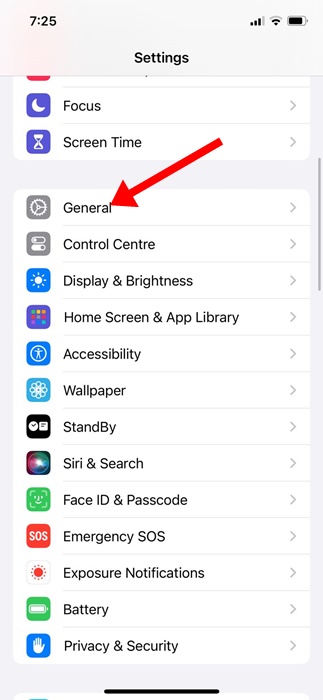
2. Tap on General.
3. Tap on iPhone Storage.
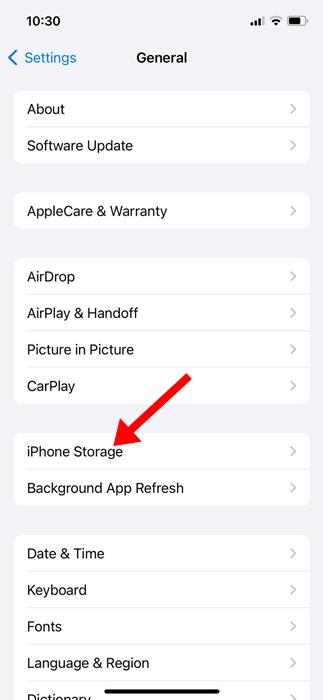
4. Check whether your iPhone has sufficient storage space available.

5. If you need to free up storage space, delete unused apps or remove files, photos, videos, etc.
3. Make Sure Your Phone is Connected to WiFi
Although the update could have already been downloaded, your iPhone still needs a stable internet to verify it before the installation.
Ensure your iPhone is connected to an active internet overnight and check if the updates are installed the following day.
4. Make sure your iPhone has sufficient charge
Even if your iPhone has enough battery juice to install the updates, it’s still recommended that you charge it to 100% before sleeping.
If possible, you can keep your iPhone plugged in on the day updates are supposed to be installed. Many users have managed to fix the automatic iOS updates not working issue just by keeping their iPhones plugged in overnight.
5. Check the Date and Time of your iPhone
Incorrect date and time selection often creates problems during the update installation. The problem appears when your iPhone can’t verify the update due to the wrong date and time selection.
1. Launch the Settings app.
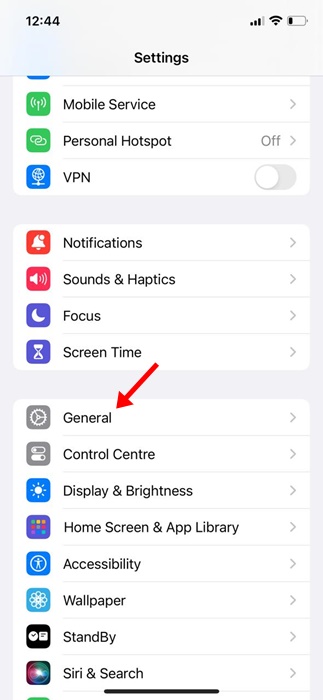
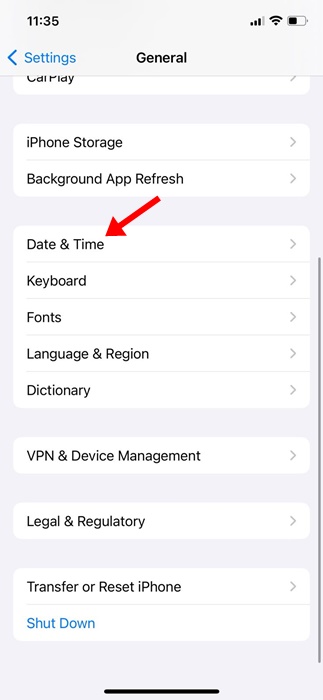
2. Tap on General.
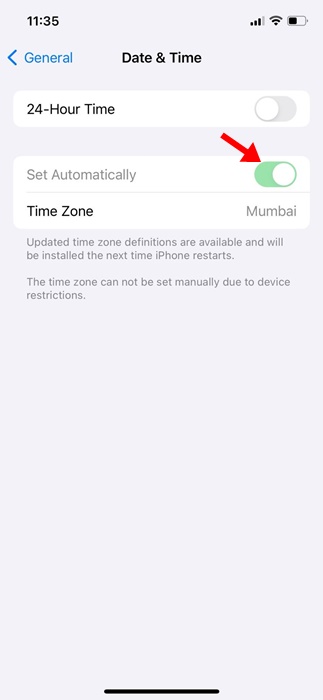
3. Tap on Date & Time.
4. Turn on the toggle for ‘Set Automatically’.
6. Enable Overnight Updates Again
After making the changes, you need to enable the overnight updates again.
1. Launch the Settings app.
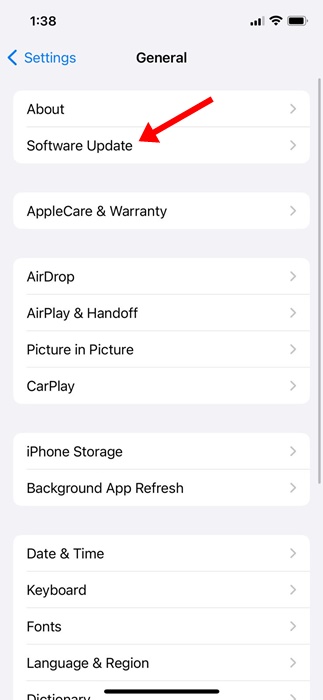
2. Tap on General.
3. Tap on Software Update.
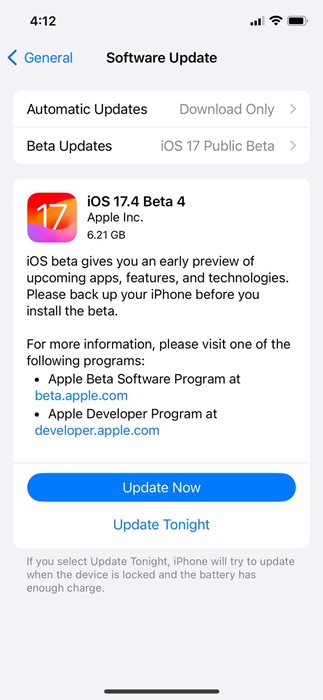
4. You will find the update available for installation. Tap on the Update Tonight.
7. Try Downloading the Update Again
If you still can’t get your iPhone to install the updates automatically overnight, you can try downloading the update again.
1. Launch the Settings app.
2. Tap on General.
3. Tap on iPhone Storage.
4. Go through the list of apps installed on your device. You will find the downloaded update, which is pending installation. Simply tap on it.
5. Tap on Delete Update.
After deleting the update, restart your iPhone, go to Settings > General > Software Update, and download the pending updates.
8. Disable all VPN/Security apps
VPN, firewall, or certain security apps can conflict with the iOS update tool and prevent your iPhone from installing the update overnight. Make sure no VPN or security app is running in the background. Also, make sure your iPhone is connected to a working Wi-Fi and has enough battery charge.
Even though we are sure that the methods shared above would have fixed the iOS not automatically updating overnight issue, if you still face the problem, tap the Install Now button instead of Install Tonight.
This will possibly remove the iOS bugs and glitches. After the update is done, wait for the next update to arrive and check whether you face the same problem. Let us know if you need more help on this topic.


