The good thing about Windows 10 is that it offers you numerous tools to tweak the operating system’s functionality. For example, you can use the Local Group Policy or Registry file to make changes to the operating system.
On Techviral, we have shared lots of Windows 10 tutorials that require Local Group Policy Modification. Well, there’s no harm in modifying specific policies if you know what you are doing. However, if the Local Group Policy lands in the wrong hand, it could trigger many problems, including the BSOD errors.
Since it’s almost impossible to remember all the changes we have made in the Local Group Policy, Microsoft offers an easy way to reset every Policy Editor setting. Although not straightforward, you can put on some hard work to manually reset the Local group policies.
Also Read: How To Reset Your Forgotten Windows 10 Login Password
Steps to Reset All Local Group Policy Settings on Windows 10
If you are interested in knowing how to reset all Local Group Policy settings, then continue to read the article. In this article, we will share few best methods to reset local group policy settings on Windows 10. Let’s check out.
1. Manually Resetting the Local Group Policies
In this method, you need to do some hard work. Here we have shared the steps to reset the local group policy setting on Windows 10 manually. Let’s check out.
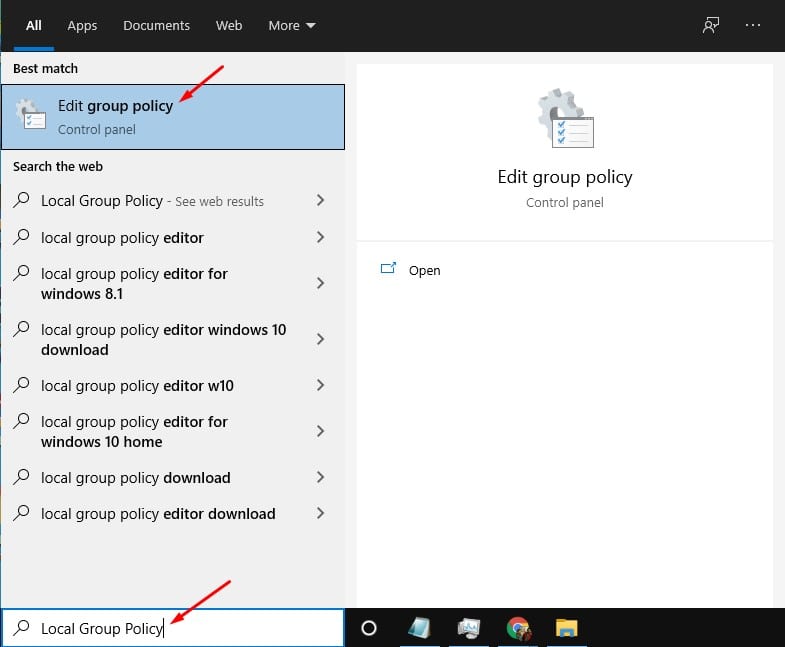
Step 1. First of all, open Windows search and type in Local Group Policy. Open Local Group Policy from the list of options.
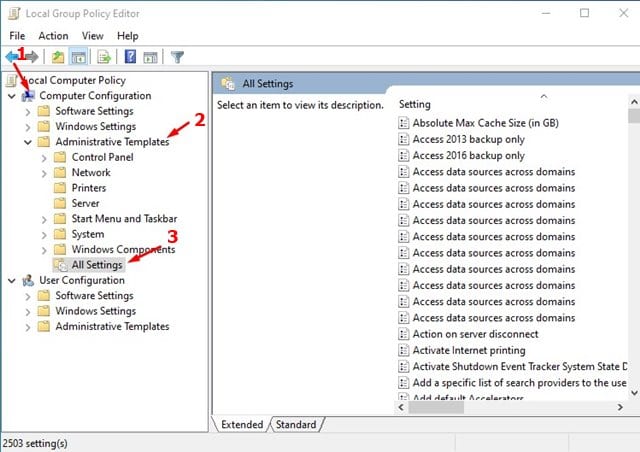
Step 2. On the Local Group Policy Editor, navigate to the following path – Computer Configuration > Administrative Templates > All Settings
Step 3. Click on the State column header once. This will sort all policies and will show you the ones that are Enabled or Disabled Manually.
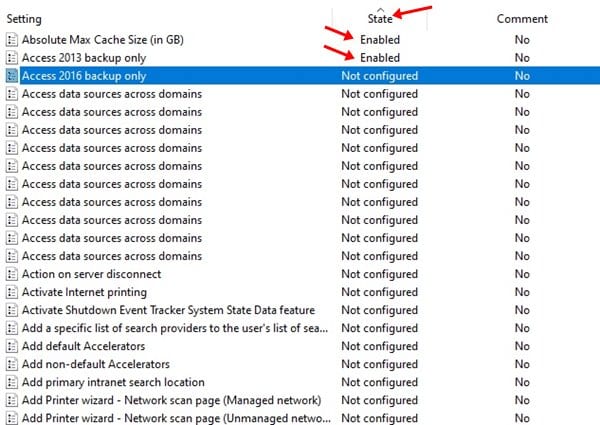
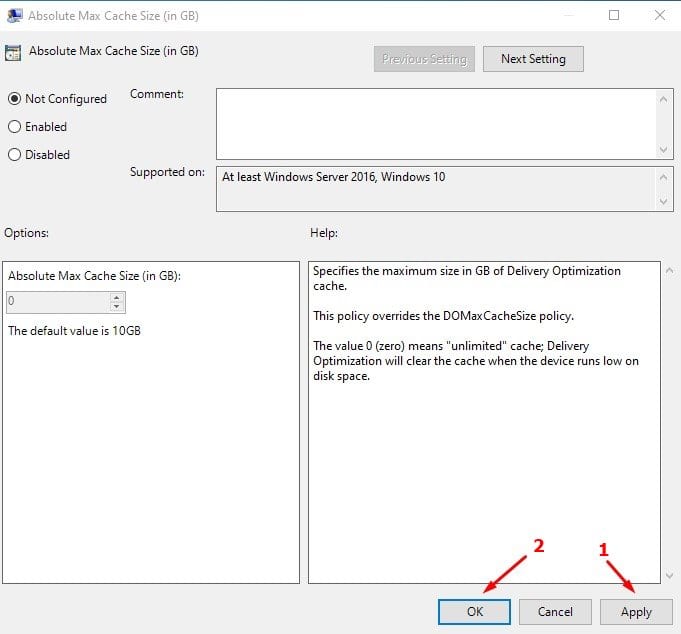
Step 4. The default policy settings were set to Not Configured. So, the one that appears ‘Enabled’ or ‘Disabled’ was likely to be modified. Double click on the policy, and select ‘Not Configured.’

Step 5. Once done, click on the Apply button and then on ‘Ok.’
That’s it! You are done. This is how you can manually reset Local Group Policy settings on Windows 10.
2. Reset Using CMD (Automated)
If you don’t want to do the manual work, you can rely on Command Prompt to get things done. If you have lots of modified policies, you can quickly reset them via the CMD.
Step 1. First of all, click on the Windows search and type in ‘Command Prompt.’
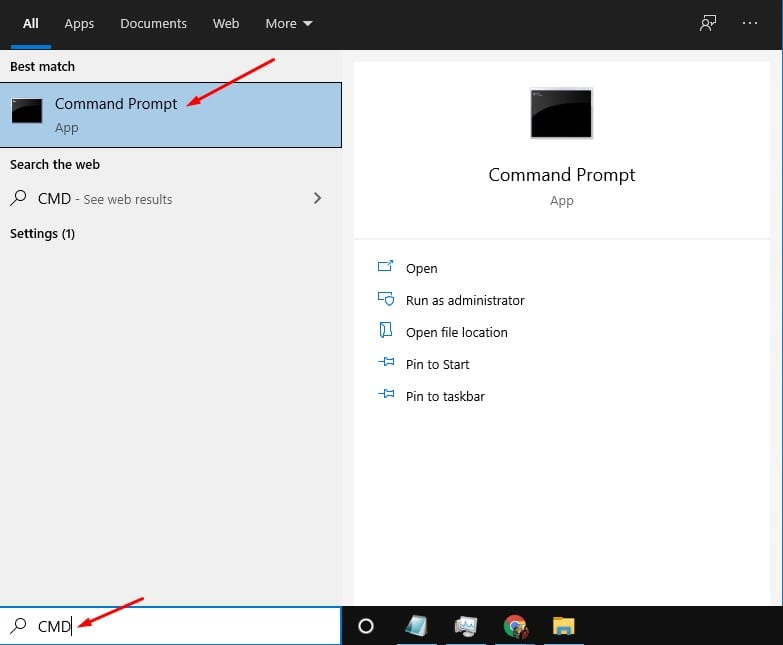
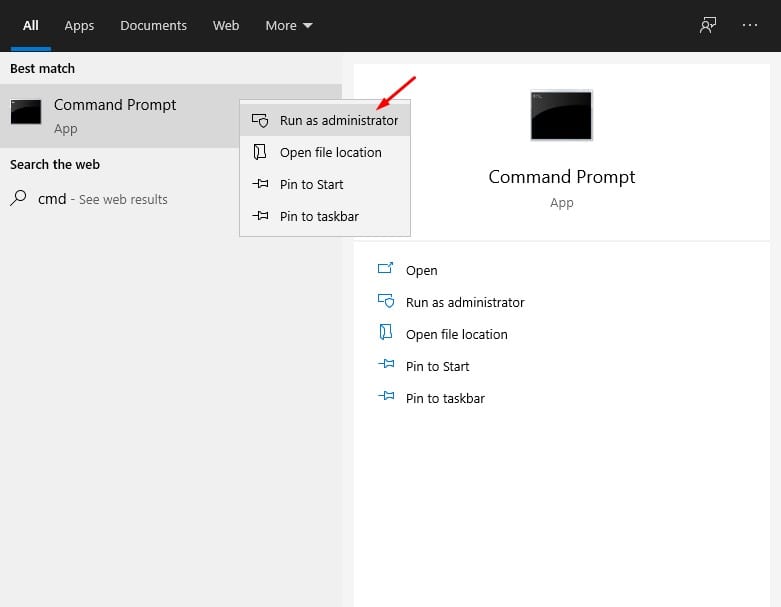
Step 2. Now right-click on the Command Prompt and select ‘Run as administrator.’
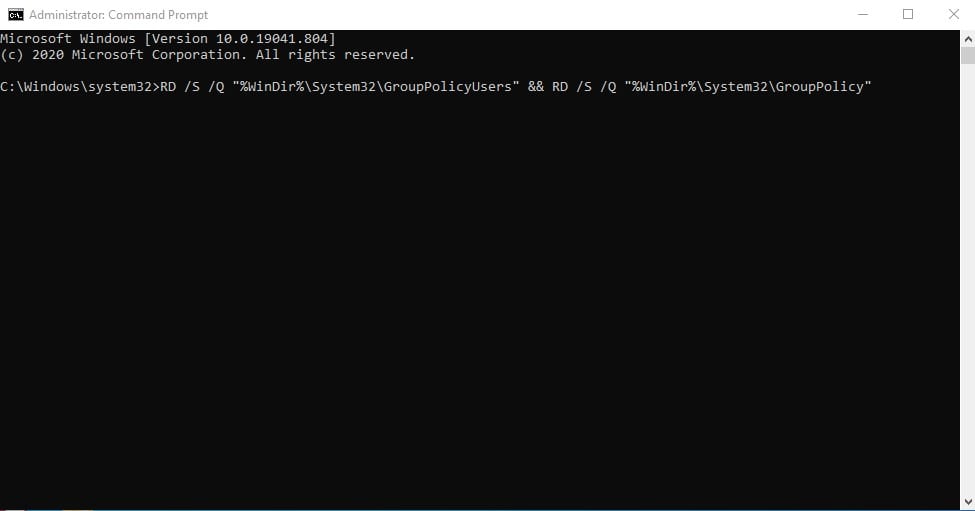
Step 3. On the Command Prompt Window, enter the following command –
RD /S /Q "%WinDir%\System32\GroupPolicyUsers" && RD /S /Q "%WinDir%\System32\GroupPolicy"
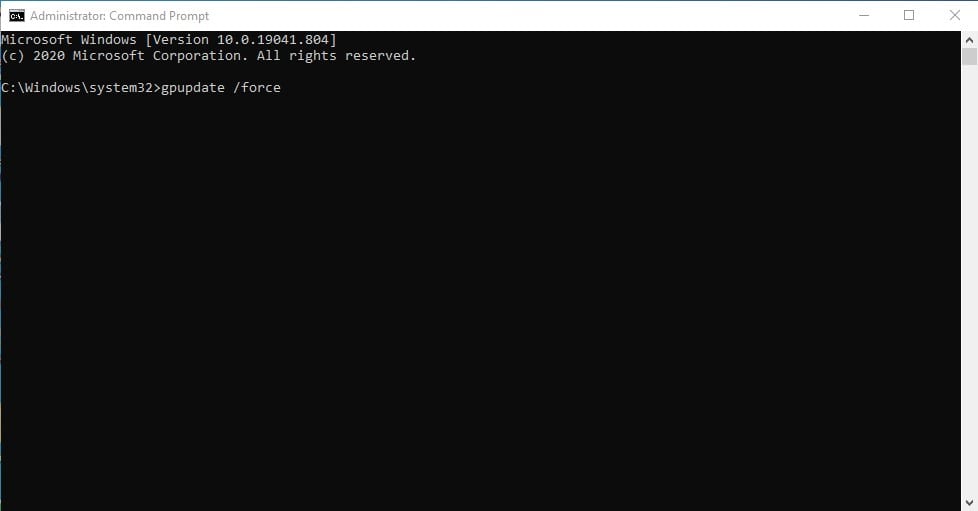
Step 4. After executing the first command, enter this command to update the changes –
gpupdate /force
Step 5. Now close the Command Prompt and restart your PC.
That’s it! You are done. This is how you can reset all Local Group Policy objects to their default settings via CMD.
This article is all about how to Reset all Local Group Policy Settings on Windows 10 computers. I hope this article helped you! Please share it with your friends also. If you have any doubts about this, let us know in the comment box below.

