Let’s admit it, we all rely on cloud storage services these days to store our important files. Popular cloud storage services for PC like OneDrive, Google Drive, etc., not only help us to free some storage space, they also serve as a great backup utility.
If you don’t want to lose certain files, you can store them on cloud storage services. In this article, we will talk about the OneDrive cloud storage app that comes with Windows 10 and Windows 11.
OneDrive is meant to back up your PC’s Desktop, Documents, and Pictures folders. However, if, for any reason, it’s not working, you can easily reset it on your system.
Recently, many users have reported about OneDrive issue preventing the sync from working correctly. So, if your files were not getting saved on the cloud platform, you might like to reset them.
Also read: How to Backup Windows Folders to OneDrive Automatically
Steps to Reset Microsoft OneDrive on Windows 10
So, in this article, we will share a detailed guide on how to reset Microsoft OneDrive on Windows 10 to fix sync problems. Let’s check out.
1. Restart the OneDrive
Sometimes, a simple restart can fix many problems. So, before trying any other method, make sure to restart the OneDrive application first.
To restart OneDrive, you need to right-click on the OneDrive icon on the system tray and select the Close OneDrive option.
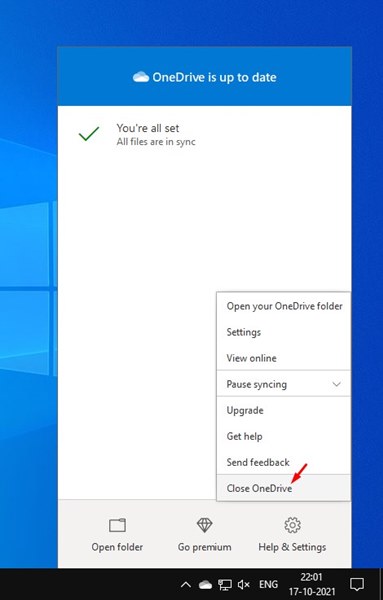
On the Confirmation pop-up, you need to click on the Close OneDrive option once again. Then, to relaunch the app, you need to open Windows 10 search and type in OneDrive. Next, open OneDrive app from the search results.
That’s it! You are done. This is how you can restart OneDrive on your PC to fix sync problems.
2. Reset Microsoft OneDrive
If restarting Microsoft OneDrive didn’t work out for you, then you might need to reset Microsoft OneDrive. Resetting OneDrive is pretty easy. Just implement some of the simple steps shared below.
1. First of all, press Windows Key + R button on your keyboard.
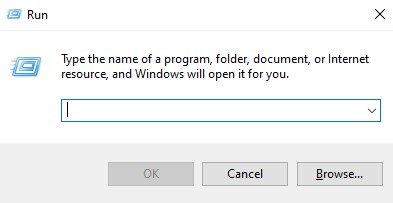
2. Now, you need to enter the path of the OneDrive executable file, followed by /reset in the Run dialog box.
You can locate the OneDrive.exe path in the file explorer. However, the file path may vary depending on various reasons. So, you need to try these commands below.
%localappdata%\Microsoft\OneDrive\onedrive.exe /resetC:\Program Files\Microsoft OneDrive\onedrive.exe /resetC:\Program Files (x86)\Microsoft OneDrive\onedrive.exe /reset
You need to execute the above commands one by one. If the command is incorrect, you will receive an error message. Therefore, you need to try every three commands to find the correct one.

3. After entering the command on the RUN dialog box, press the Ok button.
That’s it! You are done. This will reset the Microsoft OneDrive app on your Windows 10 computer.
3. Reinstall OneDrive Application
If OneDrive is still unable to sync your files, the only option left is to reinstall the OneDrive application.
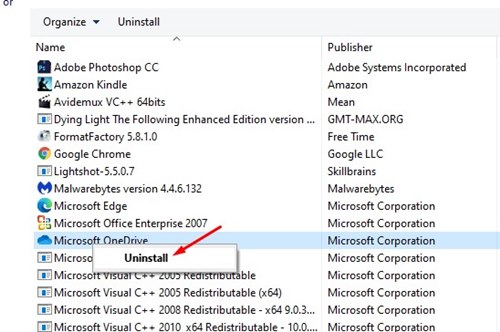
For that, you need to open the Control Panel > OneDrive. Right-click on the OneDrive app and select Uninstall.
Once uninstalled, you can follow this guide to install the OneDrive application again on your system.
So, this guide is all about how to reset Microsoft OneDrive on Windows PC. I hope this article helped you! Please share it with your friends also. If you have any doubts related to this, let us know in the comment box below.


