On the Protection History screen, you will see all detections, such as Viruses, Malware, Potentially Unwanted Apps, etc. It also shows you the actions it took to eliminate the threats.
How Long Does Windows Defender Store the Protection History?
The Windows Defender or Security app stores detection history for about 30 days. This means that if you don’t clear the Protection History within 30 days, it will be cleared automatically.
If you are running out of storage space on your PC or you want the Defender app to run more smoothly, you can consider manually clearing the detection history.
Before you follow the steps to clear your Windows Defender Protection history, it’s important to scan your PC for viruses and malware with a reliable antivirus scanner.
1. Clear Windows Security Protection History Manually
You can clear the Protection history directly from your local drive.
1. Open the File Explorer of your computer, navigate to the Windows installation drive, usually the C: drive for most users.
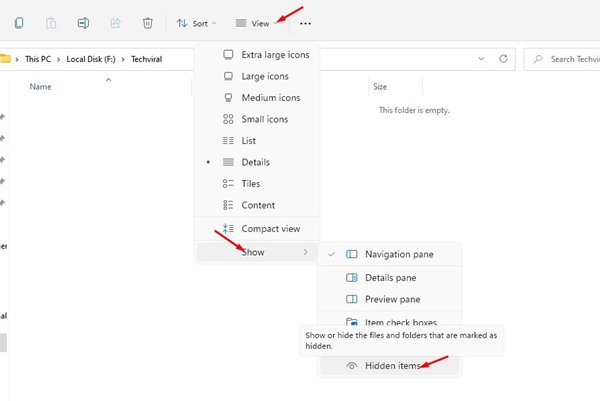
2. Click on the View.
3. Select Show > Hidden Items.
4. Now navigate to this path:
C:\ProgramData\Microsoft\Windows Defender\Scans\History
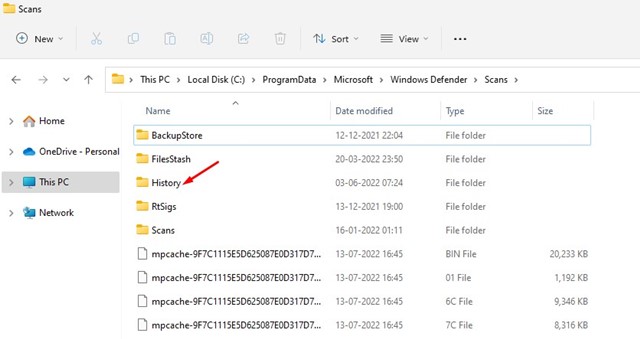
5. Double-click on the Service in the History folder.
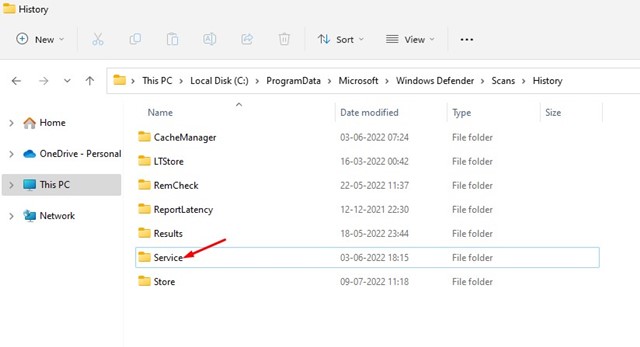
6. Right-click on History and select Delete.

Important: If you are unable to delete that specific folder or file, boot your PC into safe mode and repeat the same steps. Booting the PC into safe mode works most of the time.
2. Clear Windows Security Protection History via Event Viewer
You can also use Event Viewer on Windows 11 to clear the Windows Security Protection History.
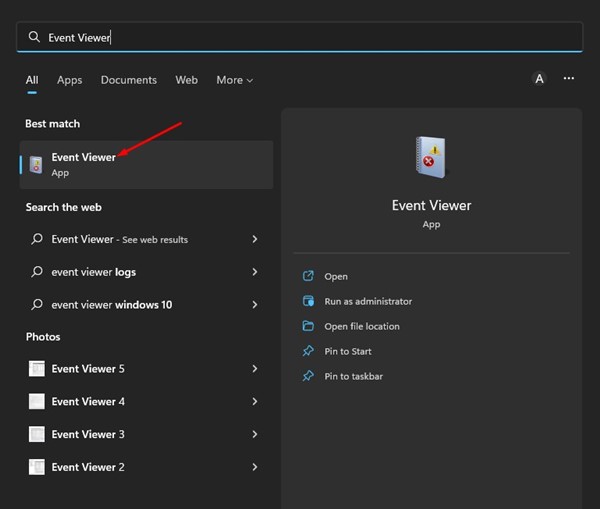
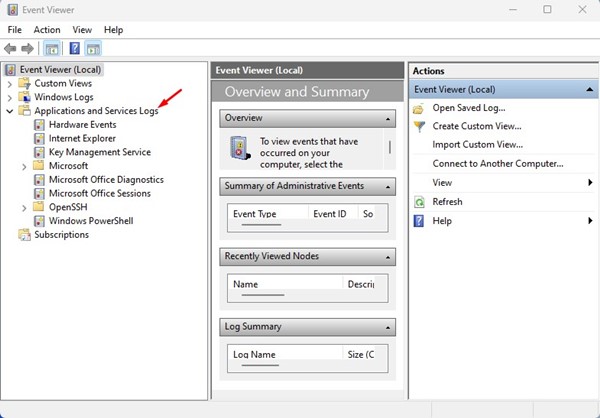
1. Open the Event Viewer app.
2. Select the Event Viewer (Local) and expand the Applications and Services Logs.
3. Select the Microsoft folder.
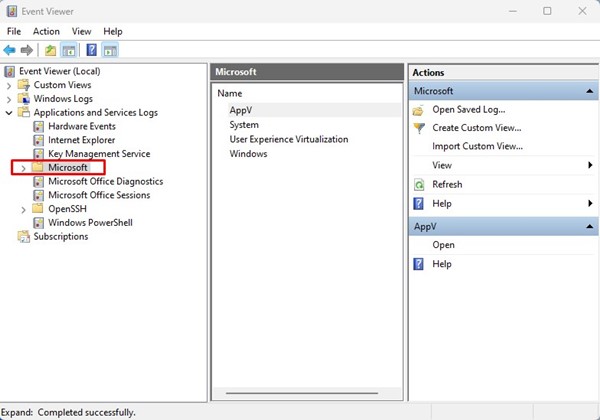
4. Double-click on Windows.
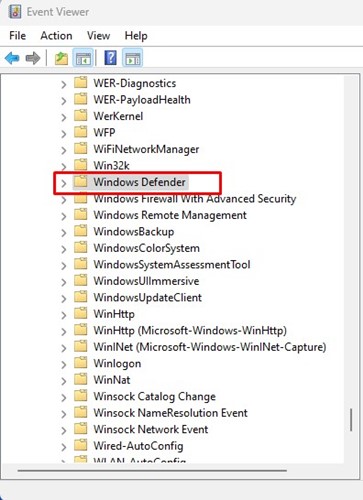
5. Scroll down and double-click on Windows Defender.
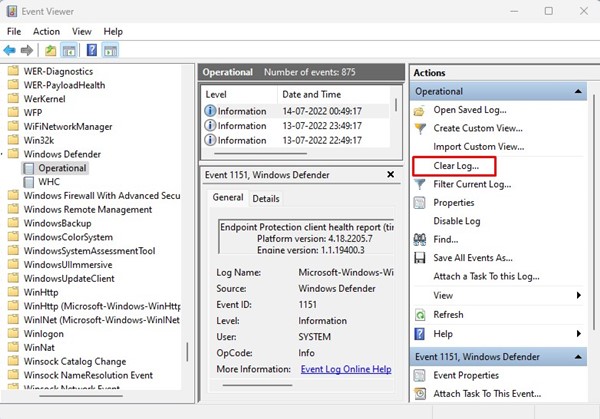
6. Double-click on the Operational on Windows Defender.
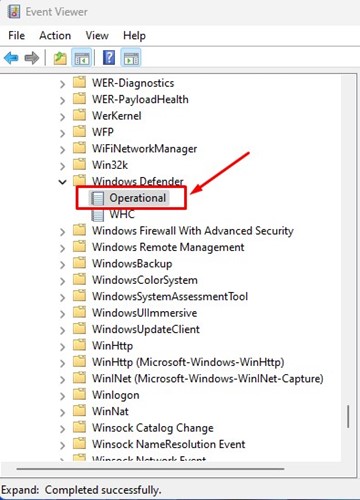
7. Click on Clear log.
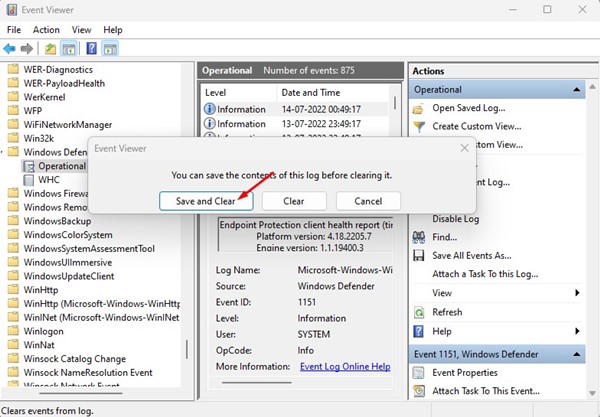
8. Click on the Save and Clear button.
3. Clear Windows Defender Protection History via Local Group Policy
The Local Group Policy editor can clear the Windows Security Protection History as well.
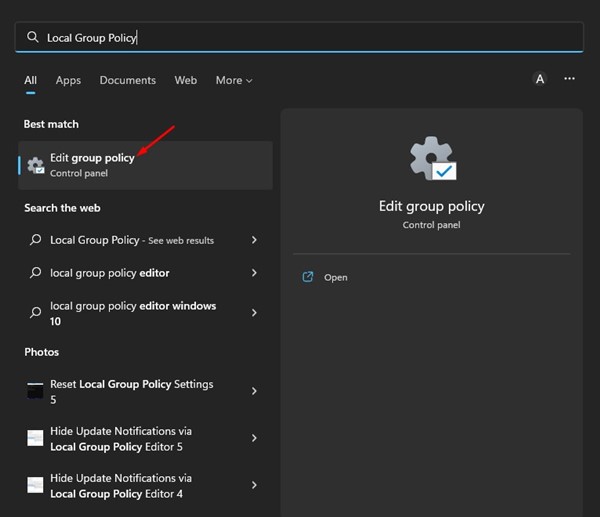
1. Open the Local Group Policy Editor from the Windows Search.
2. Navigate to the following path:
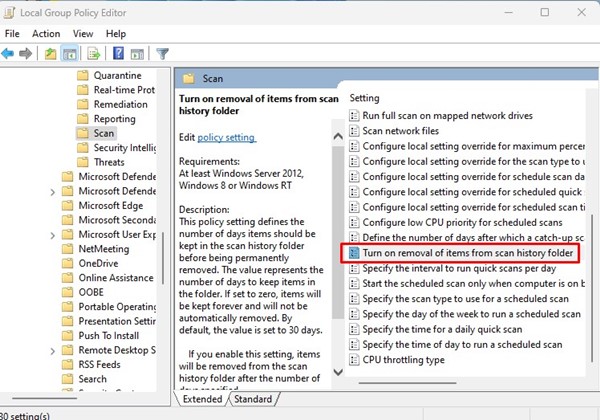
Computer Configuration > Administrative Templates > Windows Components > Microsoft Defender Antivirus > Scan.

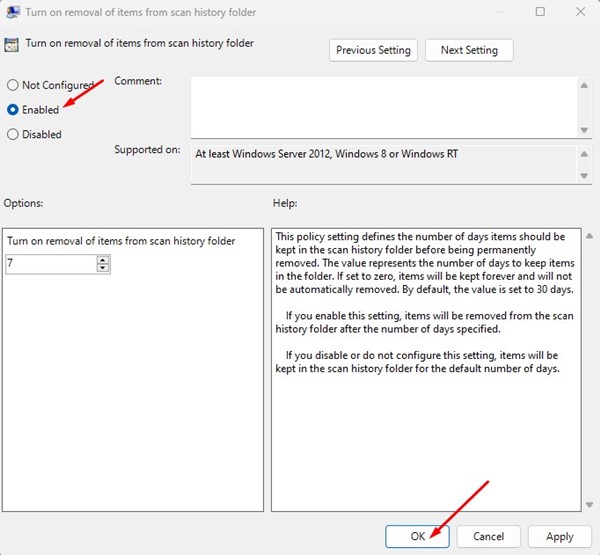
3. Find and double-click the Turn on removing items from scan history.
4. On the Window that appears, select Enabled and enter the time frame. Don’t set the number of days to zero, as zero means forever. You must enter the days you want Windows security to clear the protection history. Once done, click on the OK button.
4. Clear Microsoft Defender Protection History via PowerShell
If you’re comfortable handling the PowerShell utility, you can use it as well to clear the Protection history.
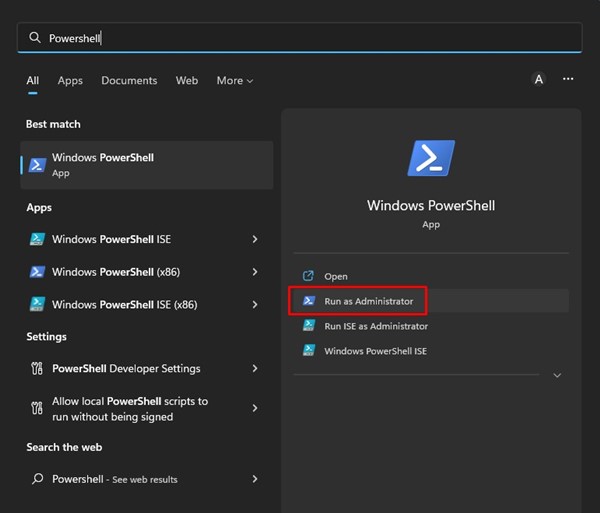
1. Click on the Windows 11 search and type PowerShell. Right-click on PowerShell and select Run as administrator.
2. Paste the following command and press Enter.
Set-MpPreference -ScanPurgeItemsAfterDelay 5
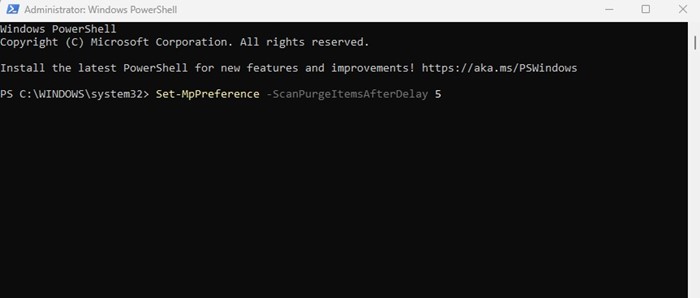
Important: The 5 at the end of the command represents the days after Windows security will clear the Protection History log. You can change the number as you wish.
Windows Security Protection History Empty
If the Protection History of Windows Security app already shows a blank screen, it’s a sign of a few problems.
Many users have also reported that clicking on Protection History crashes their PC. If you’re experiencing the same or similar problem, you need to try the troubleshooting methods shared in this guide – Windows Security Protection History Empty/Missing? 8 Ways to fix it.
How to Fix Sleep Mode Not Working on Windows 11
These are some of the best ways to clear the Microsoft Defender or Windows Security Protection History log on Windows 11. If you need more help removing the Defender Protection history log, let us know in the comments below.


